
How to Resize Large Image Attachments in Outlook 2013
Sometimes you want to send some image attachments with your email but the size of image(s) becomes incompatible with email, then you need to re-size your image. Here we will learn how to re-size images in Outlook 2013, step by step.
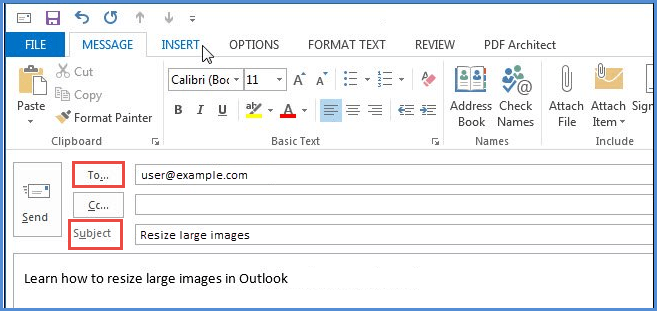
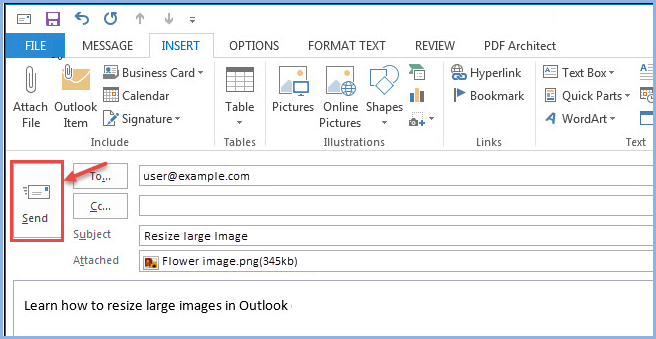
- First, you need to create an email and fill the recipient address, subject and then click on Insert to add attachment from the top of the ribbon as shown in the image below.
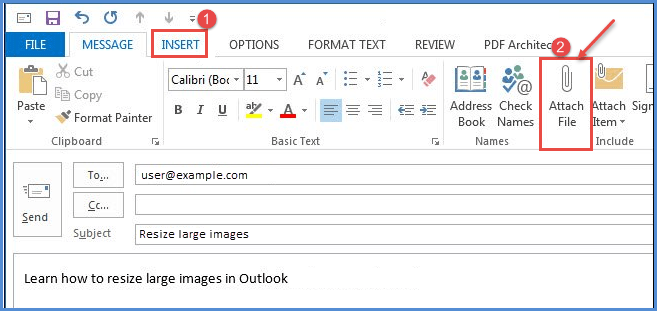
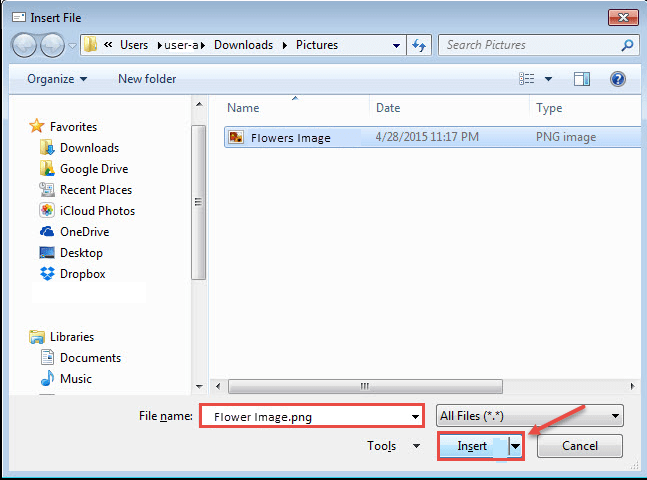
2.Click on “Attach File”, which will lead you to navigate folders. Move to the designated folder, select image and then click on “Insert”.
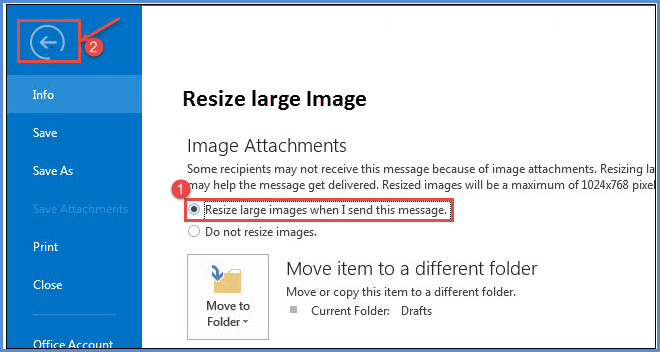
3.The image is inserted with the email with its size noted, before sending you can resize the image. For this you go to ‘File’ option.
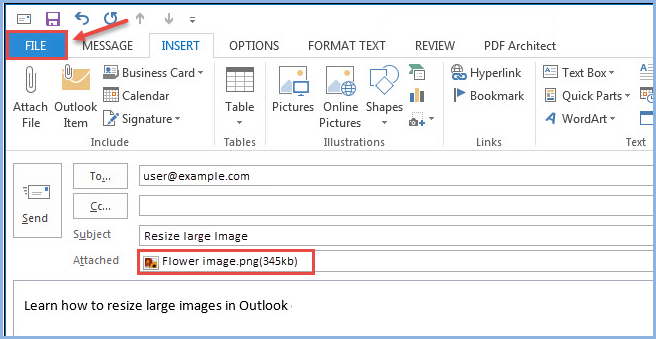
- In “File” option under “Info”, select “Resize large images when I send this message”.
5.Now click on the “Send” button to send the message.
The image has been resized and the recipient will get smaller image in attachment. As per the example, before resizing, image was of 345kb but after resizing, image size was reduced to 131kb. So, with the above steps you can tweak the large sized images. If you want to know the total numbers of mails in a folder in outlook 2013, to check learn more info for this topic.
 (1)")