
How to change DNS entries in office 365 – Part III
This is the last step in configuring DNS entries, when you migrate your emails to Office 365. The first 2 parts dealt with setting up domain and adding/importing users to Office 365 and the licenses.
Now configure step 3:

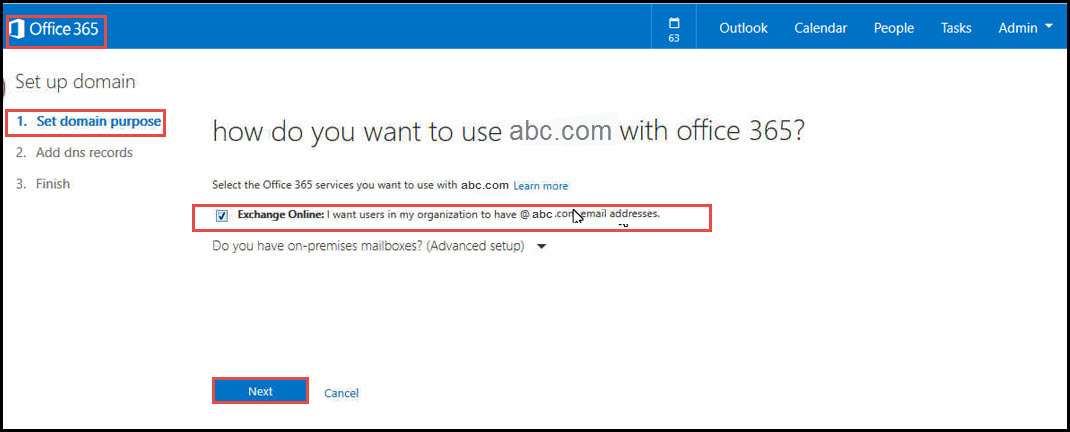
Click on “Set domain purpose and configure DNS”.
From the subsequent screen, select “Exchange Online:…” and click on “Next”.
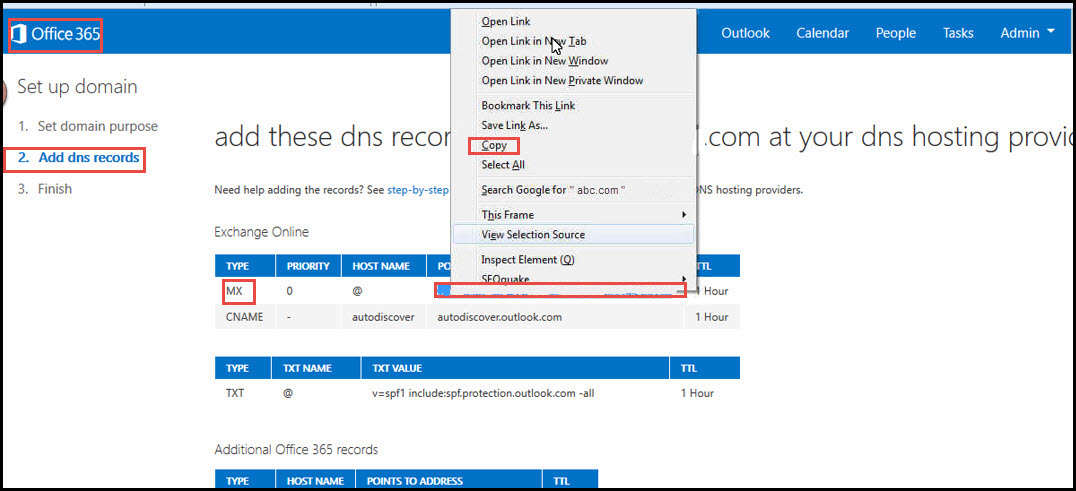
Add DNS records: This is the second step. Here we will use the MX records settings and update the hosting provider to route all requests to Office 365.
The following records must be set in the domain (network solutions).
Copy MX : record and update your domain.
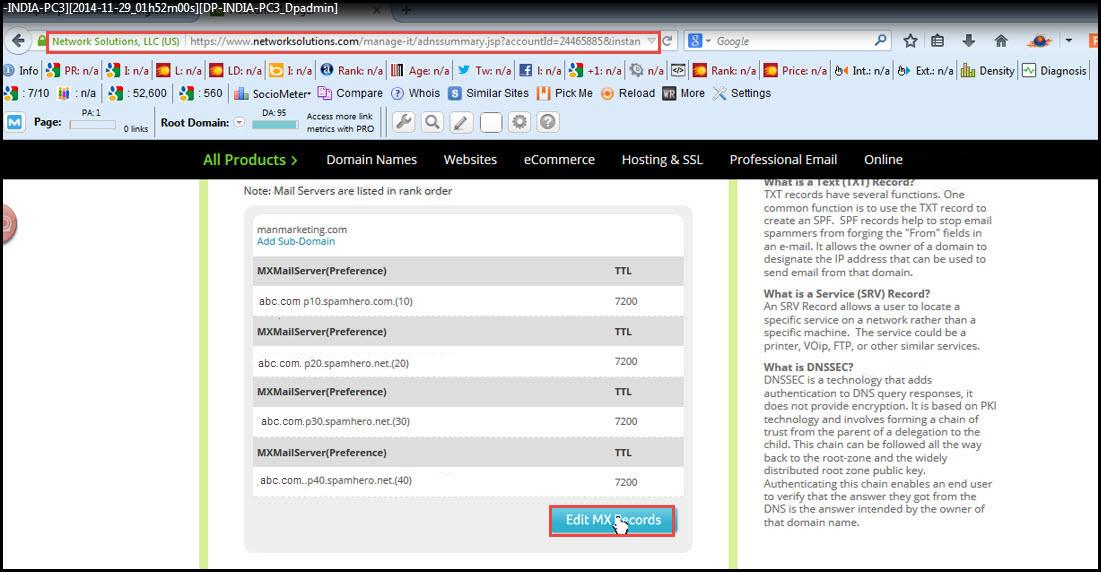
In Domain (Network Solutions), click on “Edit MX Records”.
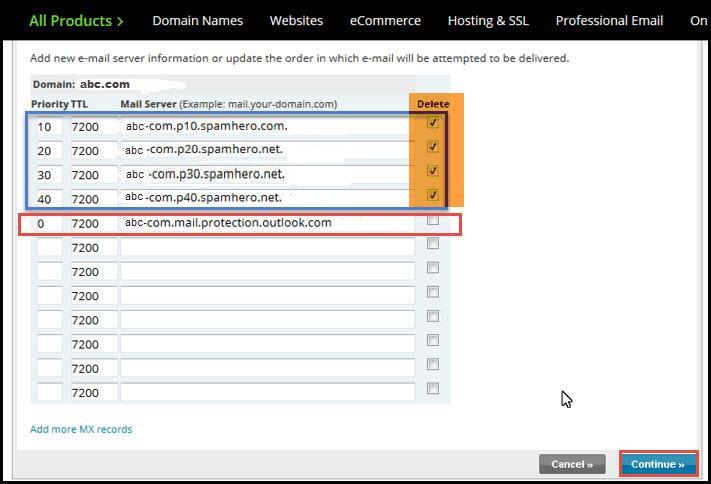
Delete rest of all records and save this record. Click on “Continue” and save the changes.
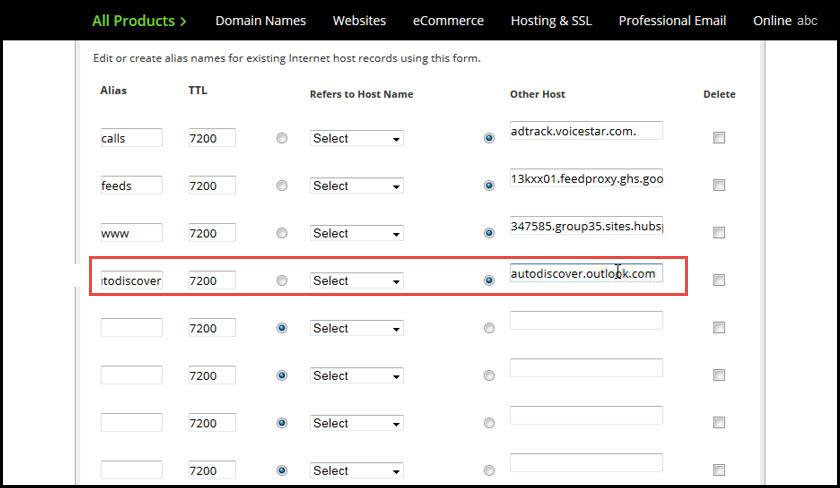
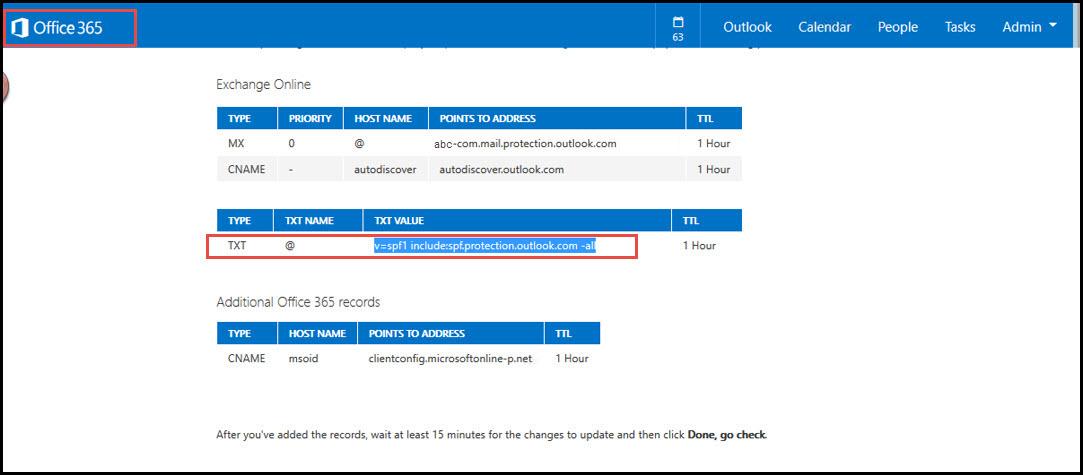
Similarly, update the values of CNAME, TXT records, by copying from Office 365 Admin Center and pasting the same in the domain’s cPanel (Network Solutions, for us).
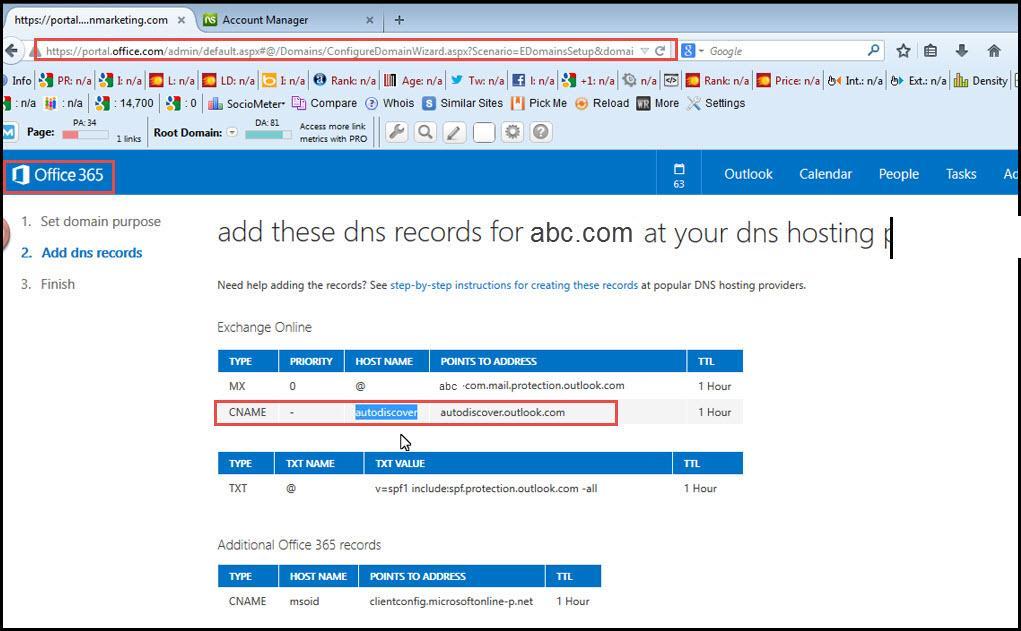
In the domain’s cPanel, in alias name: autodiscover and other Host: autodiscover.outlook.com. Do ensure to not to delete any alias info, just add the values from the Office 365 Admin Center.
Also in TXT:
In Domain:
Click on edit TXT records.
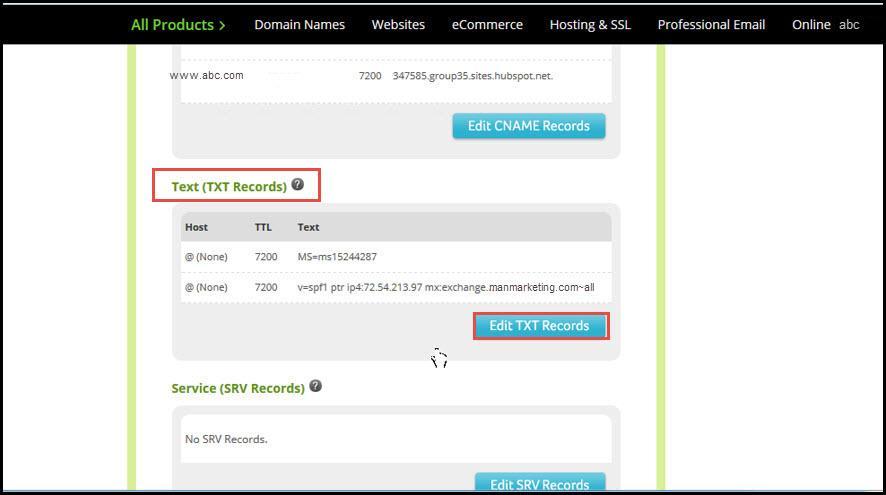
Copy past the TXT lines.
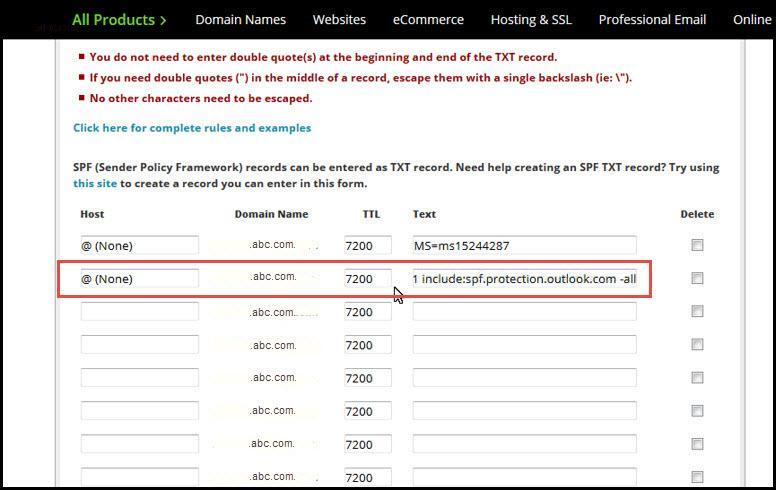
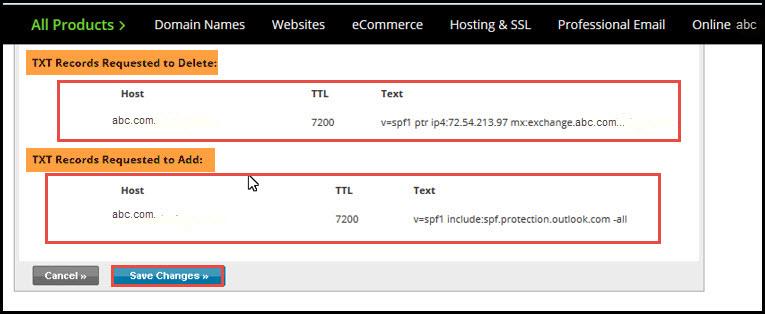
And click on save changes.
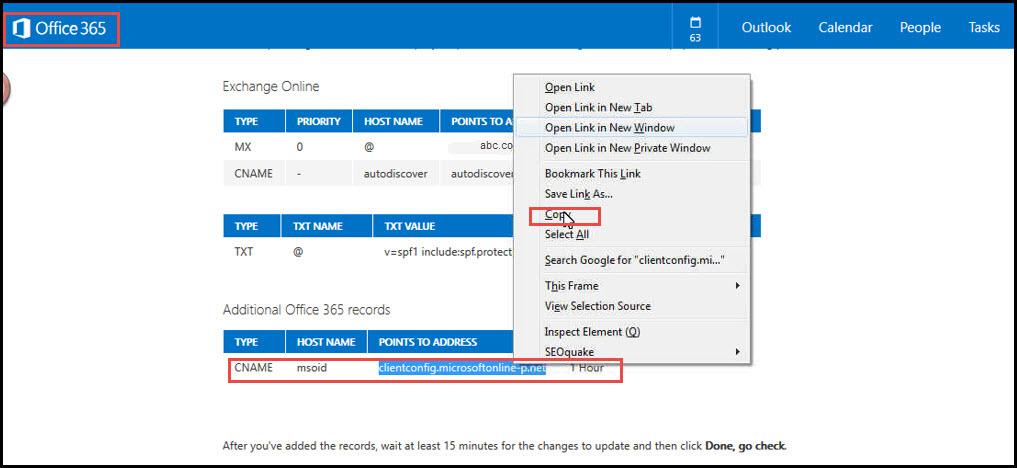
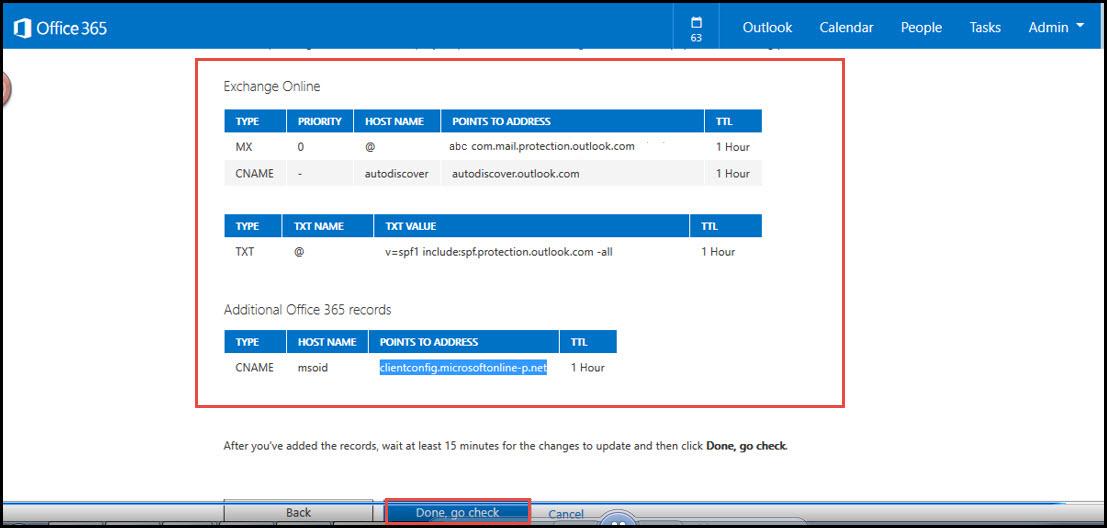
Similarly, add CNAME entries from “Additional Office 365 records” domain’s cPanel.
After updating all information, Click “Done, go check”.
In this way we are able to add all records of the office 365 into the domain’s cPanel.
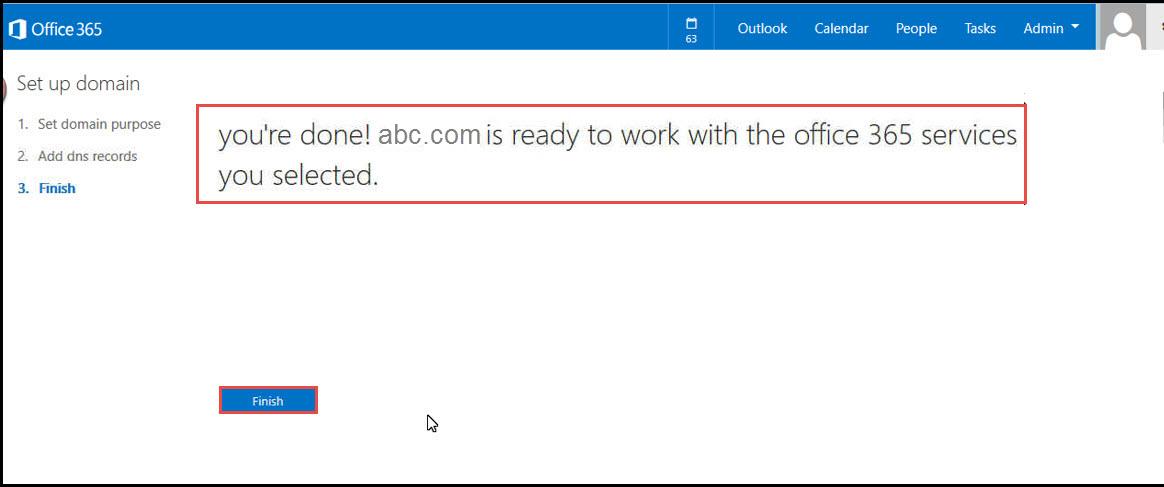
Click “Finish” to close the wizard.
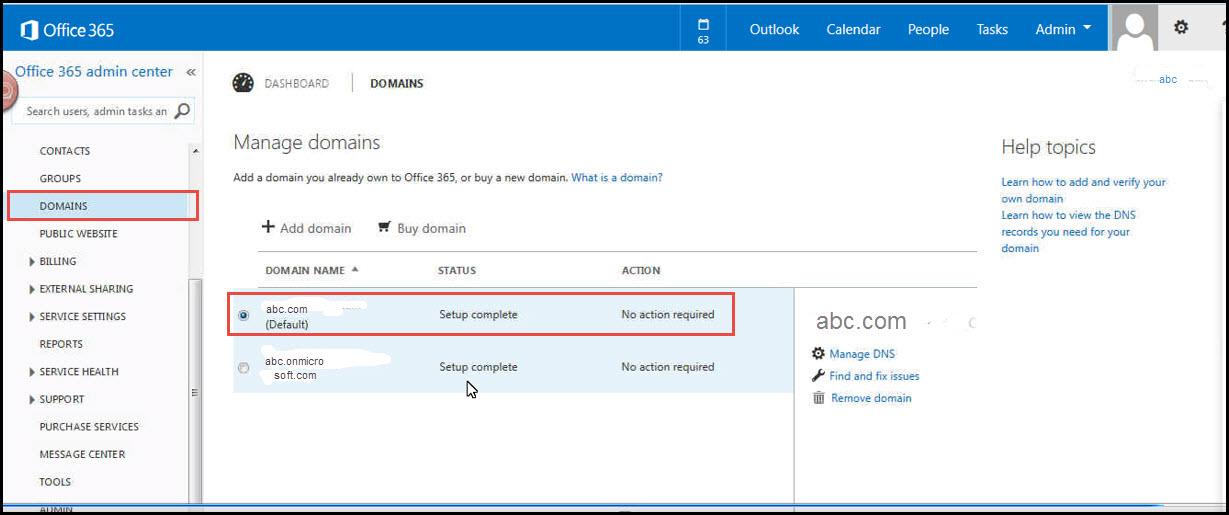
From “DOMAINS” tab, we can check the DNS change process status. If it’s complete or not.
In this way we are able to do changes in the Domain. Now all existing users are migrated to Office 365 and they can access their email accounts, by logging into outlook.office365.com or by configuring “Outlook” on their machines.
 (1)")