
How to change DNS entries in office 365 – Part II
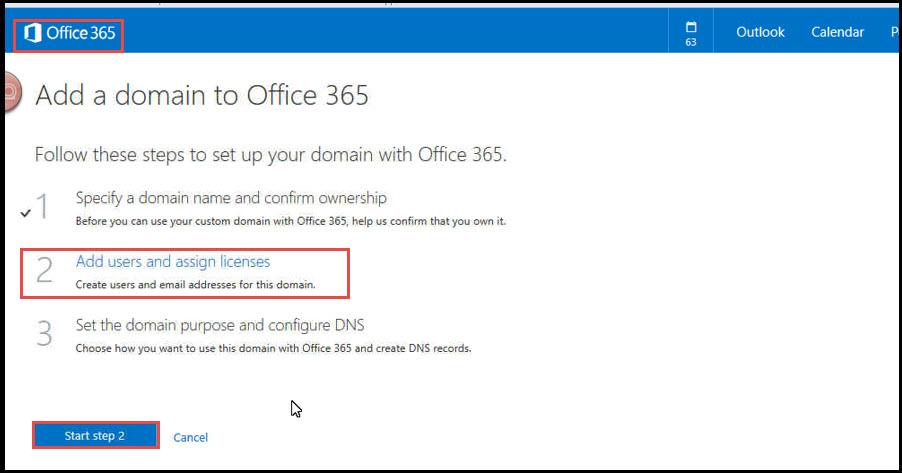
In this article, we will consider the second step of completing the migration to Office 365. In the first step we specified the domain and confirmed the ownership. Now, we will Configure step 2.
In this step we will – “Add users and assign licenses”.
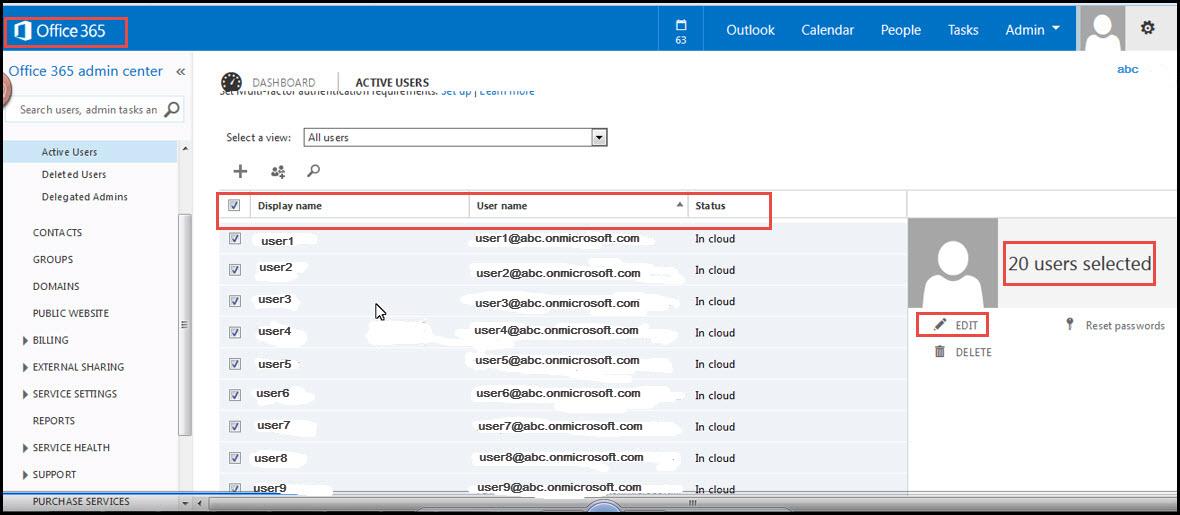
In Office 365, click on “Active Users”. It will show a listing of all the currently configured email accounts in your organization. All these accounts will have temporary ‘@’ part. Select all users and click on “EDIT”.
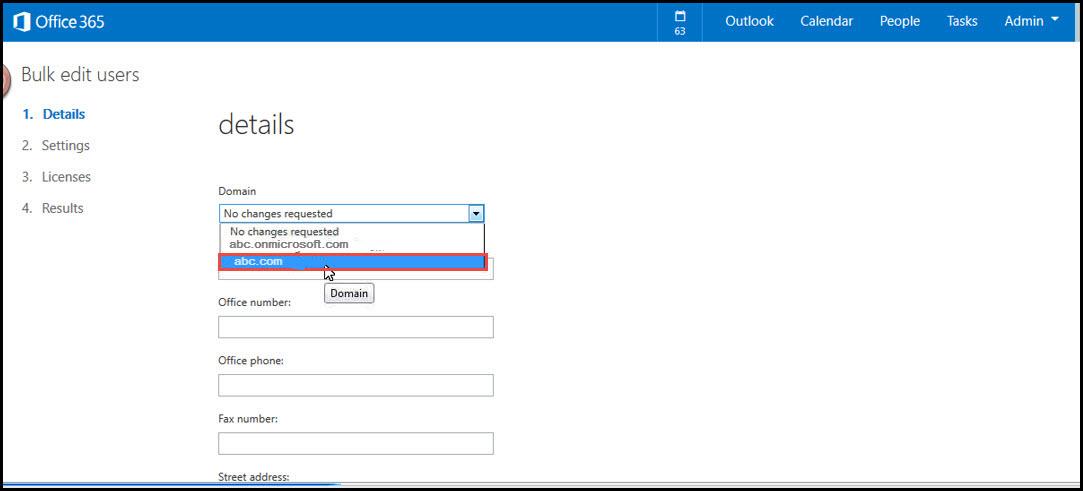
We will select the domain e.g. “abc.com”. Specify other contact information like phone number, fax number etc.
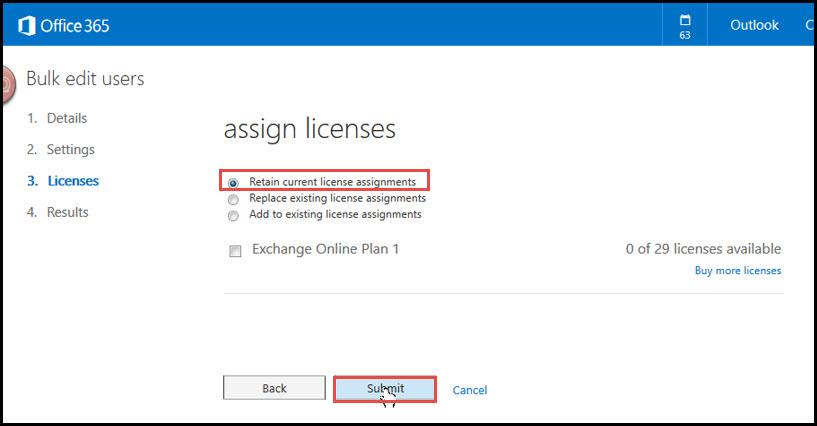
From the “Licenses” screen, select “Retain current licence Assignments”.
Click on “Submit”
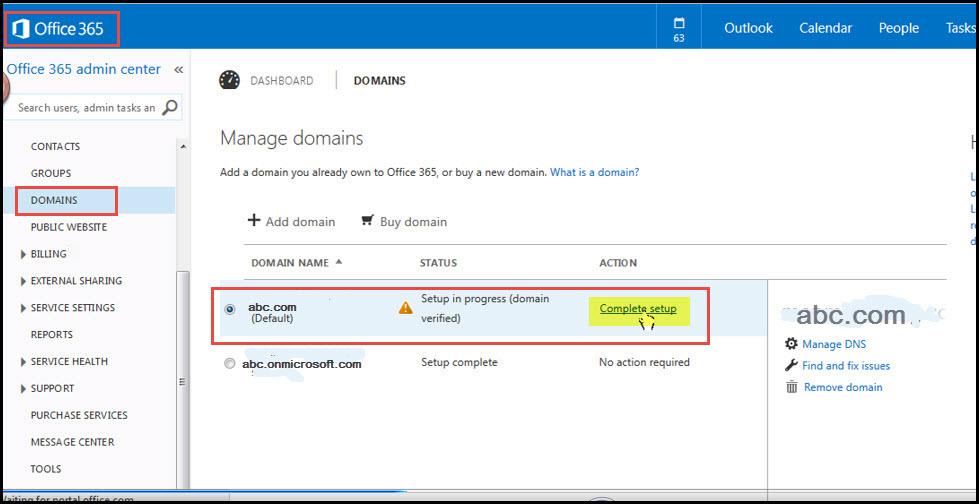
Now go to “DOMAINS” and complete the rest of the setup. Click on “Complete Setup”.
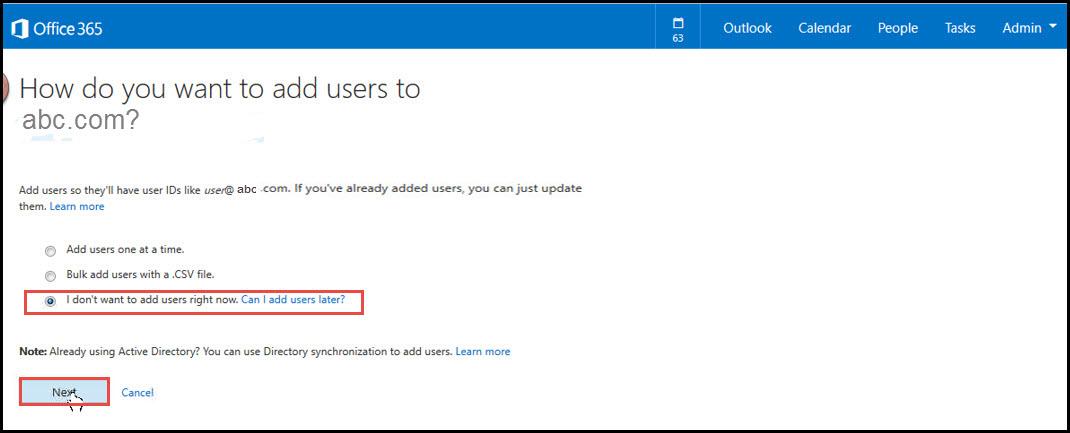
When the setup is complete, you will be prompted to add a user to the site, we will select “I don’t want to add user right now”. Click on “Next.
 (1)")