
How to Take backup or (export and import PST) files in outlook 2013
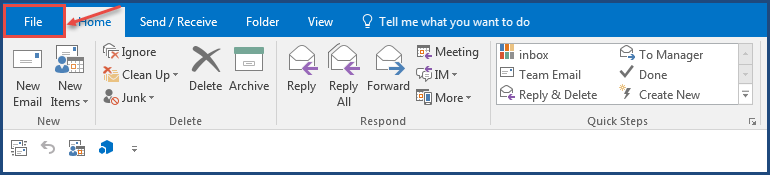
1.User can easily take backup of his files with outlook feature of Open and export, for this go to “File” feature of Microsoft outlook 2013 as shown in the image below:
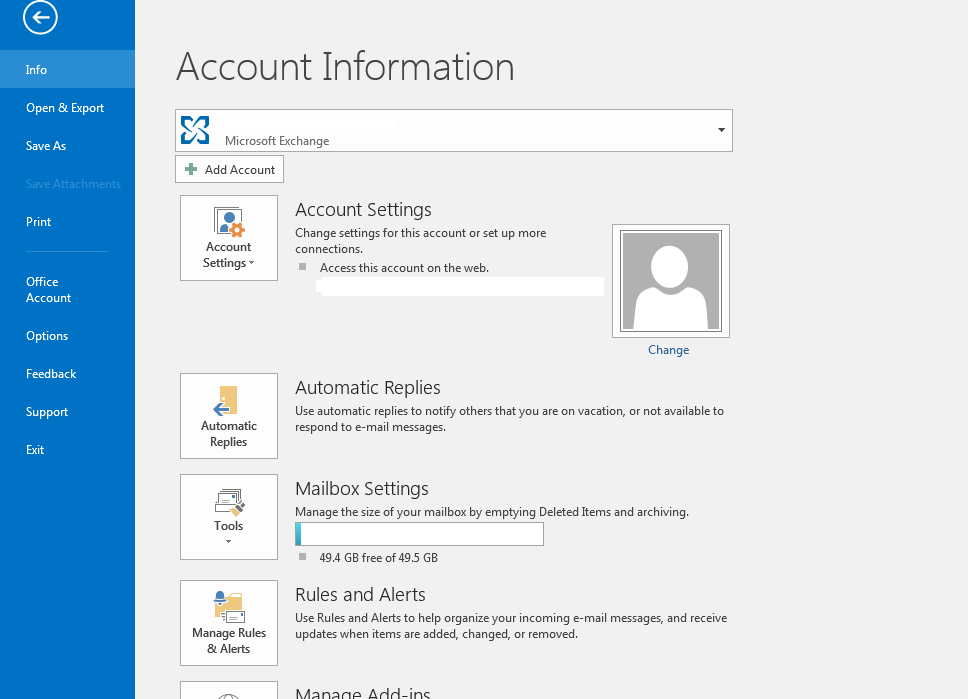
2. “File” feature will get the user to “Account Information” page that will look like as image shown below:
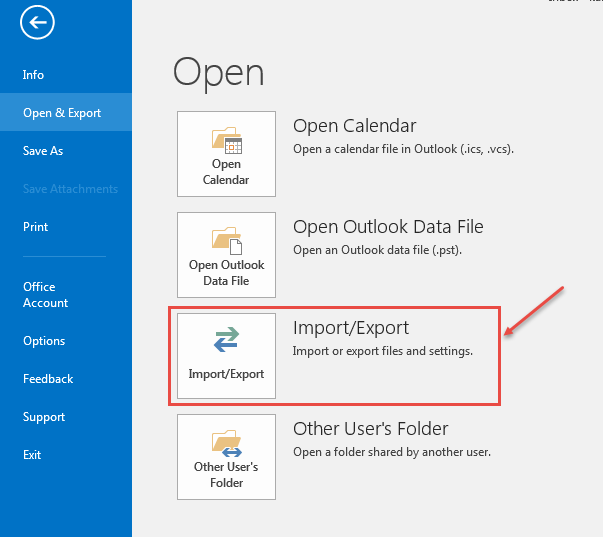
3.On this Account Information page, under “Info” tab click on “Open & Export” option as shown in image below:

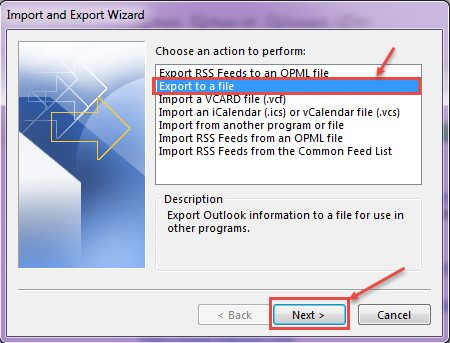
4.It will open “Import/Export” option as shown in the image below:
5.If a user wants to take backup of his data then he has to export his files to the desired location. For this, click on “Import and Export ->Export to a file” and click “Next”.
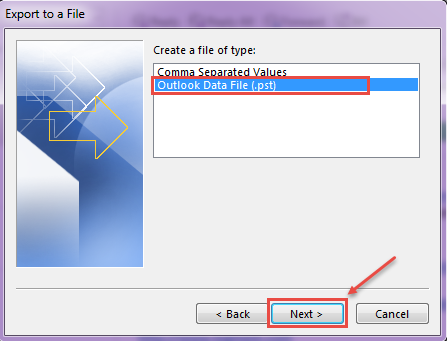
6.Next screen provides 2 options for the file format – “Comma Separated Values” or “Outlook Data File (.pst)”. We will select “Outlook Data File (.pst)” and click on “Next”.
7.Next screen will show all email data folders from which he can select any of the desired folder to export.
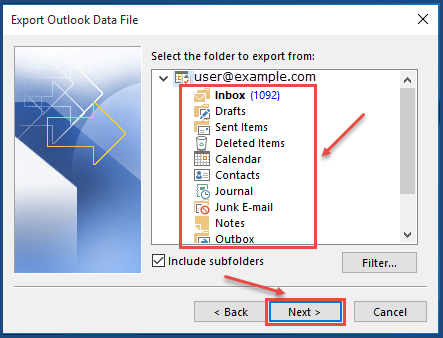
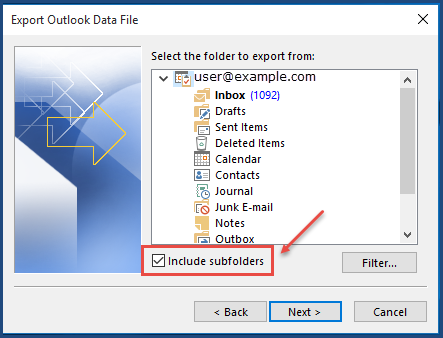
8.If user wants sub-folders of the folder then check the box “Include subfolders”, if not, then un-check the box (see the image below)
9. Next screen prompts to enter the path of the folder and file name for storing the exported content.
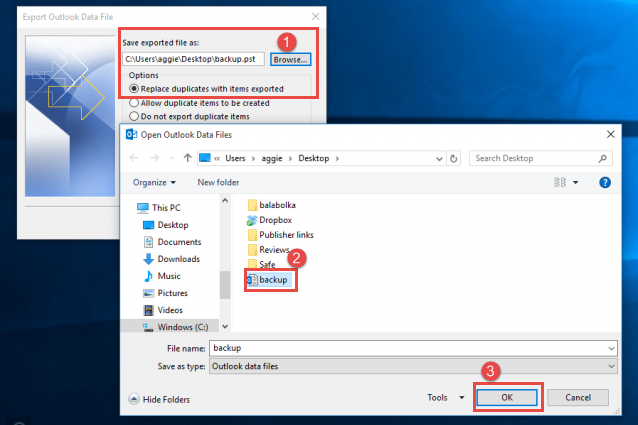
User can save the backup file on the cloud or like any other folder/file on his computer.
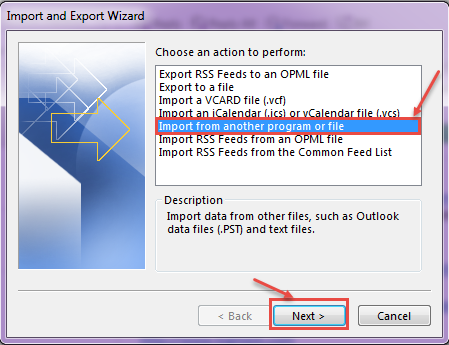
10.User can restore backup in outlook 2013. For this go to “File -> Open & Export ->Import/Export”, then select the option “Import from another program or file” and click “Next” (see the image below).
11.Next screen will prompt the user to select the type of file to be imported – “Comma Separated Values” or “Outlook Data File (.pst)”. Choose the type of your import file and click “Next” as shown in the image below.

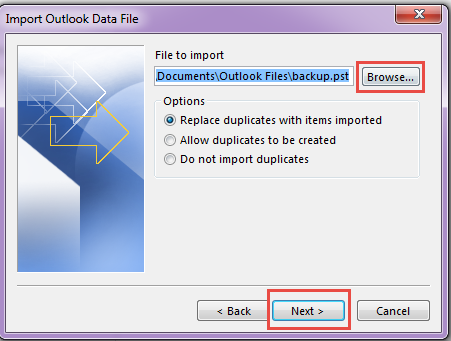
12. Next, specify the path/location of the .pst file to be imported. To manage duplicates, you can choose either of these options – “Replace duplicates with items imported” or “Allow duplicates to be created” or “Do no import duplicates”, depending upon your choice/requirement.
13.Next, select the folder you want to import into an outlook 2013, see the steps in image below:

If user has given any password then he has to fill that first to upload files, then click on finish after all the desired options are selected. After all these steps, user can find his imported folder in Microsoft Outlook 2013. To know how to compact PST files in Microsoft Outlook 2010, click here.
 (1)")