
How to create a Personal Folder (.PST) in Microsoft Outlook 2019
Microsoft Outlook 2019 Desktop App creates a Personal Folder file (.pst) whenever you add a POP3, IMAP, or HTTP account. This file is saved on your computer’s hard disk instead of the server. We create additional personal folder (.PST) files to store archived emails, project files, and/or the backup of the existing folders in the Microsoft Outlook 2019 Desktop app. These (.PST) files are accessible exactly as any other folder in Outlook – using the folder menu. The default size of PST/OST files in Microsoft Outlook 2019 is 50 GB, which can be extended to 100 GB. But for practical purposes, Outlook gets sluggish when the size increases to more than 2GB. So, the need to add a PST file is even more – to efficiently access your emails using the Microsoft Outlook 2019 Desktop app.
To create a personal folder in Microsoft Outlook 2019, follow these steps: –
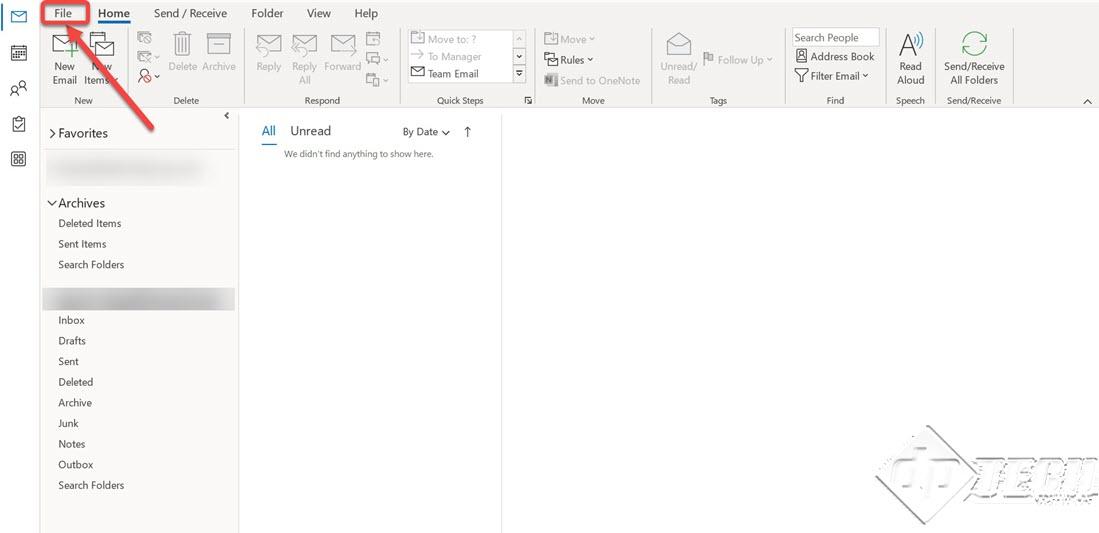
- Open Microsoft Outlook 2019 Desktop app and click on the ‘File’ menu.
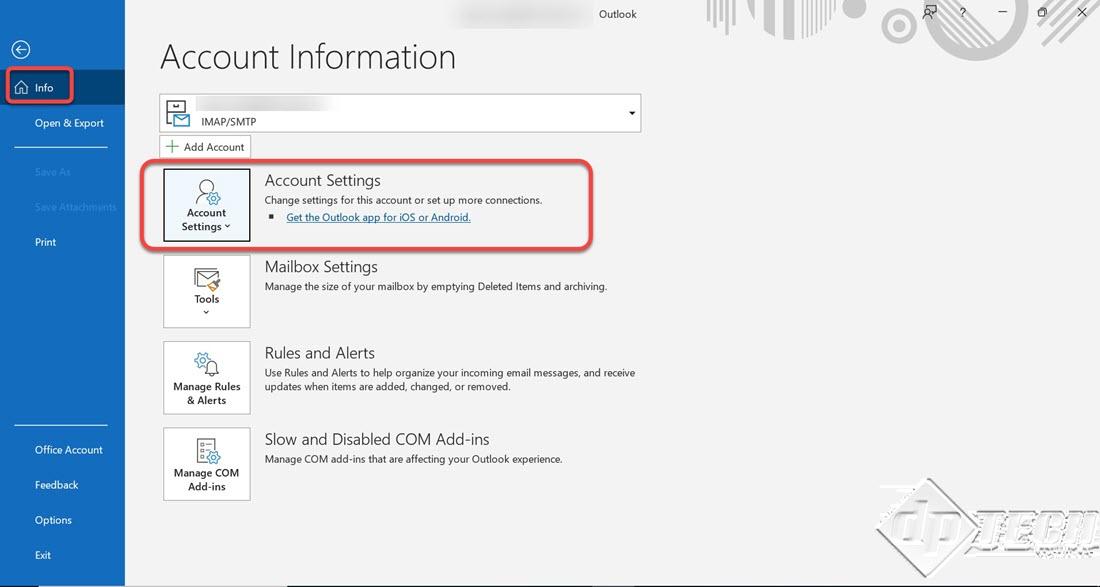
- From the ‘Info’ tab, click on ‘Account Settings’ and from the drop-down menu, again select ‘Account Settings.’
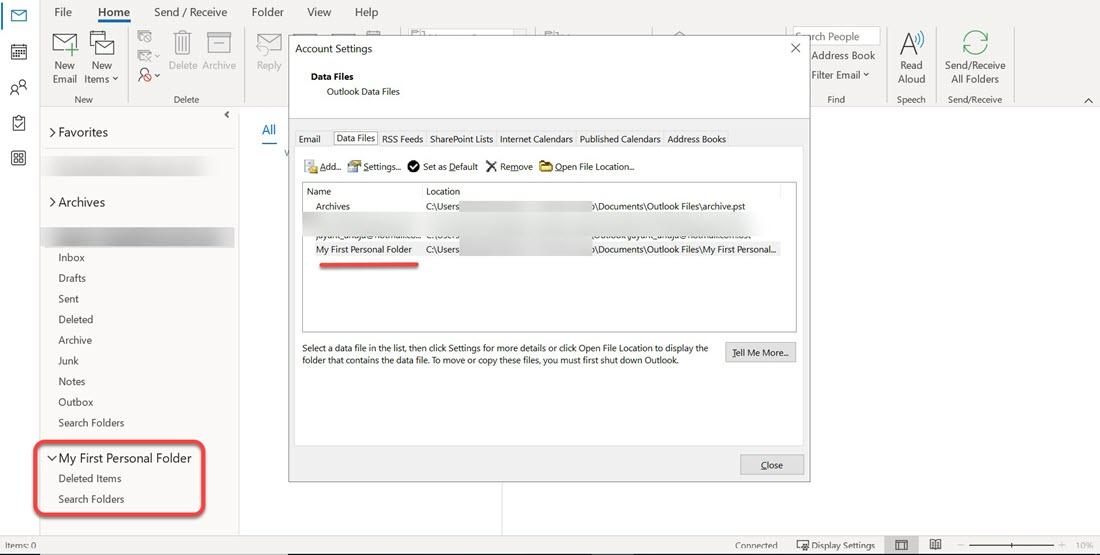
- From the ‘Account Settings’ dialog box, click on the ‘Data Files’ tab and click on ‘Add…’, as shown in the image below.

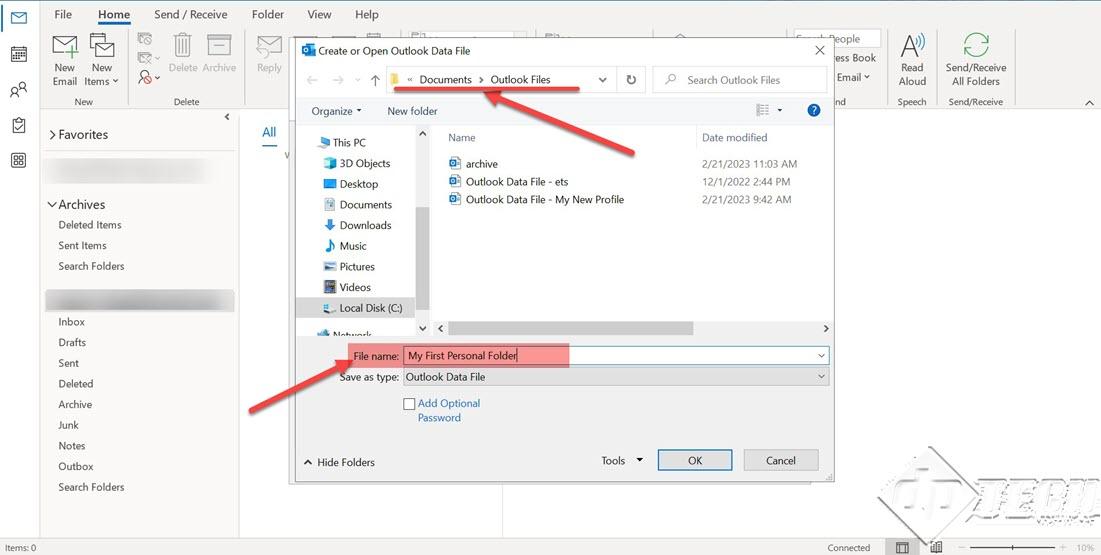
- When you click on ‘Add’ – the ‘Create or Open Outlook Data File’ dialog box appears. Navigate to the desired location where you want to save the file on your computer and specify a filename.
- You will see the new file in the ‘Data Files’ tab and a folder is created in your Microsoft Outlook 2019 desktop app, as shown in the image. The new folder created by default has 2 sub-folders – ‘Deleted Items’ and ‘Search Folders’.
- Once the folder is created, click on the desired email/folder you want to move this newly created PST file. We have selected an email to be moved to the new (.PST) file. You can also copy the same instead of moving.
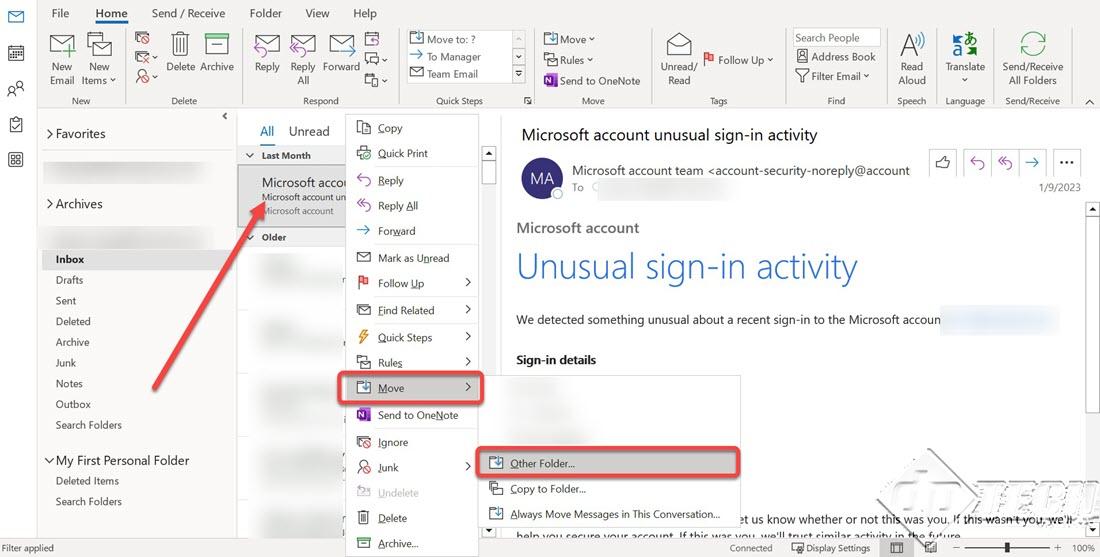
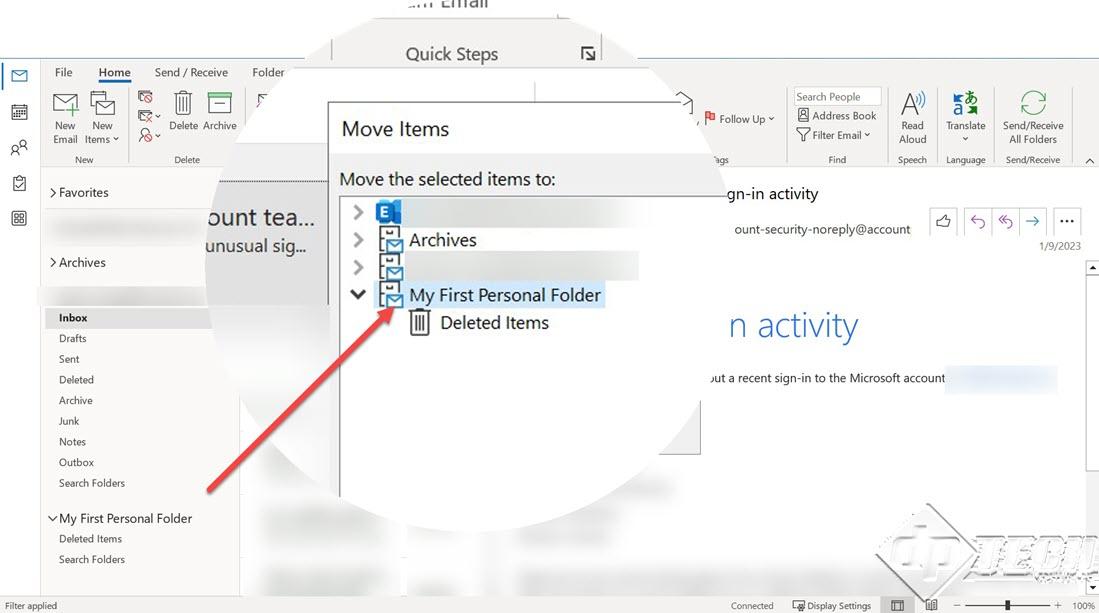
- In the ‘Move Items’ dialog box, traverse to the PST folder created and click on ‘OK’.
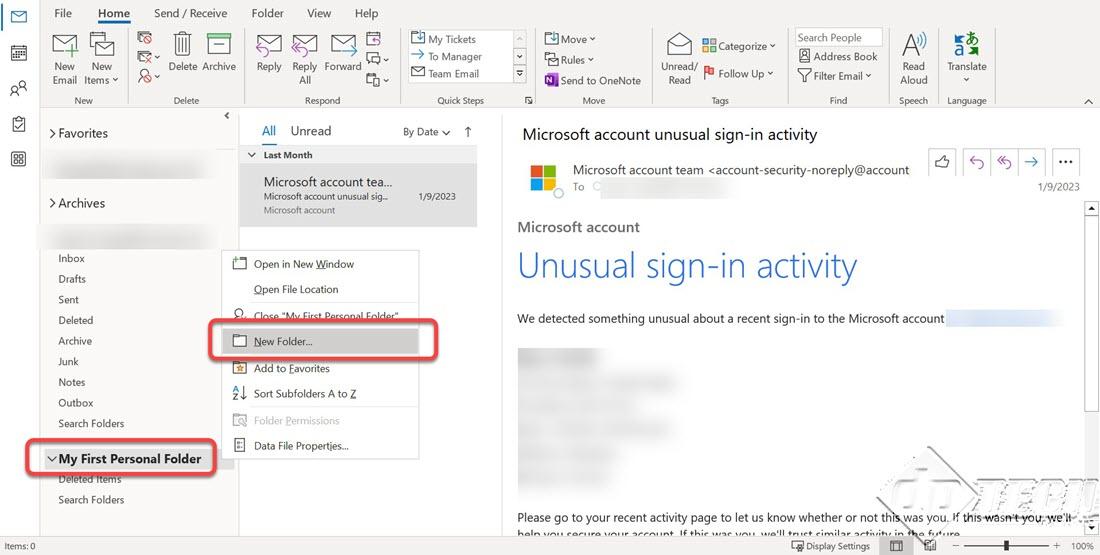
- You can then check the selected email moved to the new folder created. For ease of management, you can create multiple sub-folders within the new folder created. Refer to the image below for details.
Thus, by adding new PST files, you can easily manage your email messages creating a separate folder for different projects/clients, etc. For managing the PST files, click on this link to check the knowledge base.
 (1)")