How to create follow up flag and color category in Microsoft Outlook 2013.
Flagged email messages help you better manage your email.s When you apply a flag to a message or a contact in Microsoft Outlook, it gives you a visual reminder to follow up on it in some way. You can use flags with default dates, such as “Today”, “Tomorrow”, and “Next Week”, or customize your flags with specific dates.
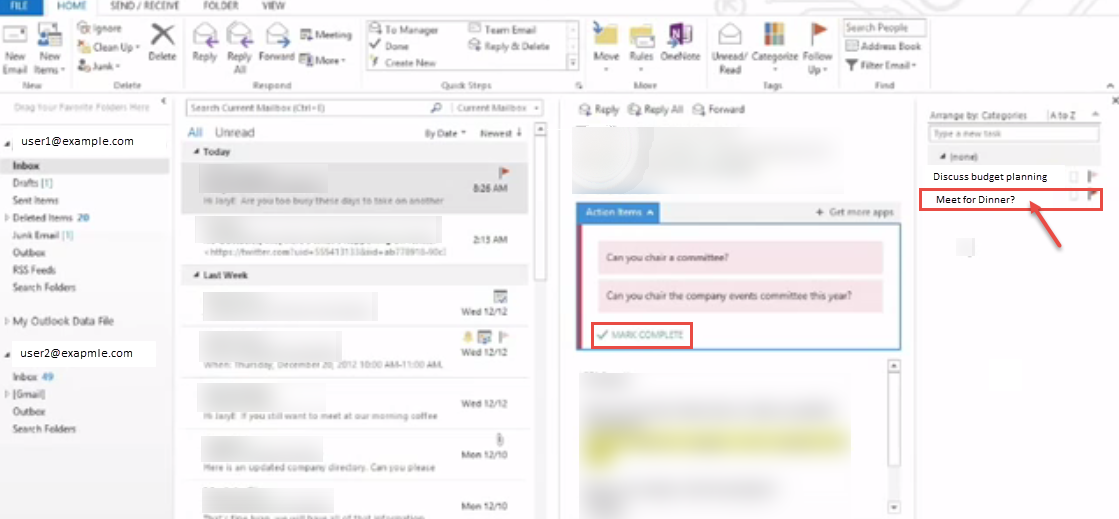
- When a message is flagged, a flag appears for that message in the message list. You can see the image below.
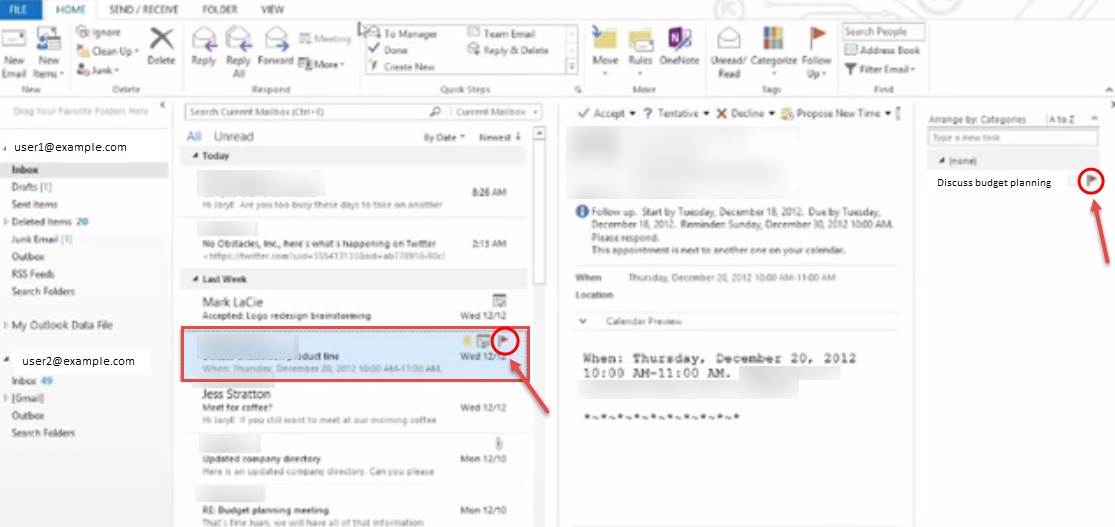
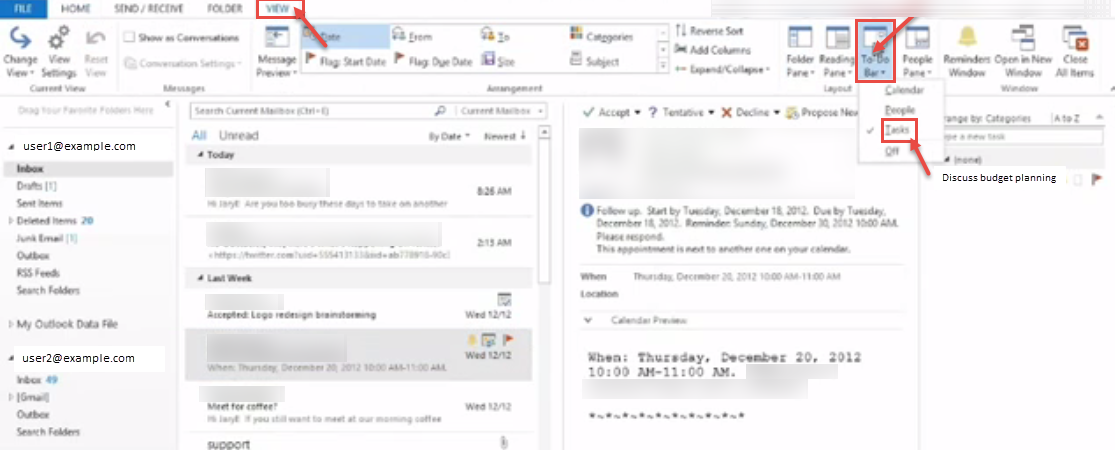
- A flagged item also appears in the “To-Do Bar”, the “Daily Task List” in calendar, and in the “Tasks” view.
- If flag a message, then you assign an email. You can see action items in this E-mail. Right click on the arrow and click on follow up flag. It displays mark complete message on your screen after clicking follow up.
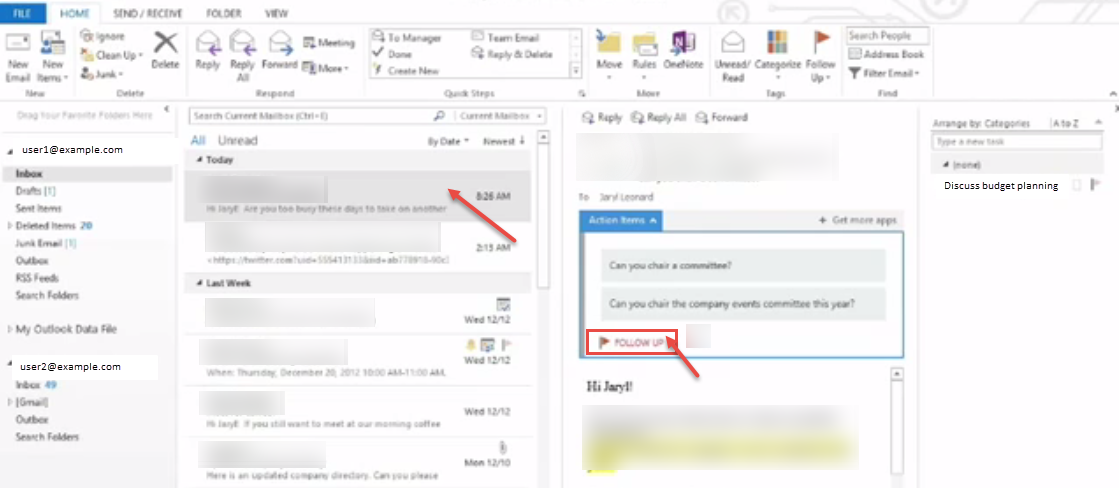
- Now, you can see item add with flag on right side.
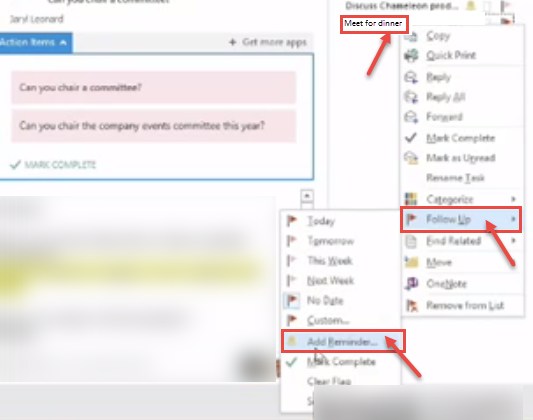
- If you want to be reminded to take action on a flagged item, you can add a reminder. Right click on new item and select the “Follow Up” menu. Click “Add Reminder”.
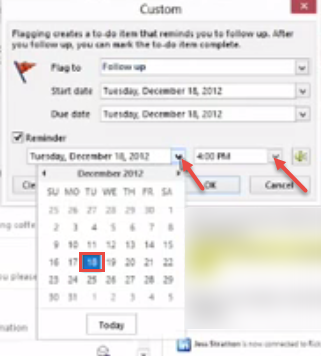
- In the Reminder list, click the arrow, and then select the date when you want to be reminded and then select the time of day to be reminded. You can also select other information for the item in the “Start date”, “Due date”, and “Flag to” boxes.
- To select the “Mark Complete” option. Right click on the item on the right side. Click on “Follow Up” and select “Mark Complete” option in drop-down list.
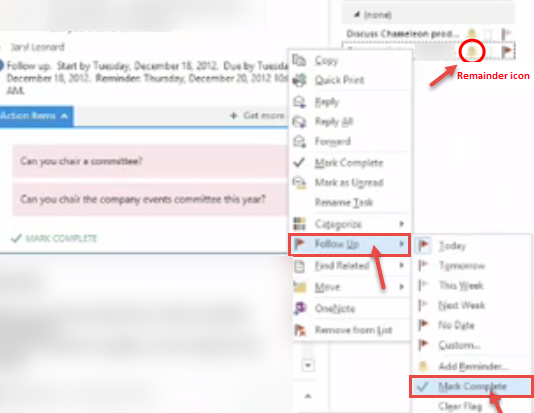
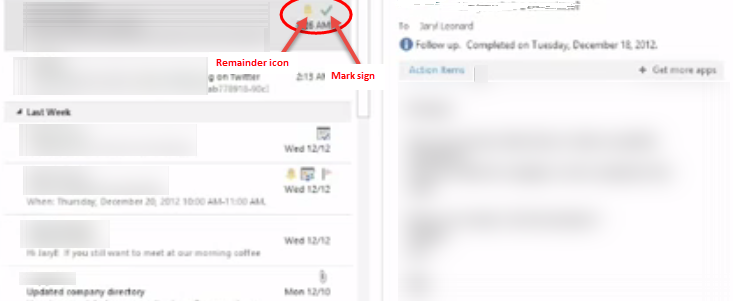
- Now, no action is required to classify the E-mail. You can see in following image in which remainder icon and mark complete sign display you want to perform all action for email.
- To create color category, first click on the “Home” tab. In the “Tags” group, click “Categorize”, and then click on “All Categories”.

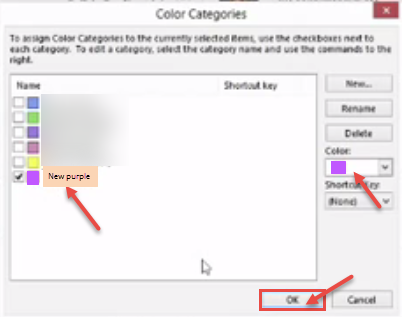
- “Color Categories” dialog box appears on your screen. Click “New” button and “Add New Category” dialog box is displayed and type the name of category in the dialog box. Select “Color” in drop-down color list. Click “OK” to close the dialog box.
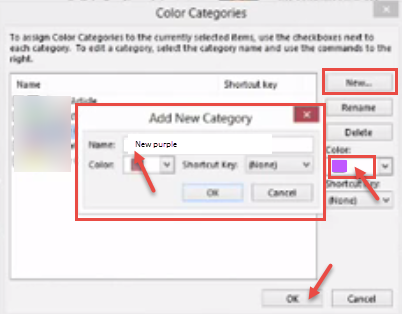
- If you want to assign a keyboard shortcut, under the “Shortcut Key”, select a shortcut. Again click on “OK” button. If you want to create a distribution list in Microsoft outlook 2013, Click here to know the process.
