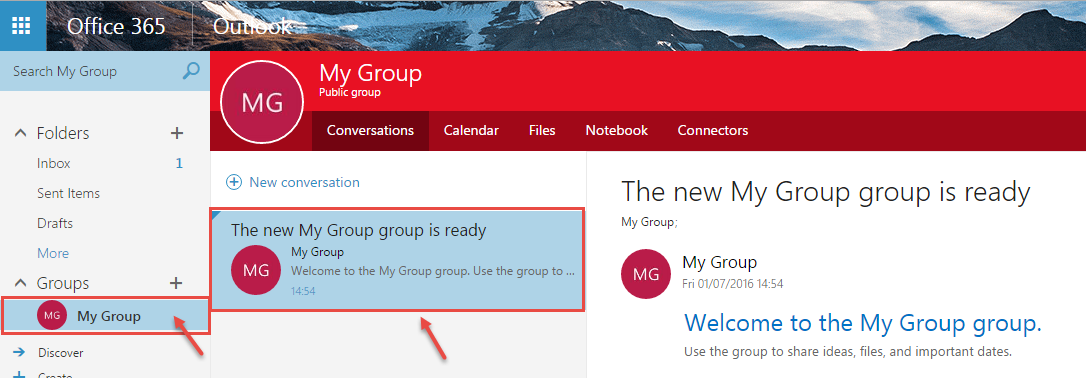
Managing contacts with People app in Microsoft Office 365
- Sign into Microsoft Office 365.

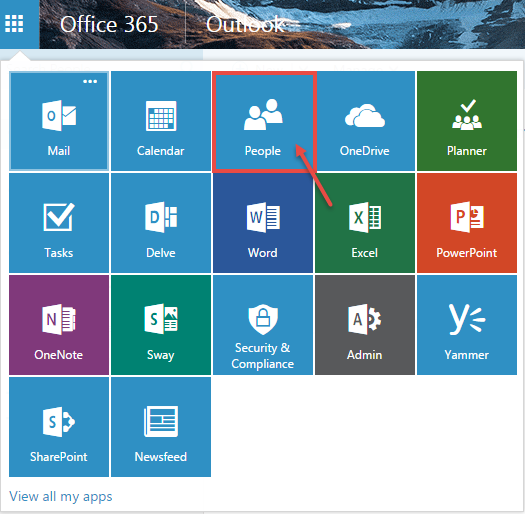
- From the App Launcher, click on “People”.
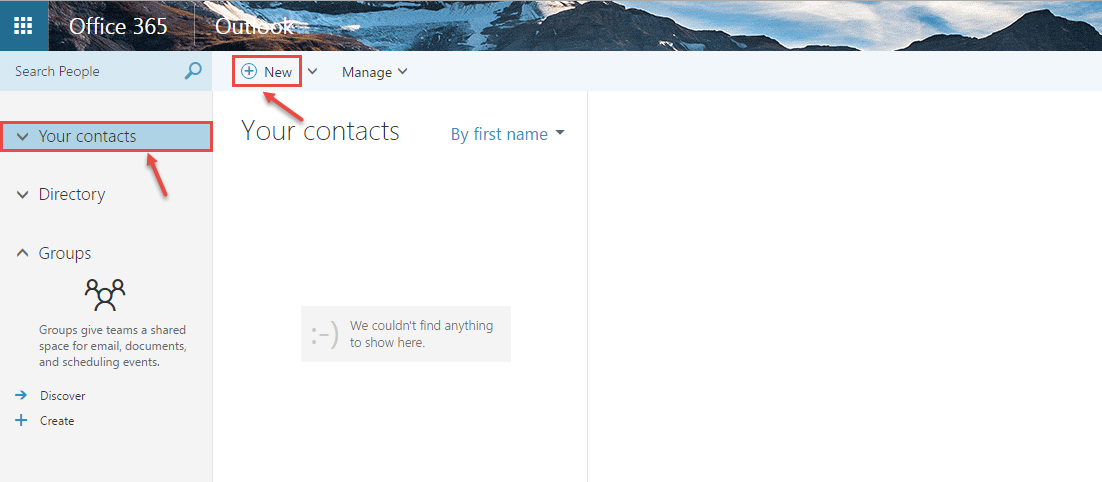
- A screen will appear, similar to the screenshot below. You can manage your contacts here. Let’s start by adding new contact. Click on “New”, as shown in the image.
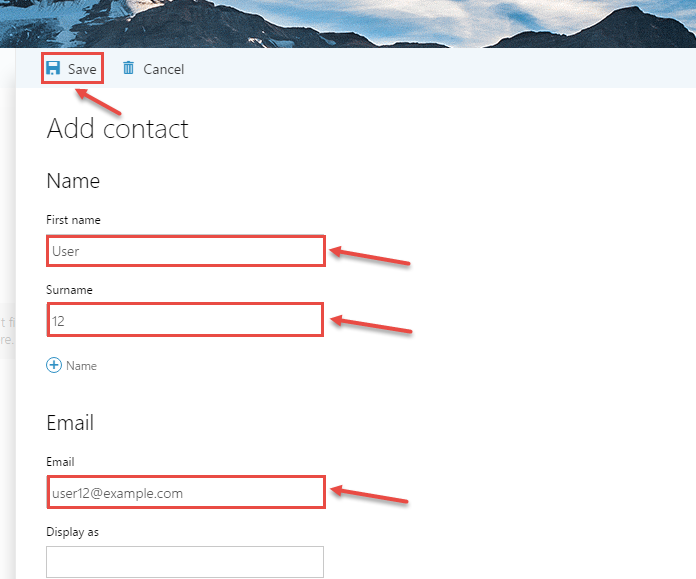
- Now, fill required information for your contact in the dialog box like name, email address, phone number etc. Click “Save”.
- You will see the new contact, in your contacts lists.
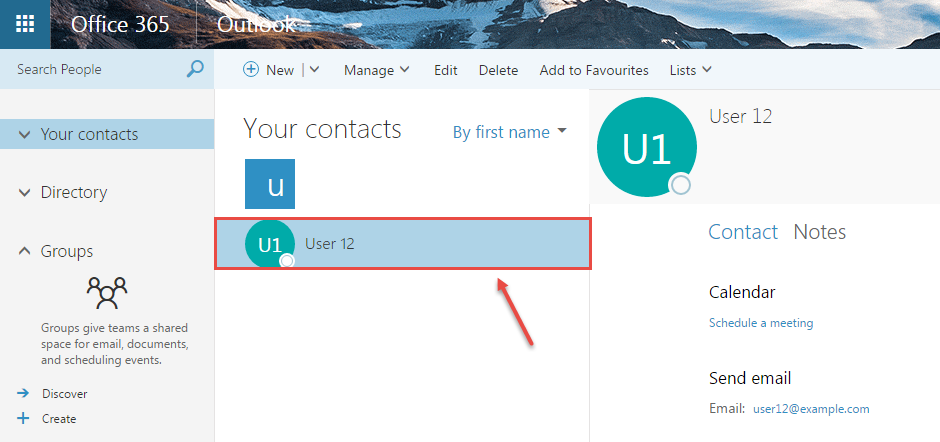
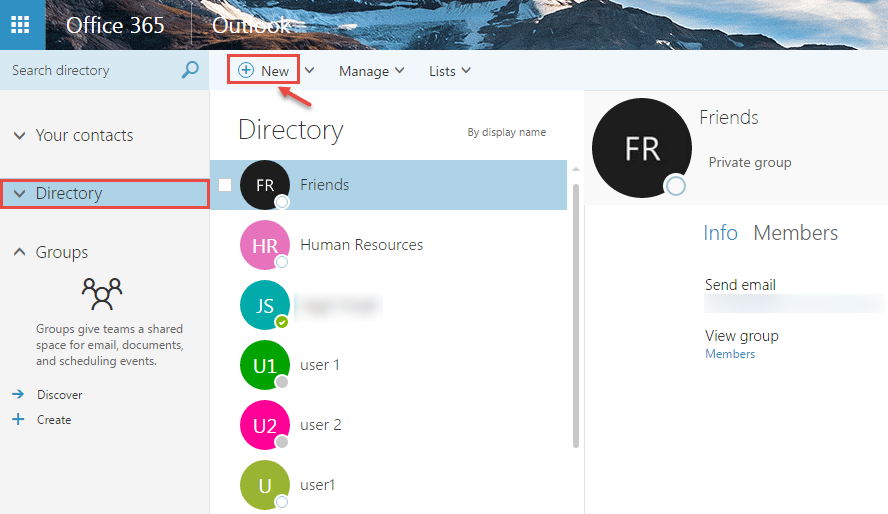
- You can also add contacts by searching them in the directory. Click on “Directory” in the left and follow the steps 1 till 5.
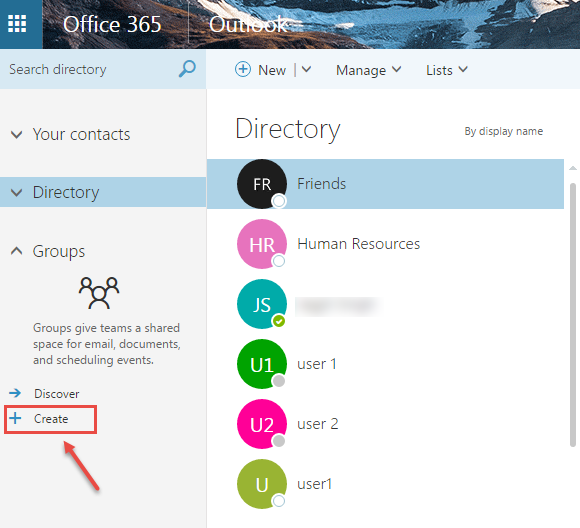
- For creating a group, click on “Create” option.
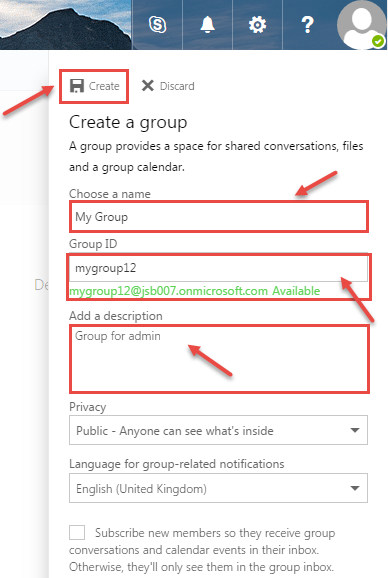
- Fill the details of the group like name, group ID (depends upon the availability of same in the directory/domain). Specify the description and the “Privacy” level. Specify the language and the subscription level for the members, used for sharing Group activities with them. Click on “Create” to save changes.
- Group created will be displayed on your screen.
