
How to work with OneNote online in Office 365
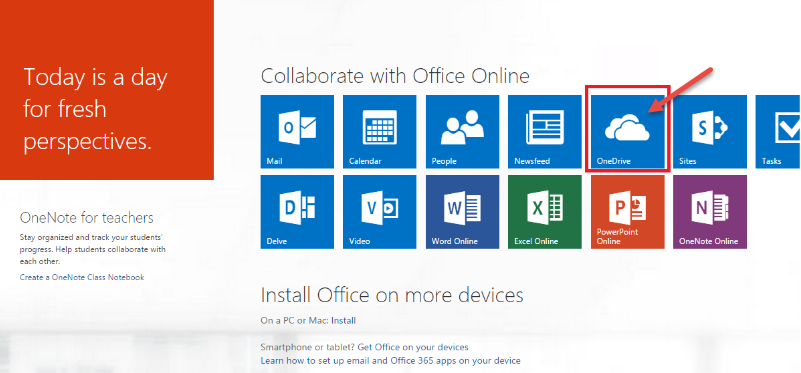
- Log into Microsoft Office 365. Select “One Drive “ from the “App Launcher”, as shown in the image.
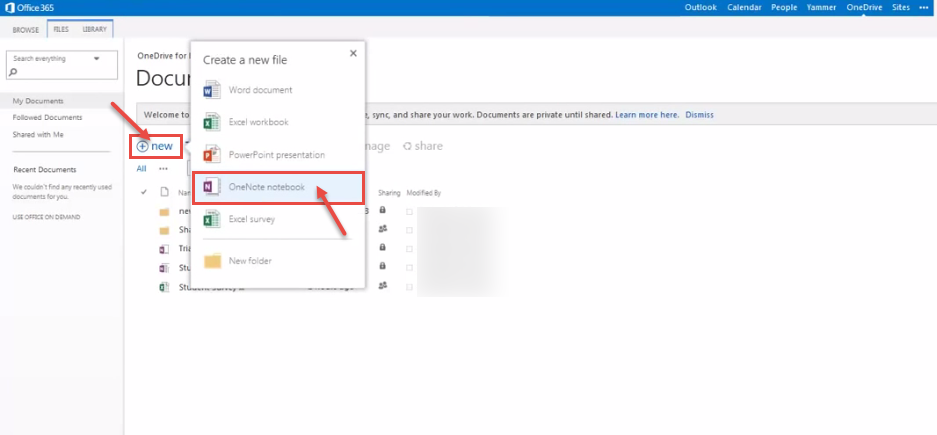
- Now, you can view One Drive window on your screen. Click “new” and select “OneNote notebook” option.
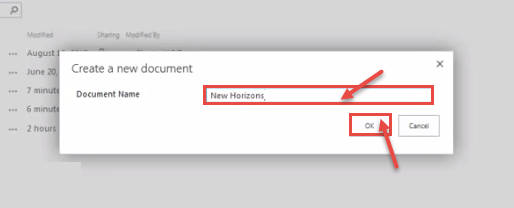
- Specify the name for the new document and click “Ok”.
- “OneNote Online” window appears on your screen. Add “sections” in the current page or any number of pages, as per the requirement. The OneNote document is automatically saved by Office 365. Once you are done with editing the document, wait for the changes to be saved. Check for “Saved” message at the top-right under the Ribbon.
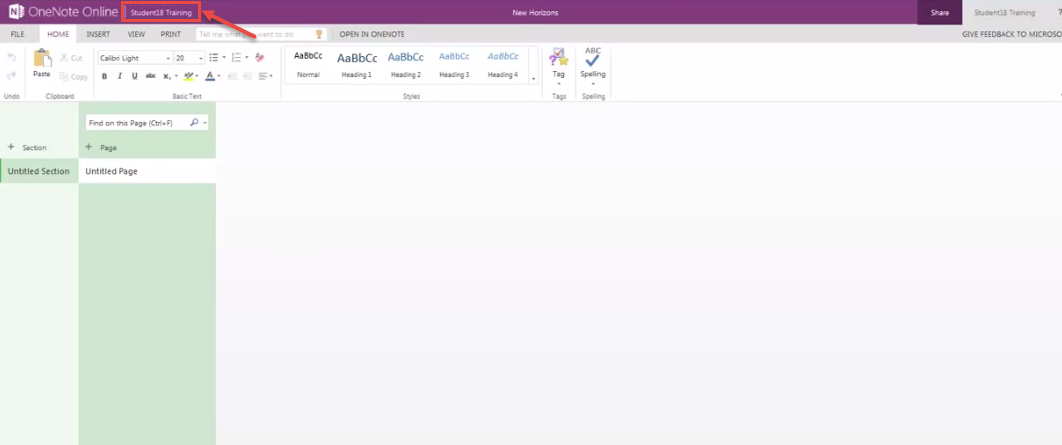
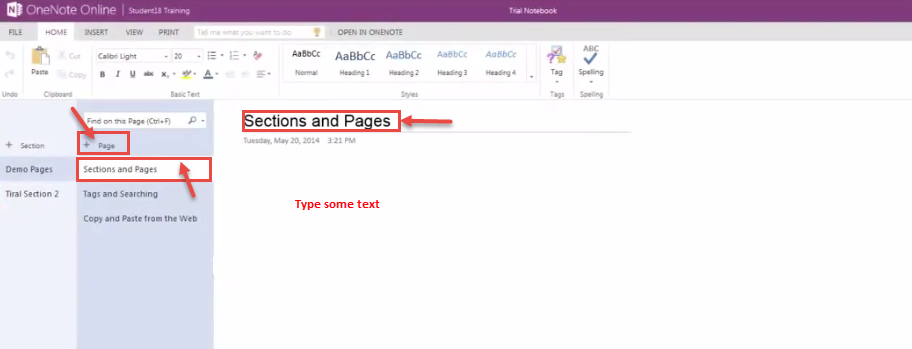
- In the opened document, type your notes in your browser. On the left side of the screen, in the column of page tabs, choose “+ Page“. Type a page title into the heading area at the top of the page (refer image below), and then press Enter.
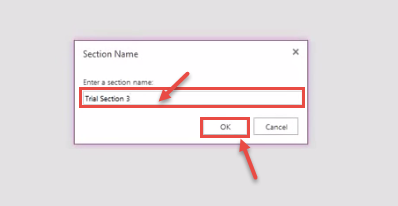
- You can add as many sections as you want. On the left side of the screen, ubthe column of section tabs, choose “+ Section“. In the Section Name dialog box, type a meaningful description for the new section, and press OK.
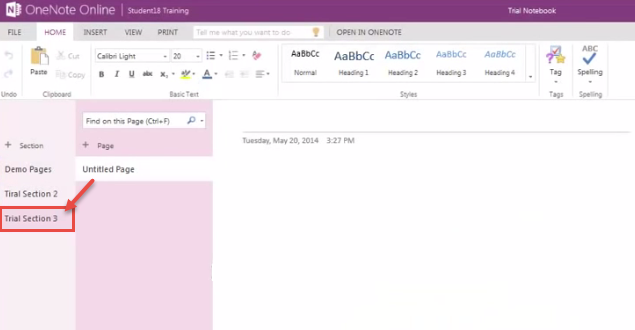
- “Trial Section 3” in section lists, you can see in following image.
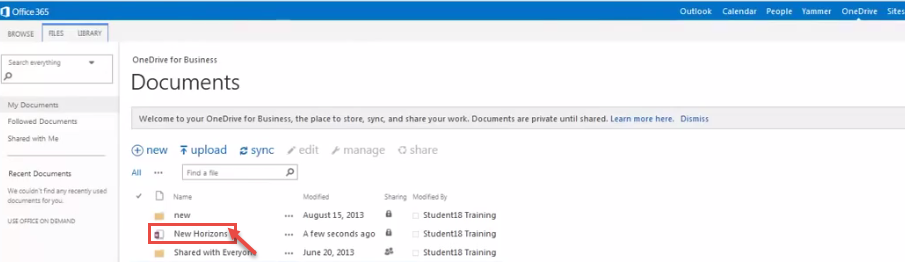
- If you navigate to “One Drive“, you can view the document(s) created by you.
 (1)")