
How to create a Mail transport rules in Microsoft Office 365.
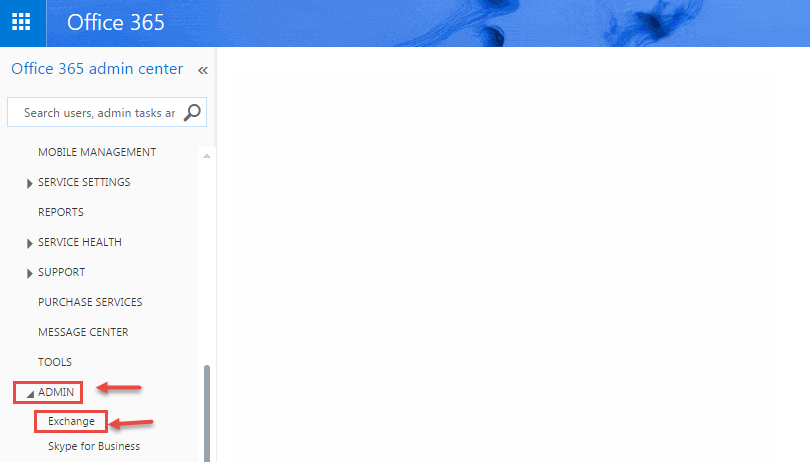
- Log into your Office 365 Admin portal and go to Exchange administration (“ADMIN” -> “Exchange”), as shown in the image below.
- Go to “mail flow” section.

- Under “rules“, click on “+” button and select the option “Create a new rule…“.

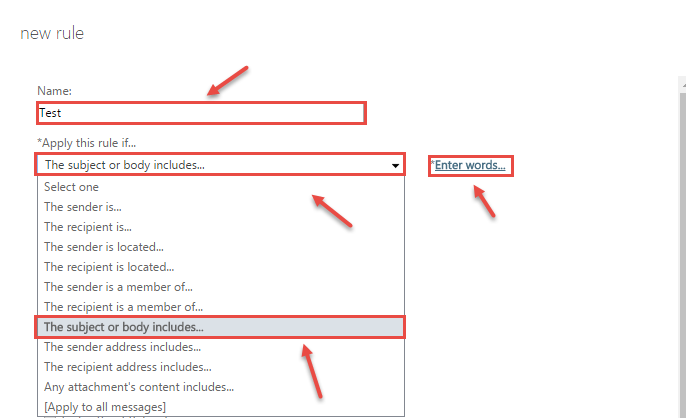
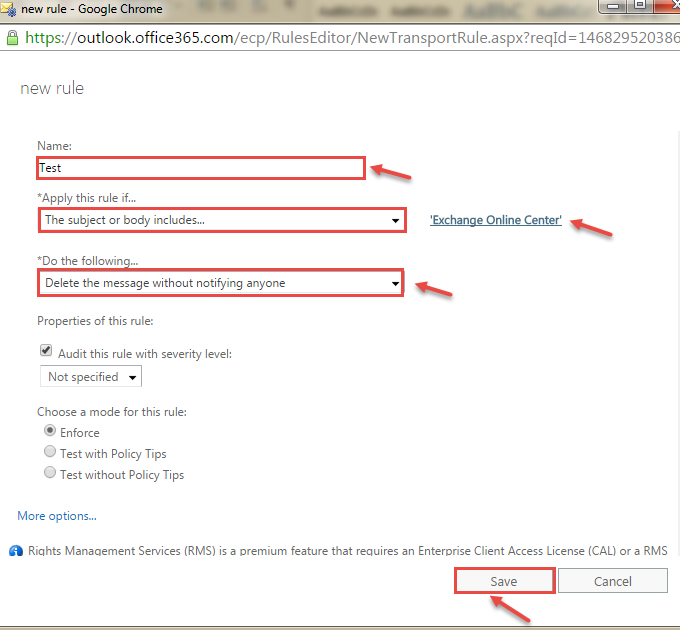
- The new transport rule window will be displayed. Give the name for transport rule in Name dialog box. Select the condition to apply this rule, from the drop-down. In following image, we selected “The subject or body includes…” rule.
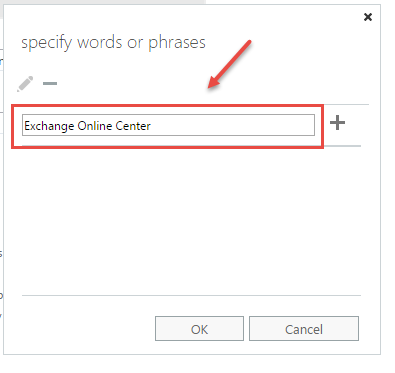
- Enter the keywords you want to filter in text dialog box, as shown in the image below.
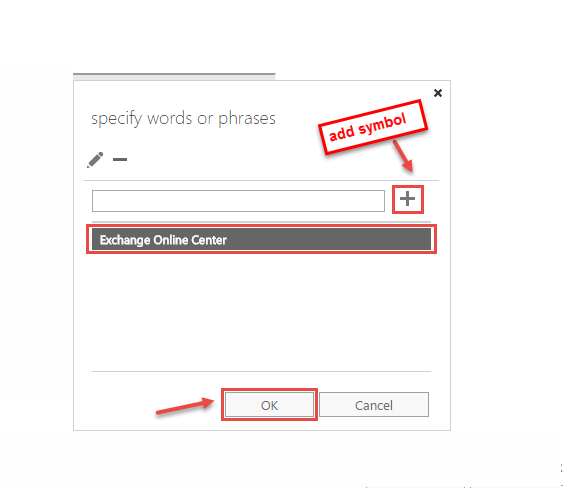
- Click on Plus (+) symbol to add desired keywords and click “OK“.
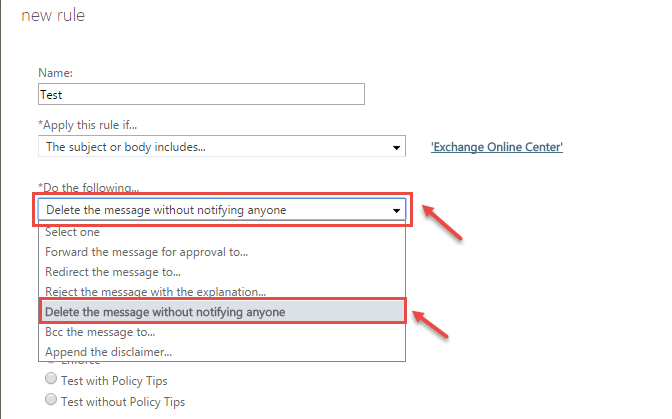
- Next step, specify the action, if the condition is satisfied. From the “Do the following…” drop-down, choose any option like “Delete the message without the notifying anyone“.
- Select the Audit level and the enforcement level for the rule. Click on “Save” to save the changes.
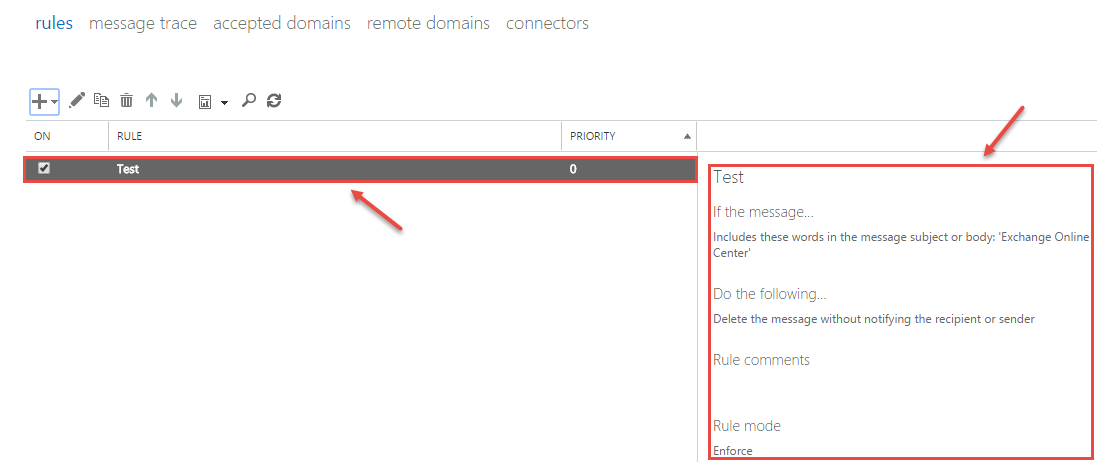
- Now, you can see the rule created along with it’s description on your window screen.
 (1)")