
How to configure spam filtering in office 365 Exchange online.
- Log into Microsoft Office 365 portal.
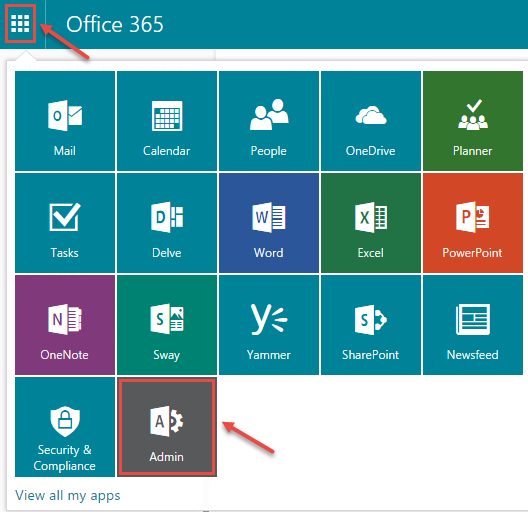
- Click on “App Launcher” in the upper left corner and select “Admin”.
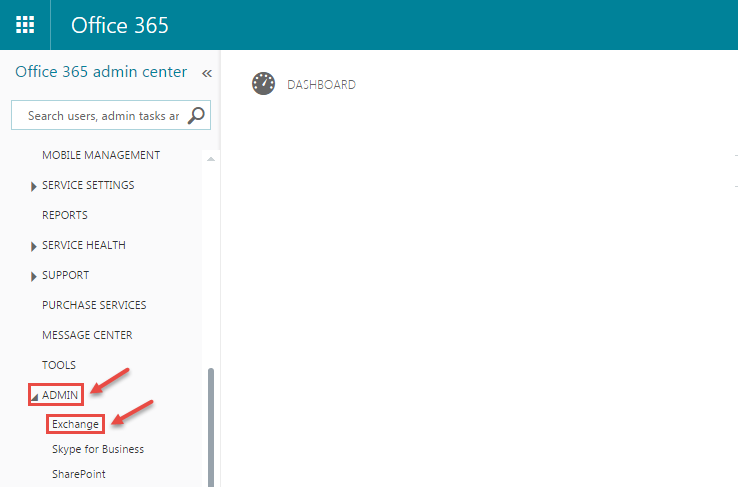
- Office 365 Admin Center window will open. Select “Exchange” under “ADMIN”. Refer image, below.
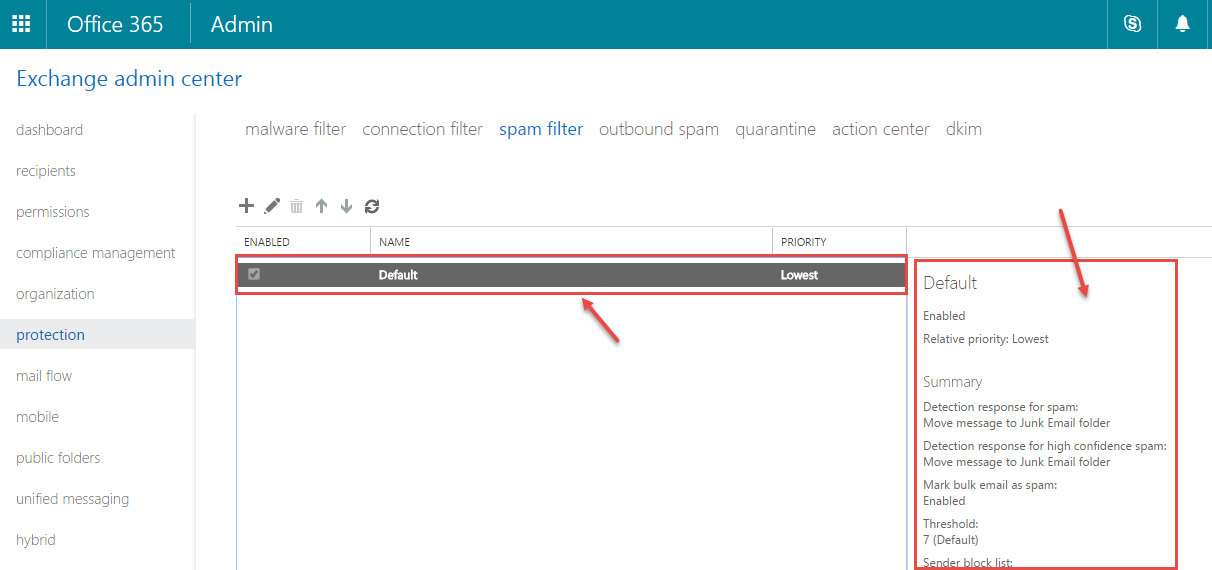
- In “Exchange admin center”, click on “protection” and select “spam filter”.
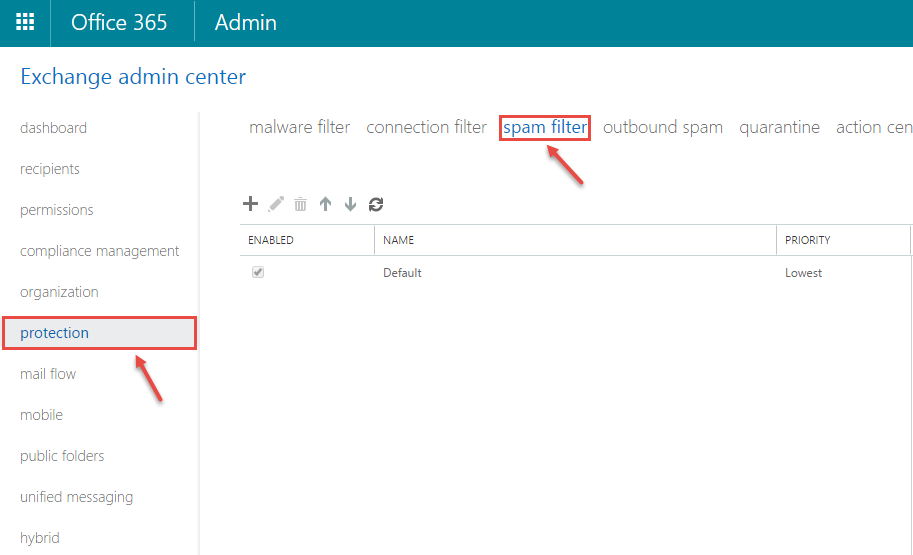
- Now, click on “Default” spam filter policy.
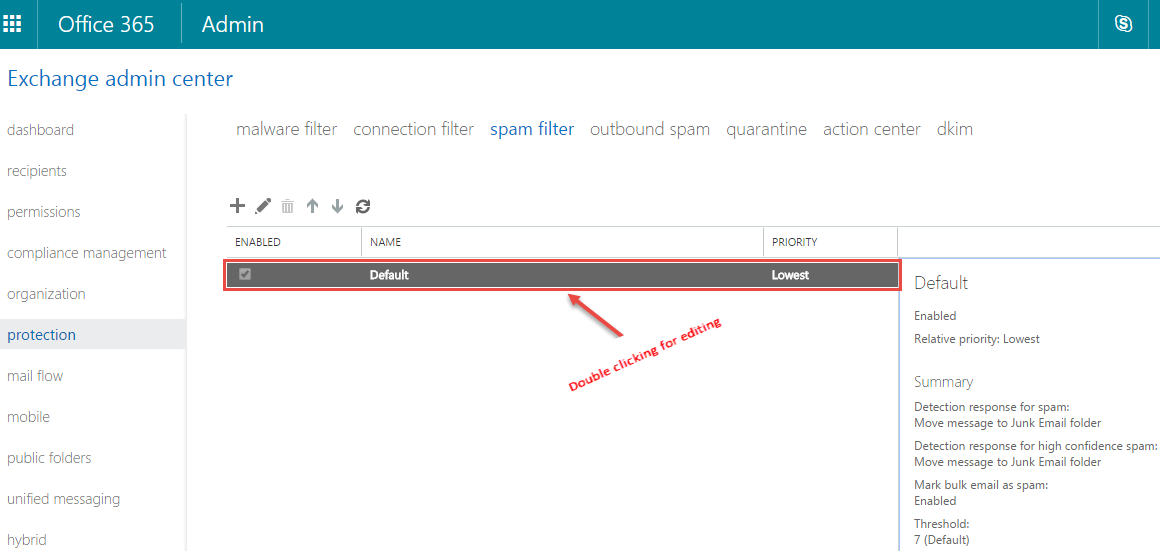
- If you want to edit summary for this, double click on name. Following screen will appear.
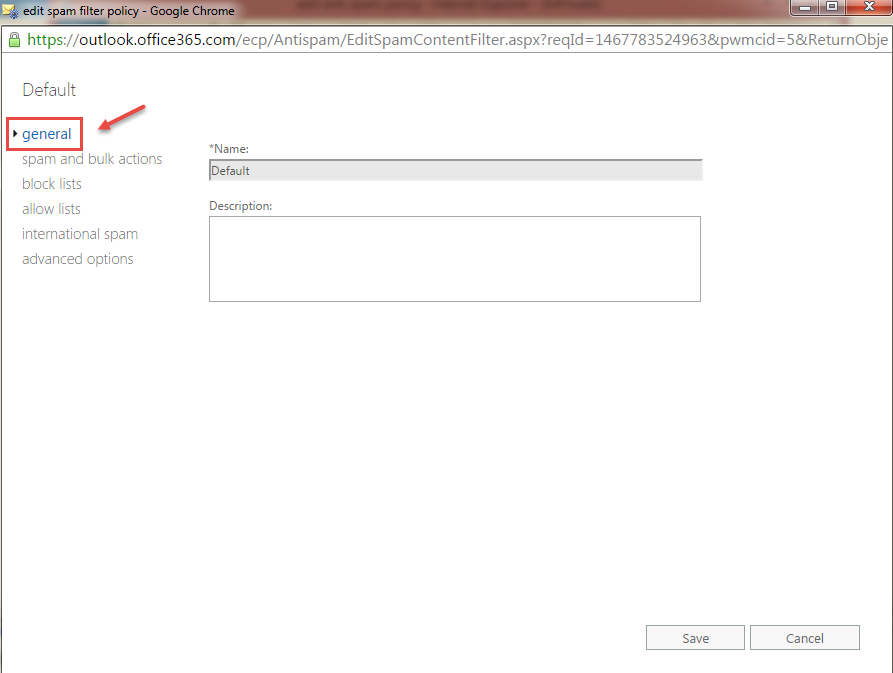
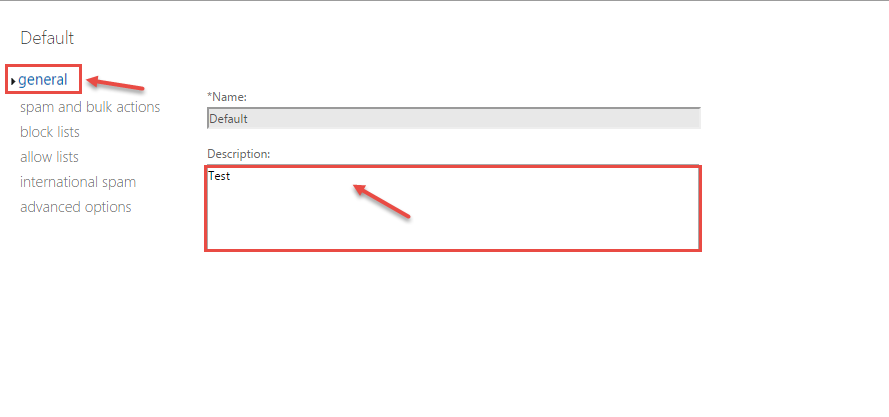
- In general, name is “Default” and description box is empty. Specify the descriptive text here and click on “Save”.
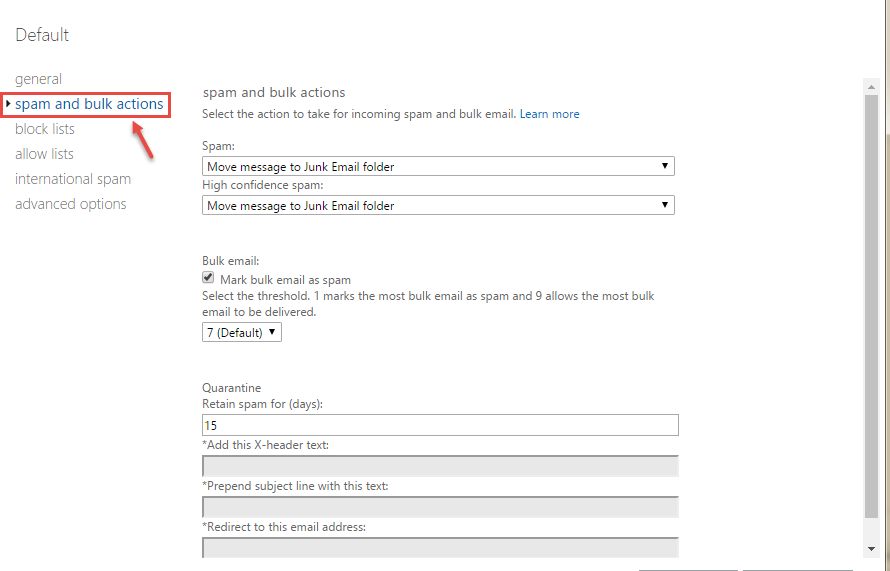
- Configure the options under “spam and bulk actions” as per your requirement.
- Under “block lists”, you can add individual email-id(s) to be blocked to blocked or the entire originating domain. Click on (+) sign.
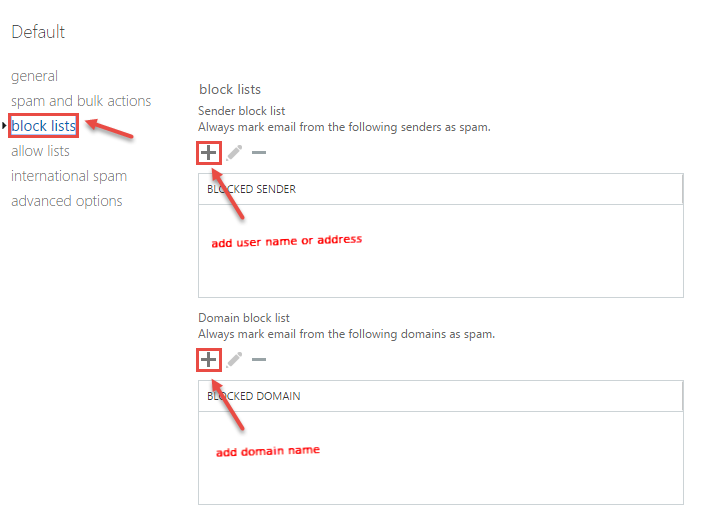
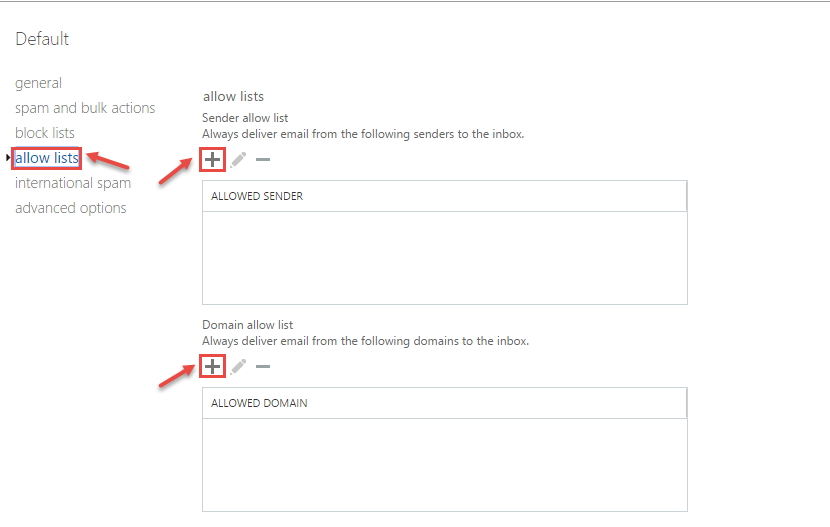
- In “allow lists”, you can specify email address(s) or domain(s) for the emails you don’t want to be marked spam, explicitly.
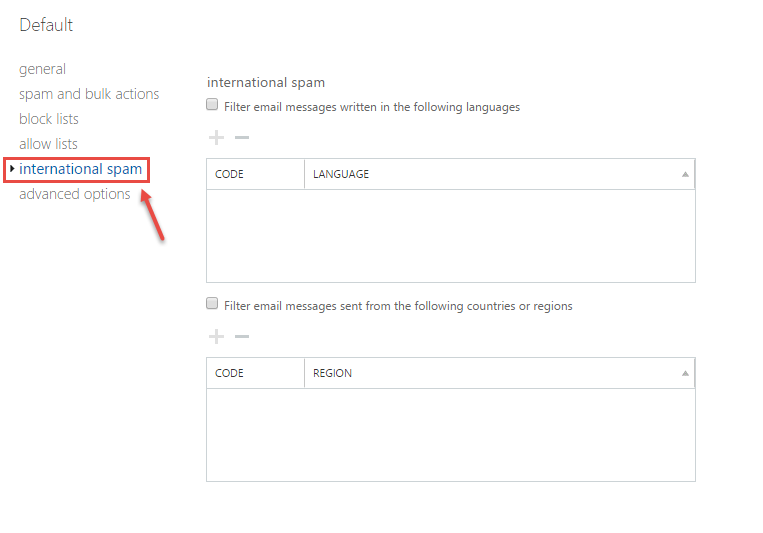
- In “international spam”, you can filter emails originating from specific country/region and in a specific language.
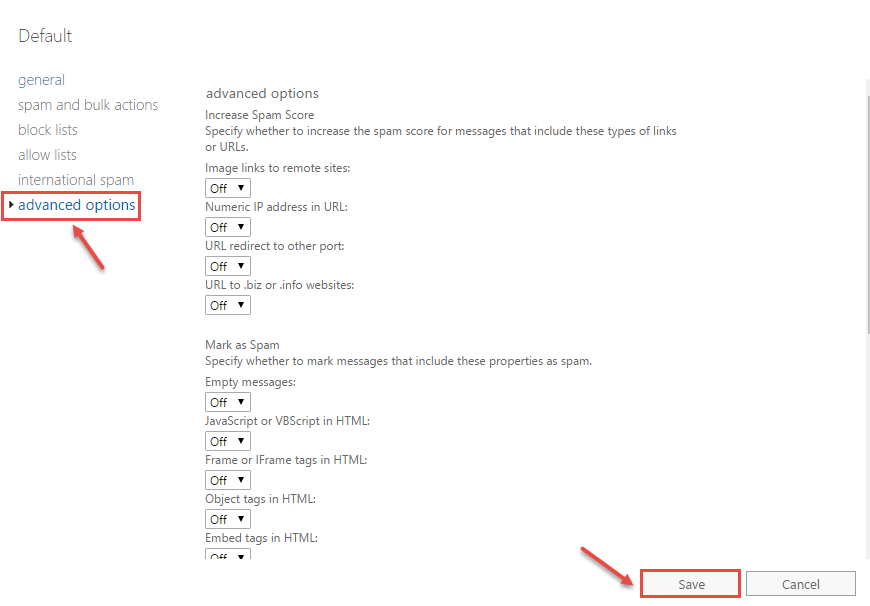
- In “advanced options”, Advanced spam filtering (ASF) options give Administrators the ability to inspect various content attributes of a message. Click on save button after editing.
- Wait for some time for the changes to be implemented.
- Go back exchange admin center. It will display details/changes in the summary window.
 (1)")