How to set up Email Retention and Archiving policy in office 365
In Microsoft Office 365, you can manage the life cycle i.e. the time till which messages are stored in your inbox and then deleted automatically, after the specified ‘time-frame’ is reached. It allows users to implicitly clean their inbox, instead of explicitly putting efforts for that. To setup retention/archiving policy, follow these steps –
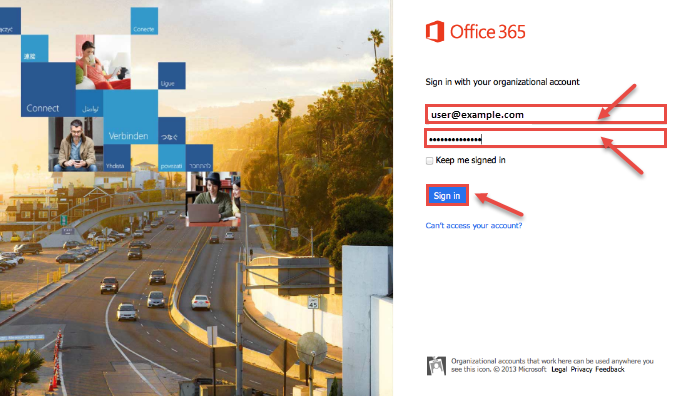
- Sign into your Microsoft Office 365 account.
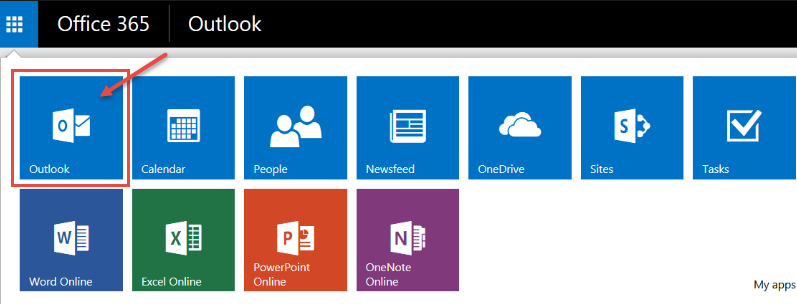
- From the “App Launcher” in the navbar, select “Outlook or Mail”.
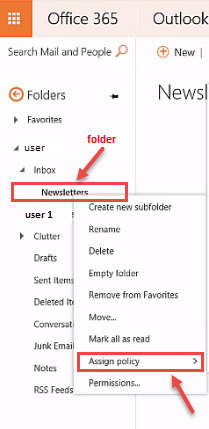
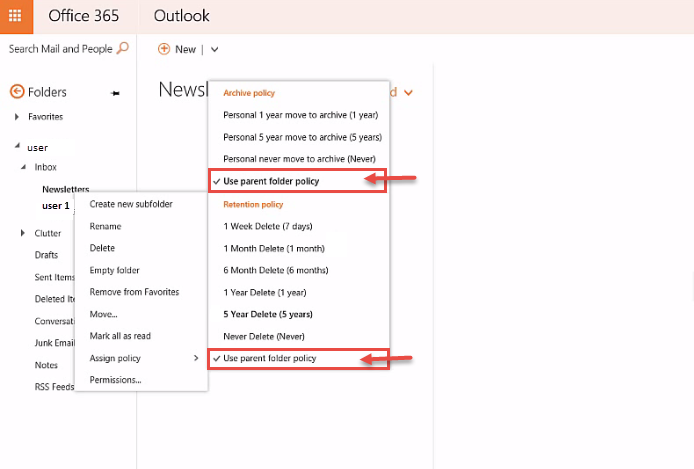
- Now, right-click on the folder or message for which you want to set retention/archive settings, and select “Assign policy” from the context menu.
- Select the policy you want to apply on selected object – folder or message. The default for both Archive policy and Retention policy is “Use parent folder policy“.
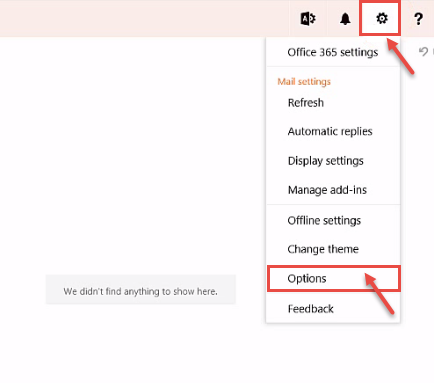
- If you want to have custom values for the Retention policy, from the right-top, select Settings and then Options.
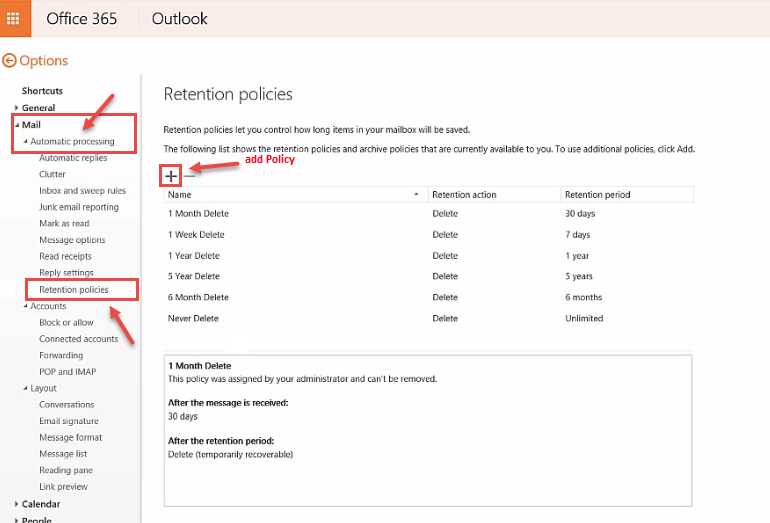
- In Options, select Mail and then Automatic processing. From the expanded view, click on Retention policies. To add a custom, click on ‘+’.
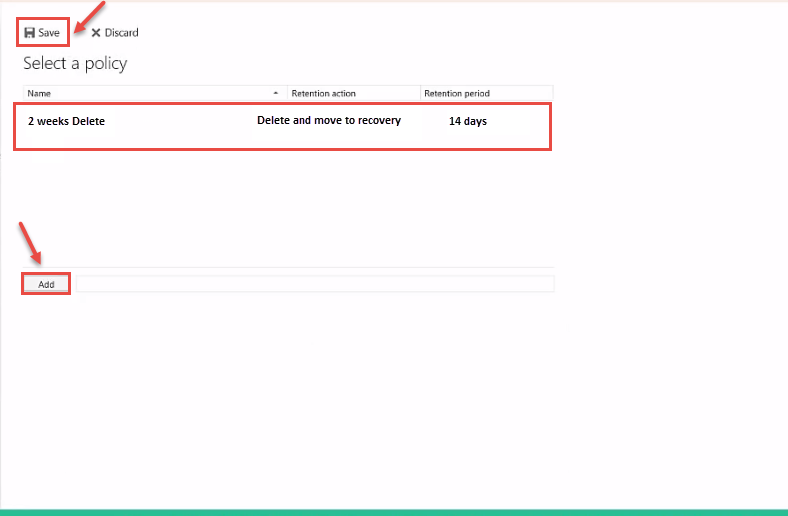
- Now, specify policy name, retention action and retention period. Specify, “What happens to a message when the retention period is over” under retention action and how long a message will stay in your mailbox, under retention period. Click Add and Save.
- Now, you can apply this custom policy on any message or folder. Go to home screen and select a message/folder in inbox folder. Right click on it (as explained in steps above) or click on “Assign Policy” on top and select “Set Folder Policy” option.

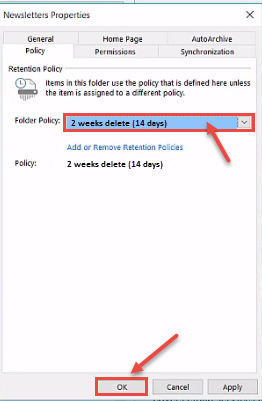
- Finally, folder properties dialog box pops-up. You can select policy and click OK.
