
How to setup email forwarding in Office 365
In Microsoft Office 365, we can enable email forwarding in our email account. This feature is useful, if you are busy or on vacation or don’t want to receive any mail for some time, then you can forward your emails to any other email account. To setup email forwarding, see the following steps –
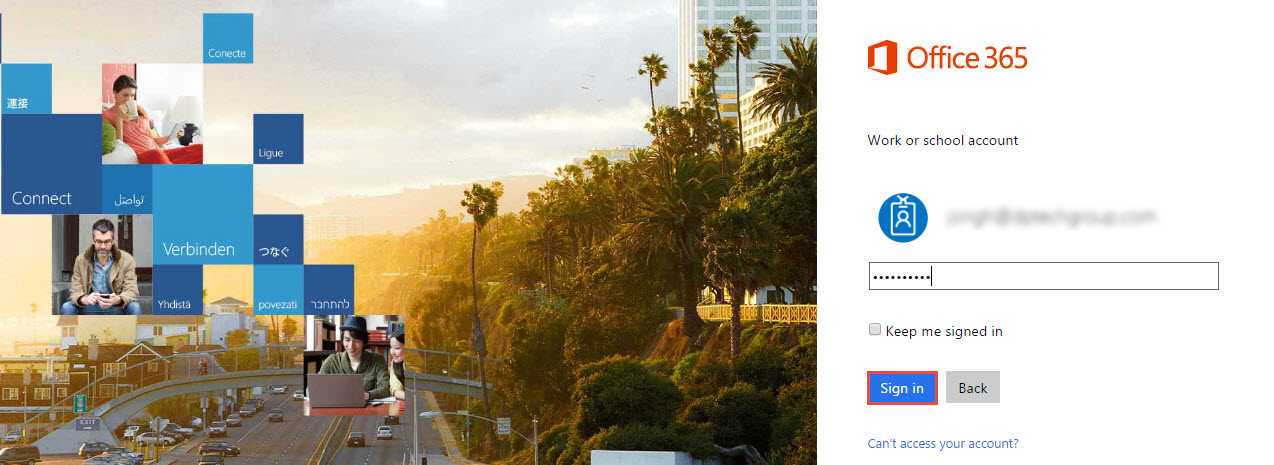
Step 1 : Login with your user id into Office 365.
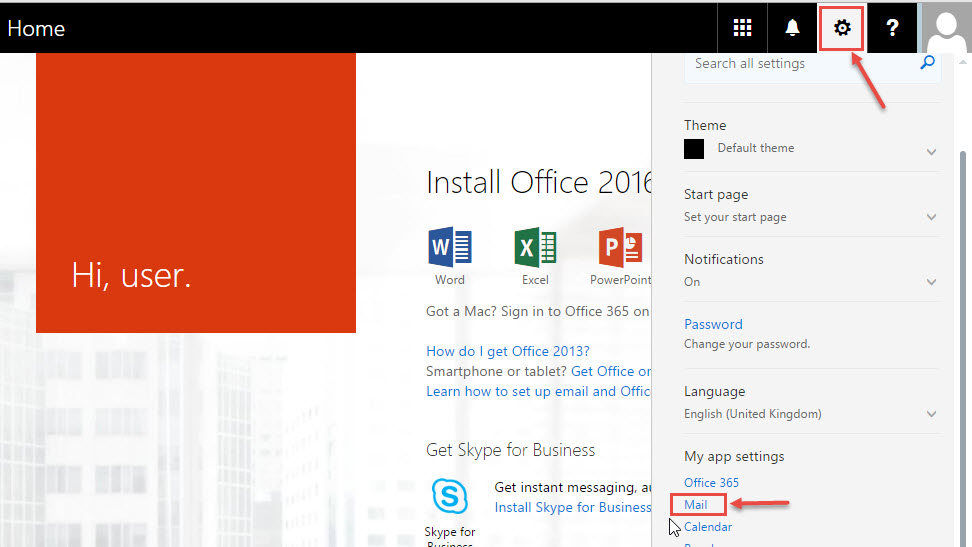
Step 2 : Click on Settings icon from top right corner as shown in the image below and then click on ‘Mail‘.
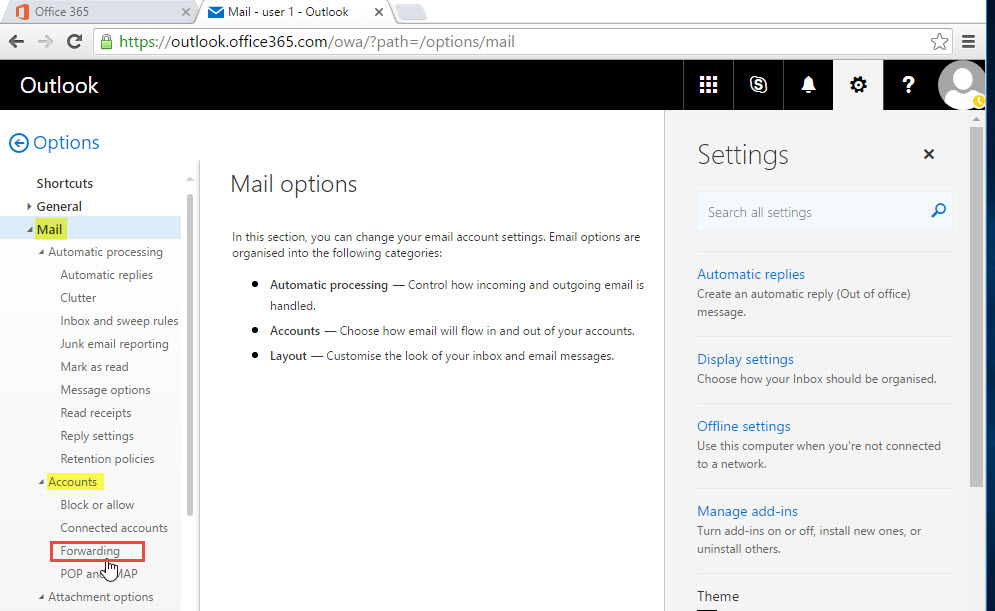
Step 3 : From the left menu, expand “Mail” and then expand “Accounts“. From the menu, then select “Forwarding“.
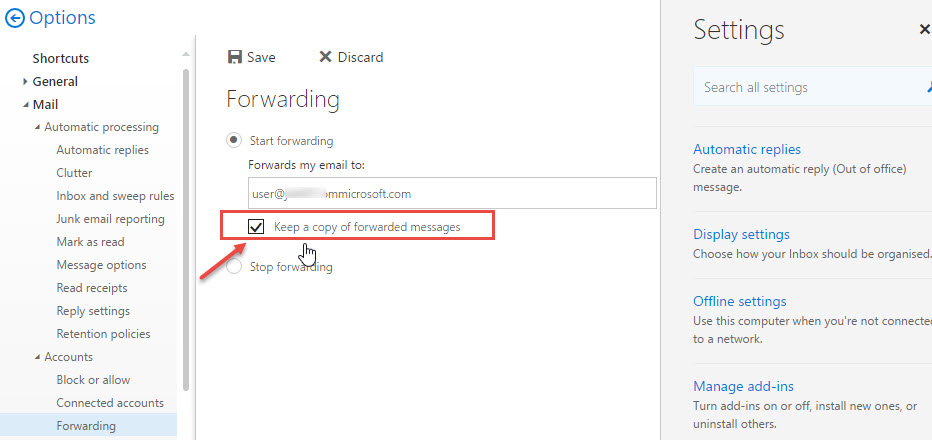
Step 4 : Select “Start forwarding” and also enter the email-id to which you want to forward your emails.
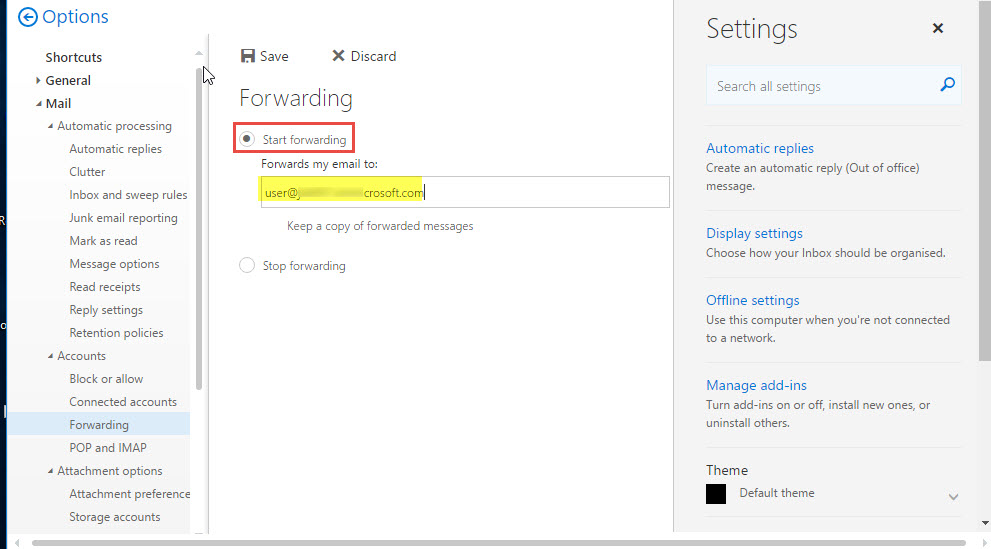
Step 5 : Select checkbox – “Keep a copy of forwarded massages“, if you want to keep a copy of forwarded email messages in your account.
Step 6 : Now Click on “Save”
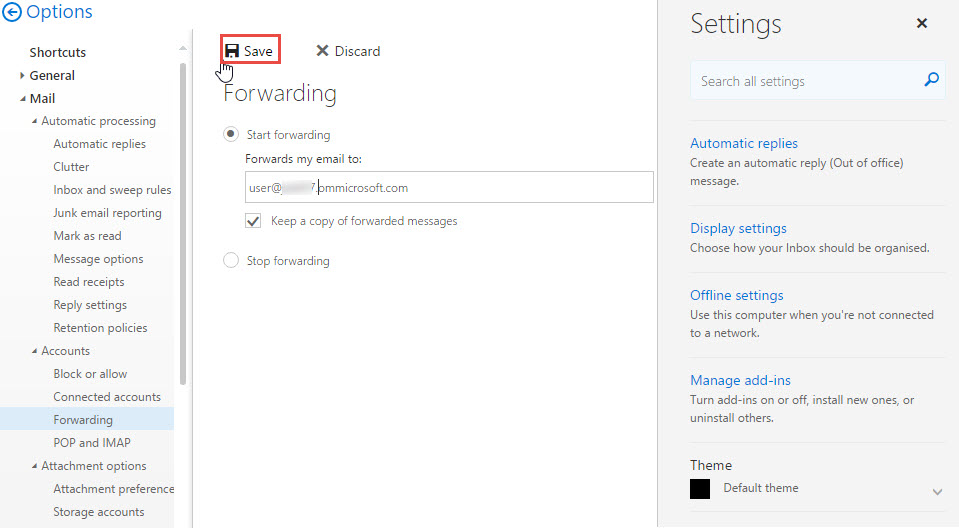
Your all mails are now forwarded to the mail account specified by you. Same way, you can “Stop forwarding” your emails by selecting the other radio button.
 (1)")