
How to Enable Multi-Factor Authentication in Office 365
As an Admin,you can enable Multi-Factor Authentication in Microsoft Office 365 for different user accounts with in your organization. We will discuss steps, one by one.
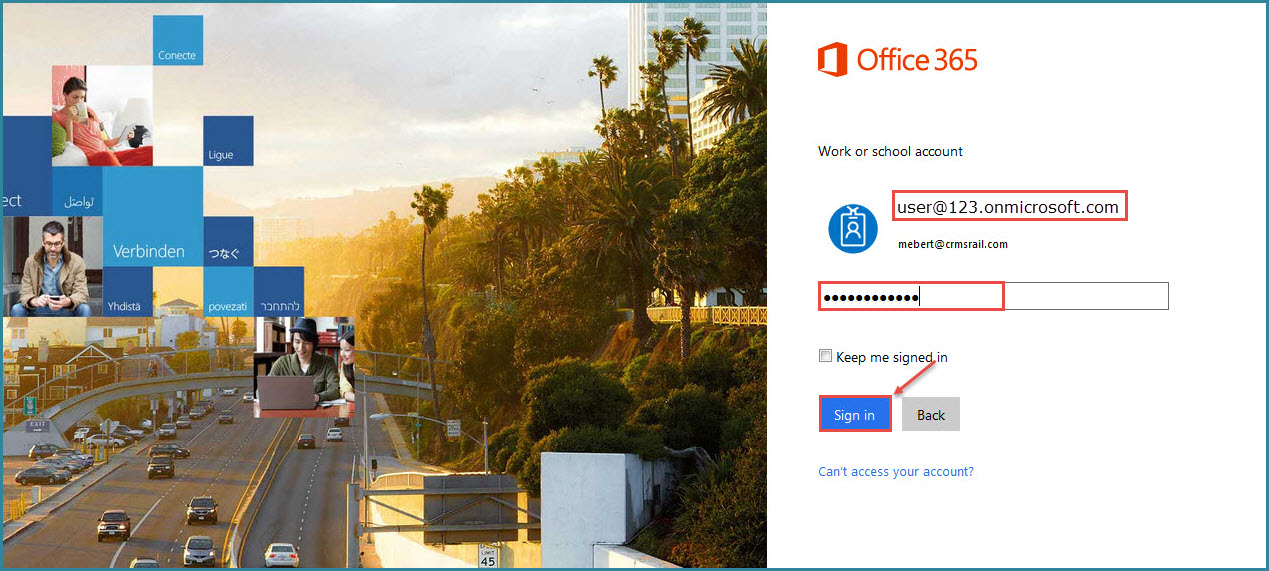
1.First Login with your Office 365 Admin Account.
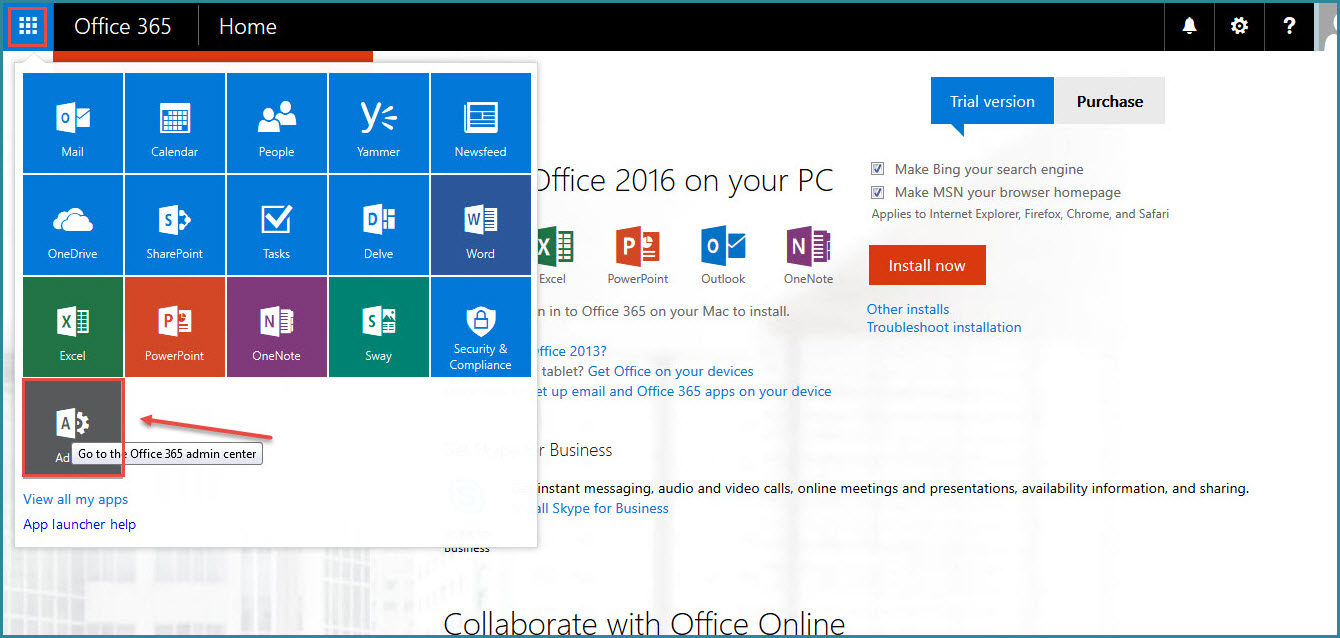
2.Go to the ‘App Launcher’ from the top left and select ‘Admin Center’ as shown in the image below.
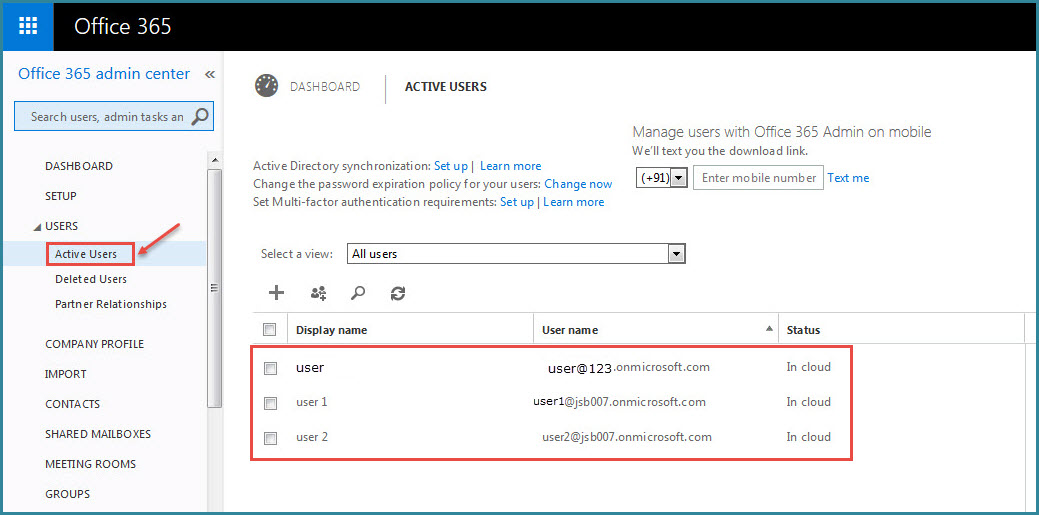
- In Admin Center, expand “USERS” from the left and select ‘Active Users’ option. It will display a list of all active users, as shown below.
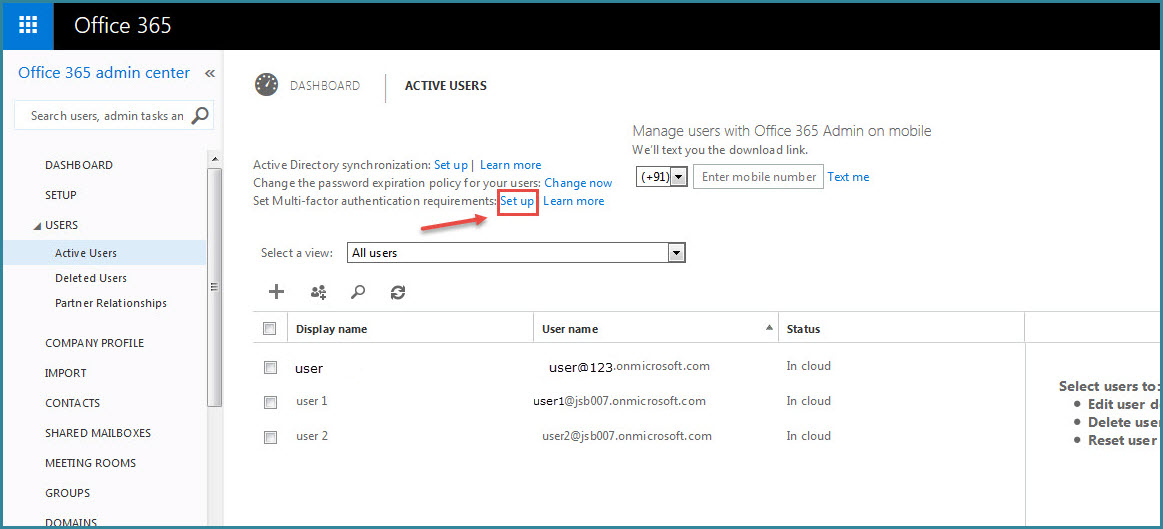
4. Click on ‘Set-up’ after ‘Set Multi-factor authentication requirements‘ option.
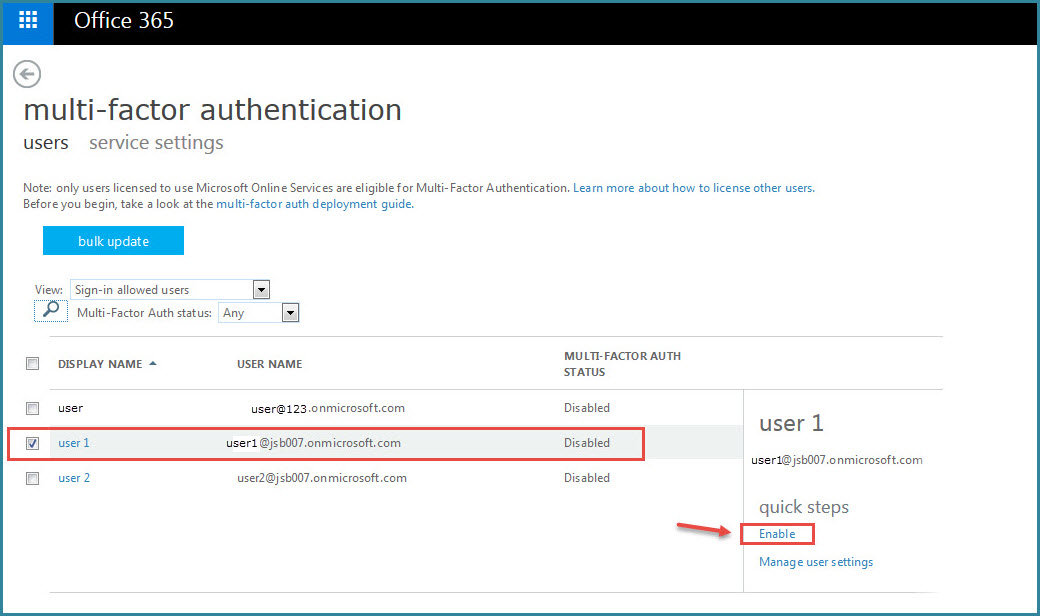
5.Select the account from the list of ‘Active Users’ for which you want to enable multi-factor authentication and then click ‘Enable’ from the right, as showing in the image below. You can see the status of “Multi-Factor Auth” in front of each user.
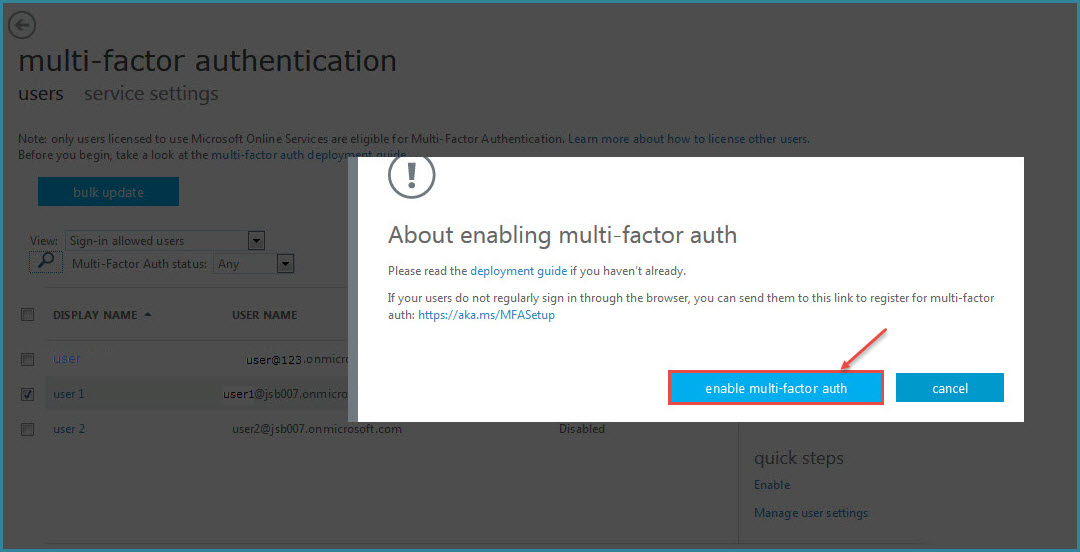
6.Pop-up screen will prompt you to confirm the settings. Click on ‘enable multi-factor auth’ to confirm the changes or press “cancel”.
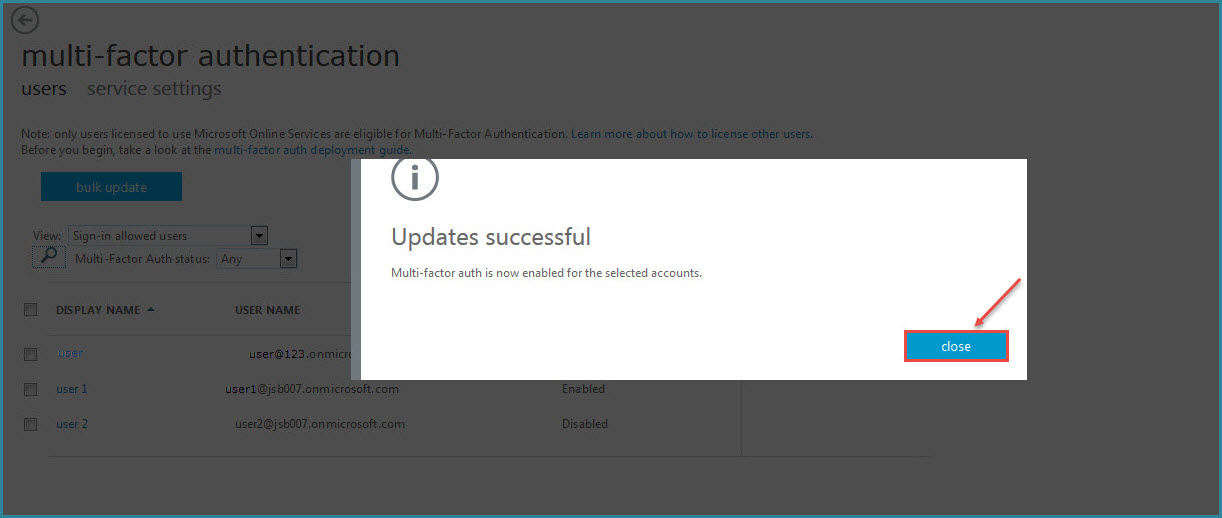
7. Once enabled successfully, you will see ‘Updates successful’ message. Click on “close” to close the dialog box.
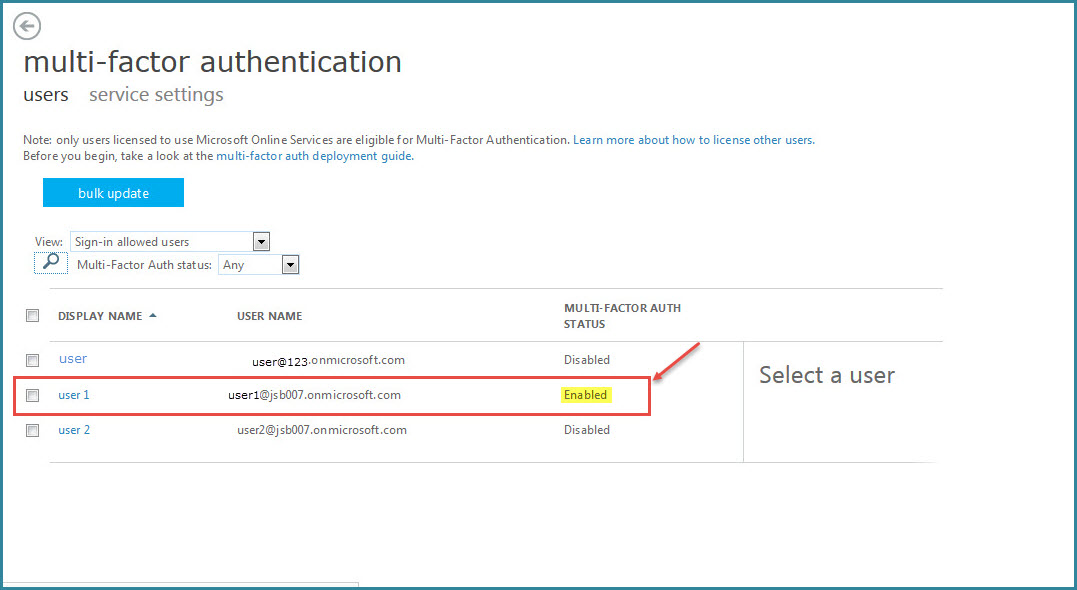
8. On the “multi-factor authentication” screen, you will the status of “multi-factor auth” for each user. The image below shows “Enbaled” for the user account, for which we enabled this service. Rest show the status as “Disabled”.
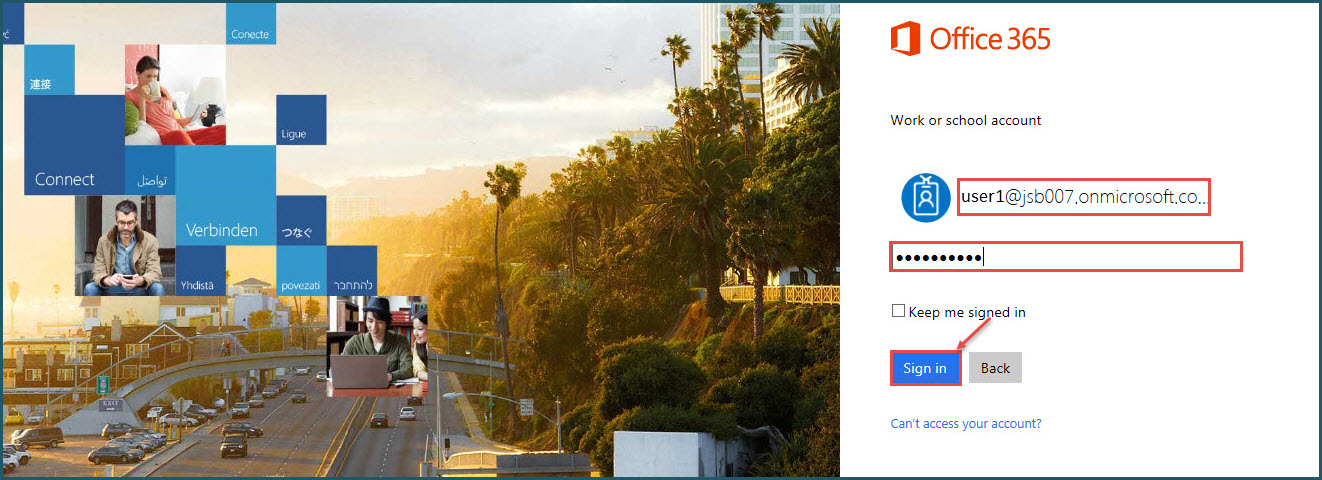
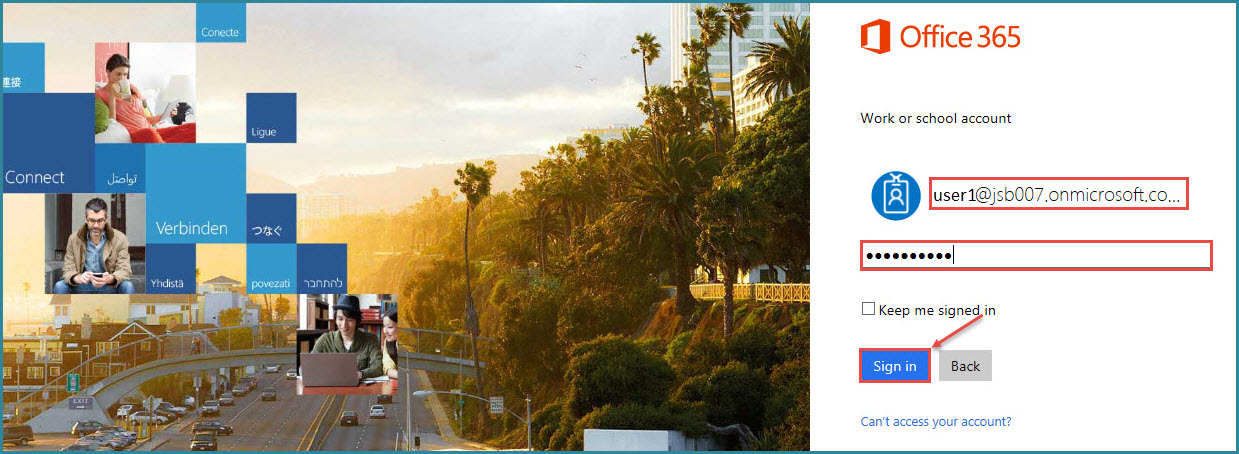
9.Logout from your Admin account and try to log in with the user credentials to test the multi-factor authentication service. Alternatively, you can ask user to log into the account. Specify the user id and password and click on ‘sign in’, as shown in the image below.
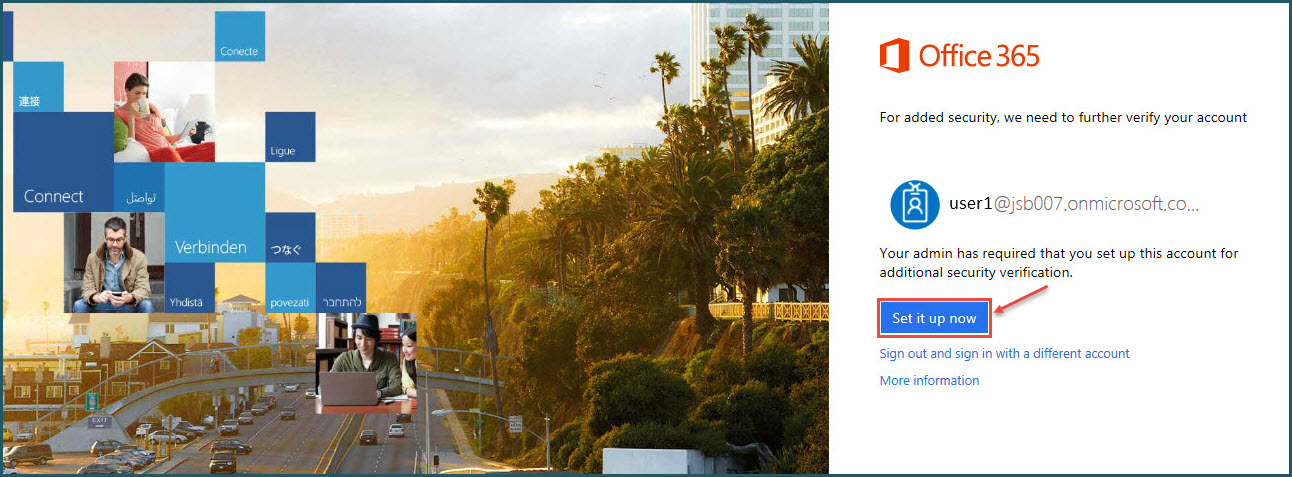
10. When logging in for the first time, Office 365 prompts user to setup the multi-factor authentication. Click on ‘Set it up Now’ for additional security verification, as shown in the image.
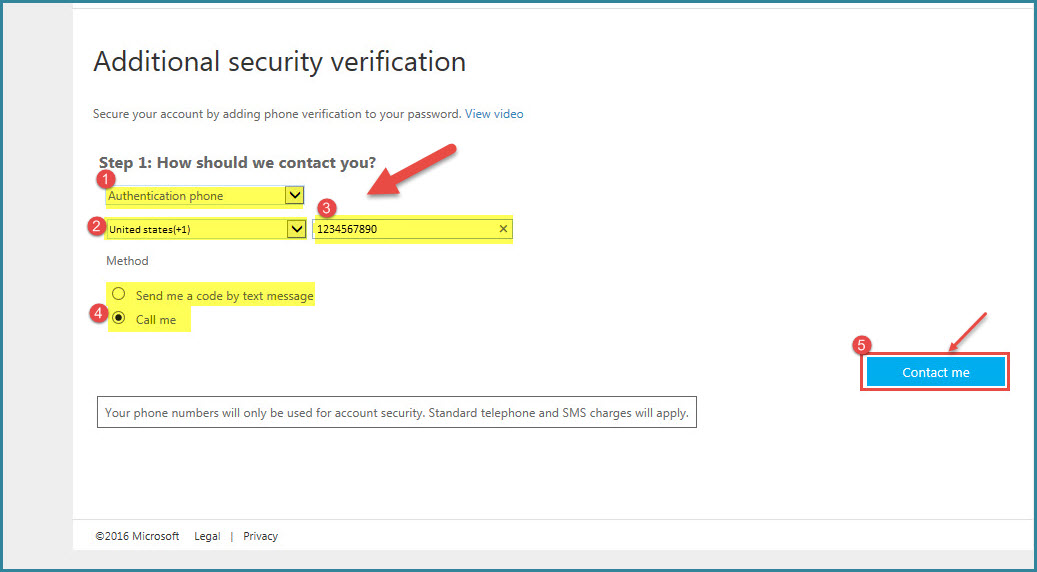
11.The “Additional security verification” page will pop-up, where you specify the additional step for verification. We will select Verification by Phone Call. You can choose other verification options also from the list. Fill all the required details and click on ‘Contact me’. For the “Authentication phone“, select the method “Send me code by text message” or “Call me” to receive the verification code.
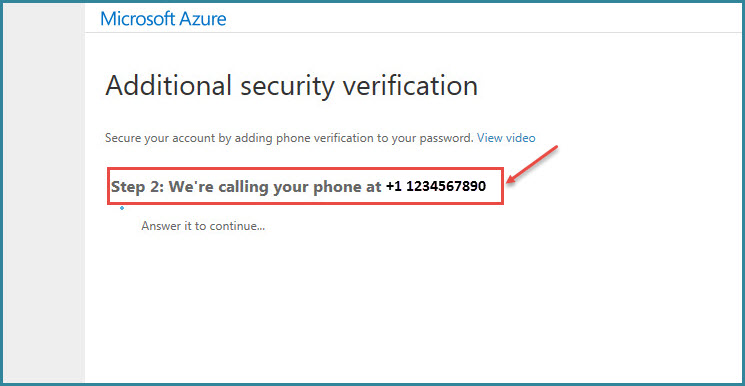
12. We selected “Call me” option. You will see a screen showing you call being made to the telephone number specified, as shown in the image.
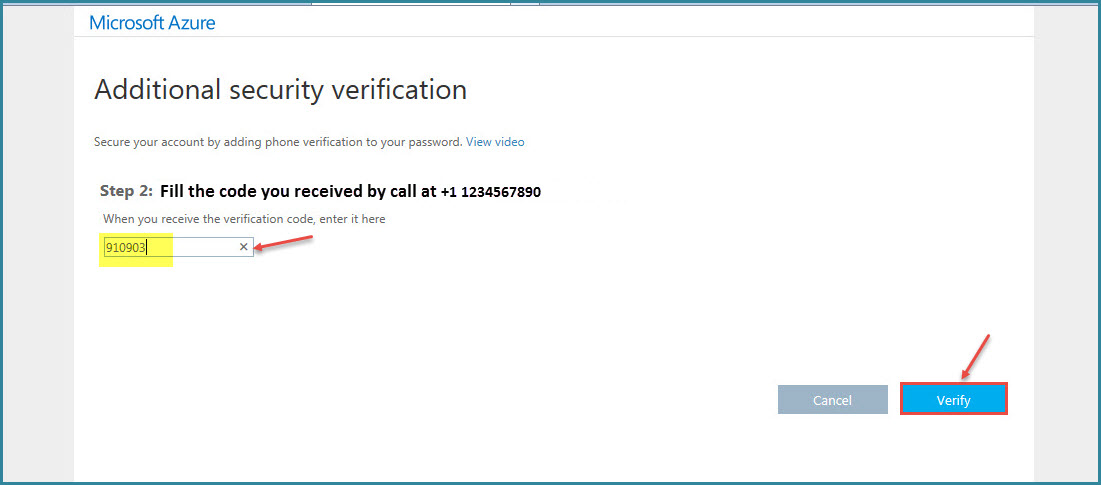
- Enter the verification code you received and click on ‘Verify’ as shown in the image.
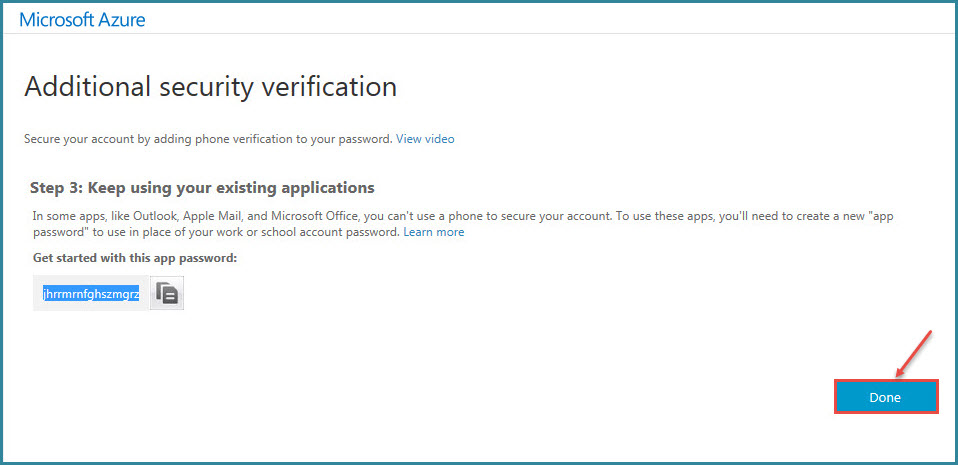
14.After the completion of verification setup, the below shown image will be displayed. Click on ‘Done’.
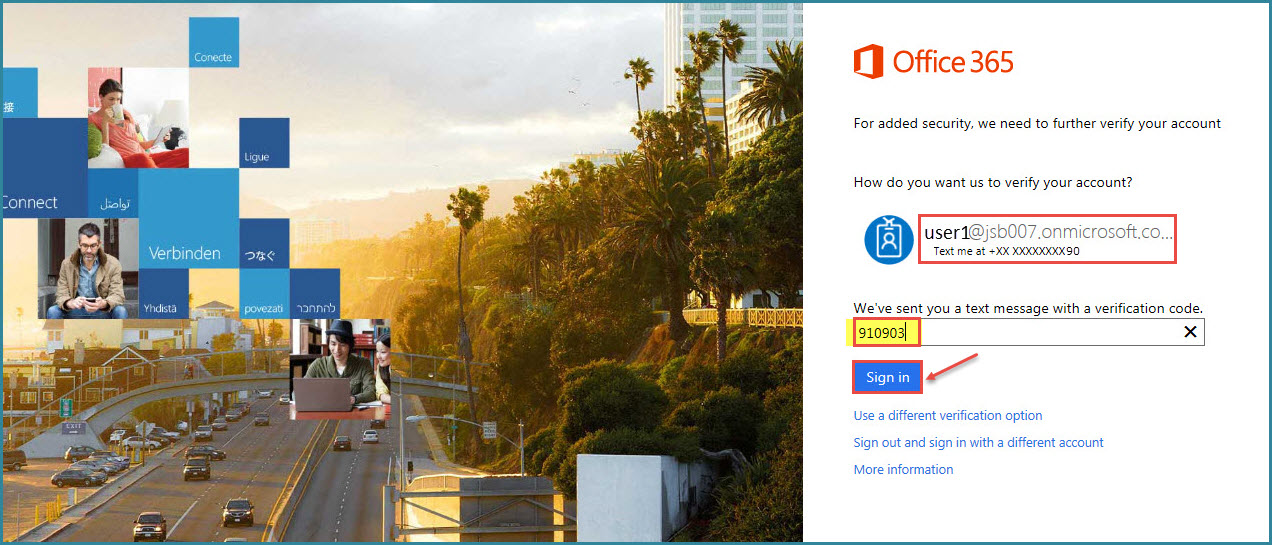
15. If you opt to receive verification code as sms, when you logging in…
16. You will receive a Verification Code on your phone. Fill the code to verify your account, as shown in the image.
17.After verification you can access your ‘Account’.
 (1)")