
How to add connectors in Office 365
To add connectors in your Microsoft Office 365 account, you must use Outlook on the web. Any member of the organization can add connectors to his/her account and is able to modify the same as per the requirements. Follow these steps to add connectors :-
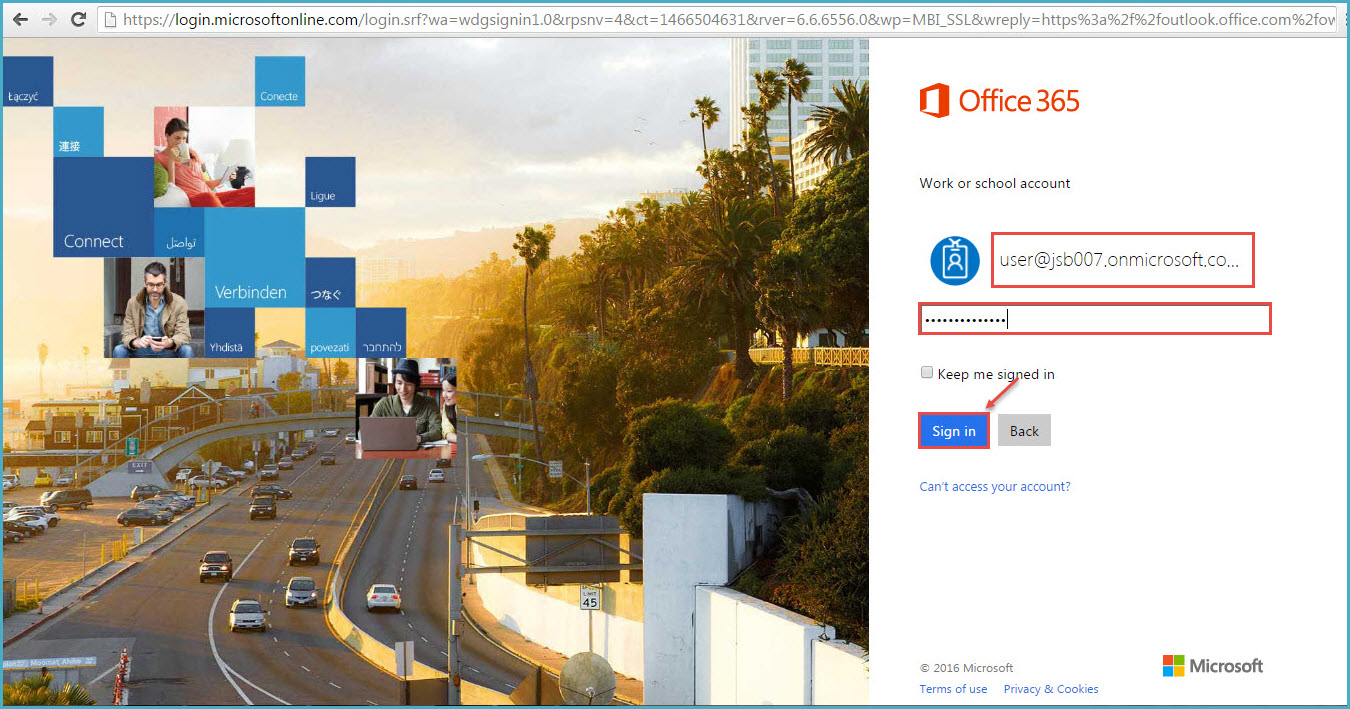
1.Login with your Office 365 account details.
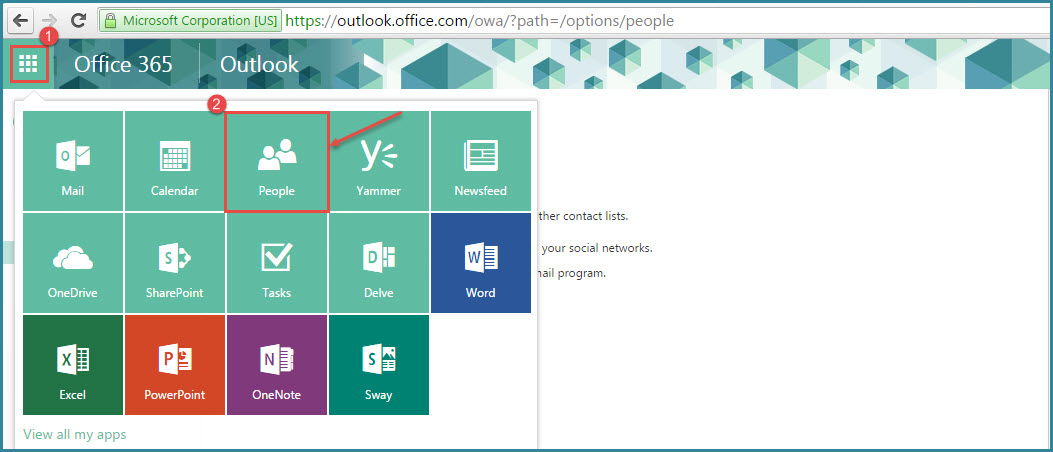
- To enable connectors for a group, go to ‘People’ from the “App Launcher” in the left, as shown in the image.
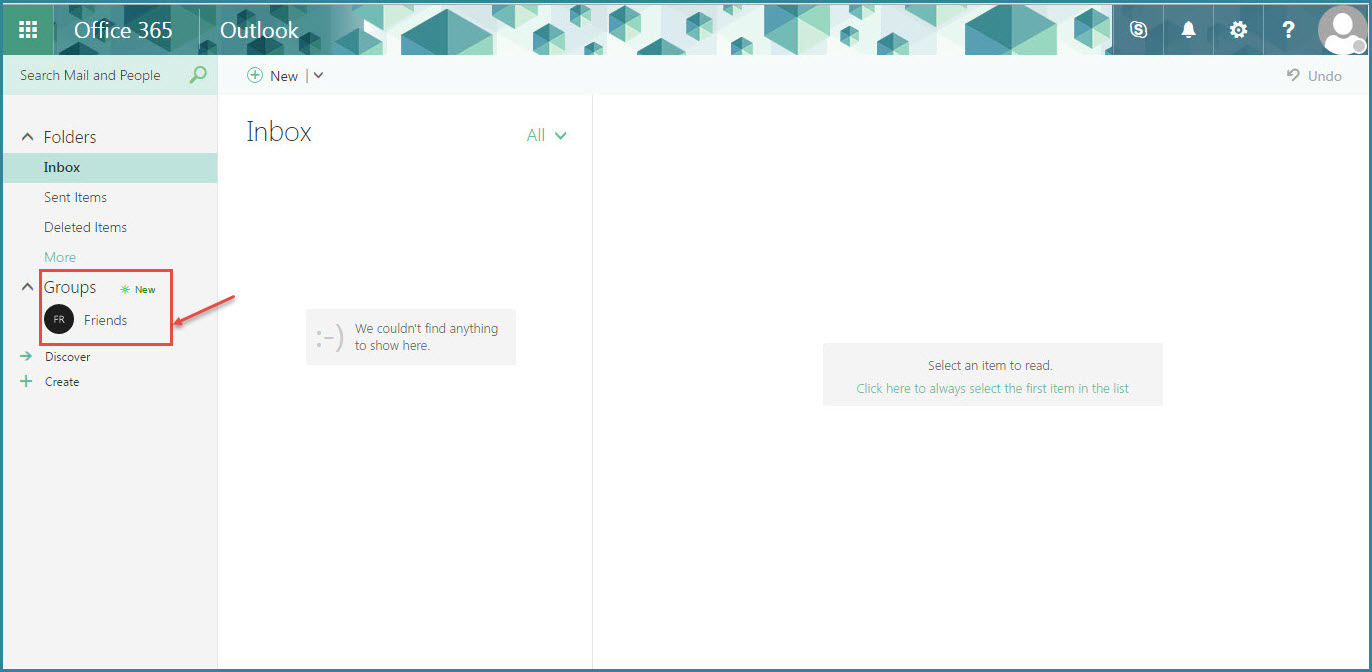
- In Outlook for the web, browse to one of your groups – (like we have created ‘Friends’ group).
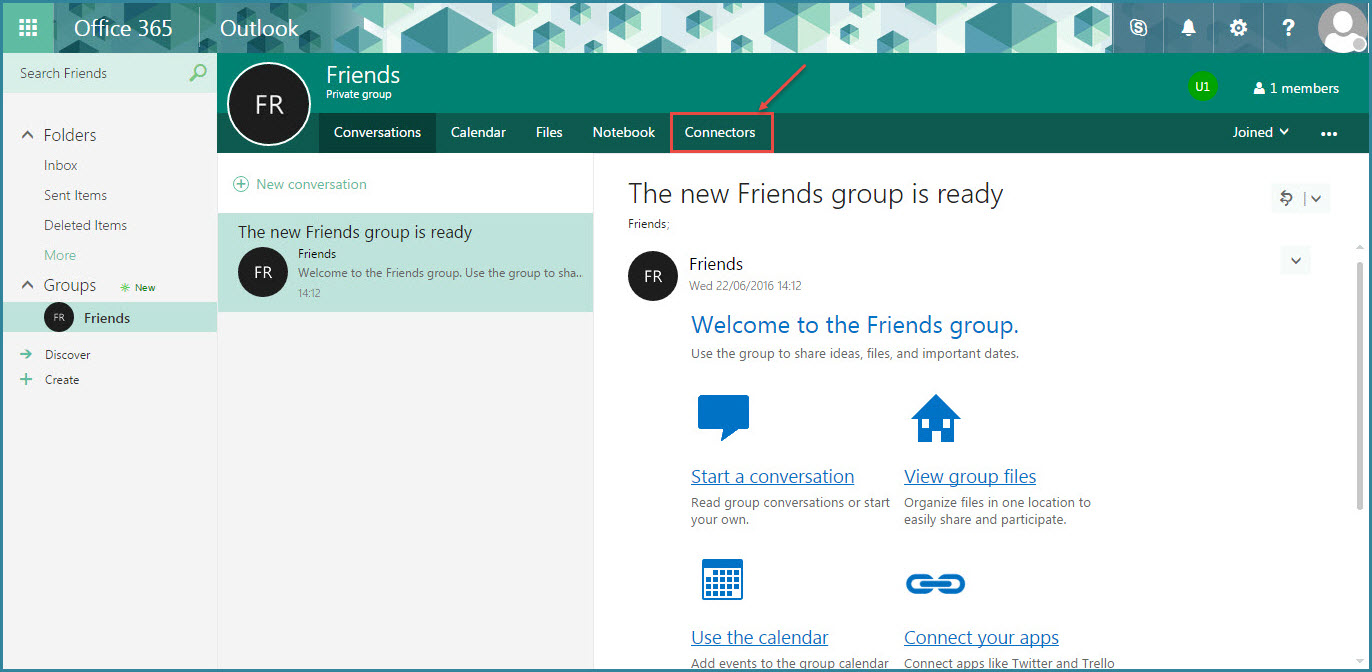
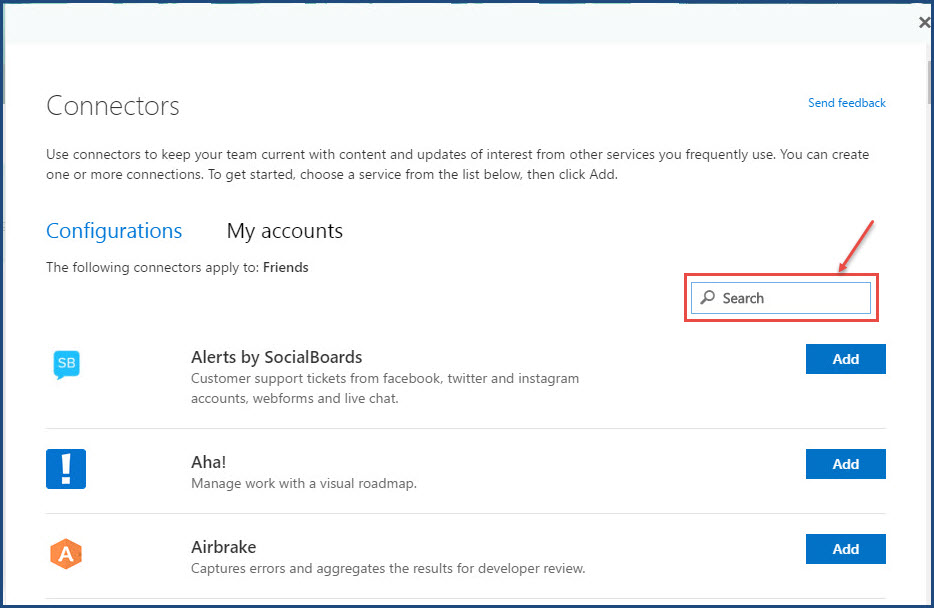
4.Select ‘Connectors’ from the top ribbon, as shown in the image.
5.You will see a list of the available ‘Connectors’. You can search the connector that you want to add in Search field (refer the image).
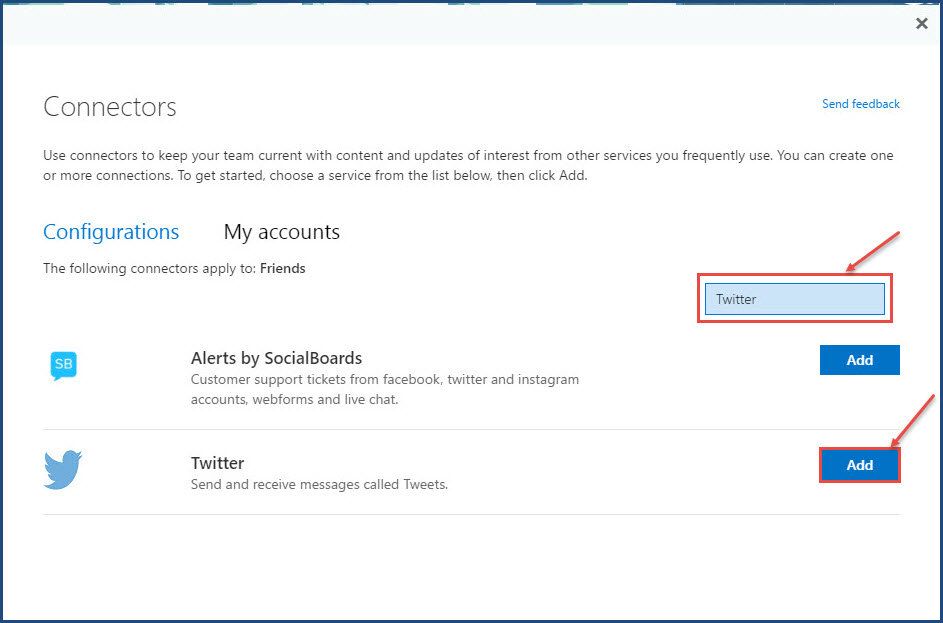
- After searching the required connector click on the ‘Add’. We searched connector for “Twitter” and then added the same.
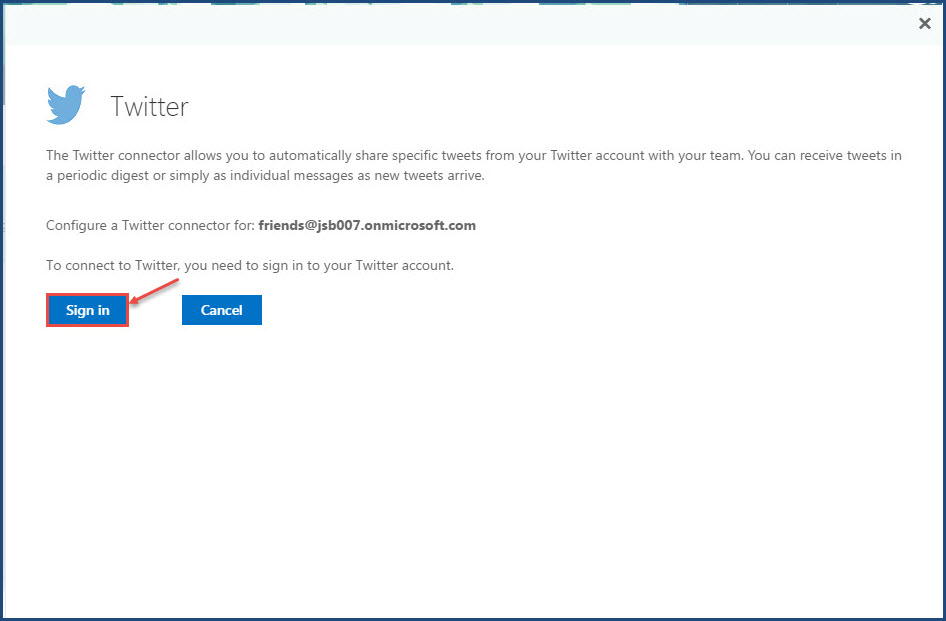
7. The Twitter Connector configuration screen will open. “Sign in” with your credentials.
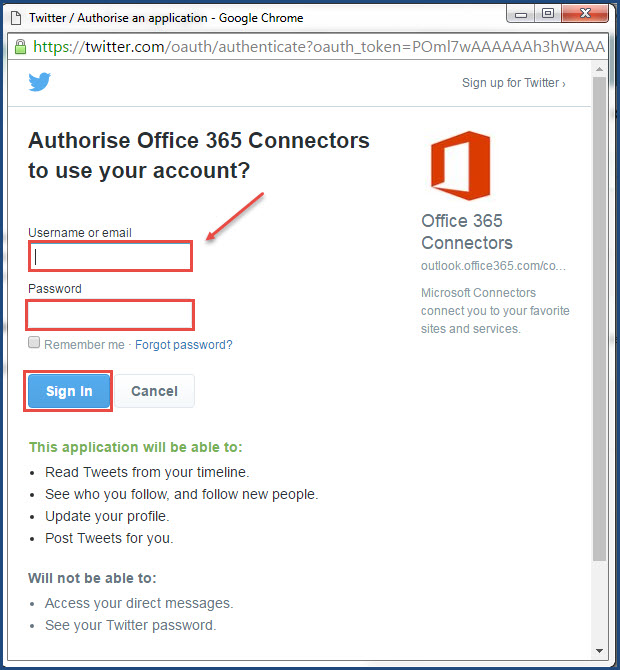
8.Fill all details for connecting your Twitter account to your Office 365 outlook group, and click on “Sign in”.
This way you can add connectors for services like Bing, Trello etc. to make your team/group more productive and efficient.
 (1)")