
Use of Permissions option in the office 365 Security and Compliance.
Office 365 Security & Compliance Center permissions are based on RBAC (Role Based Access Control) model as used by Exchange, with a varying difference in the implementation. The Office 365 Security & Compliance Center lets you grant permissions to people who perform compliance tasks like device management, data loss prevention, eDiscovery, retention, and so on.
- Login in Microsoft Office 365.
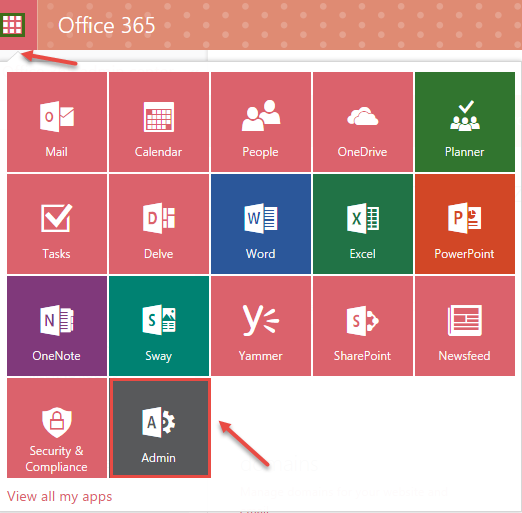
- Select the App launcher icon and choose “Admin”.
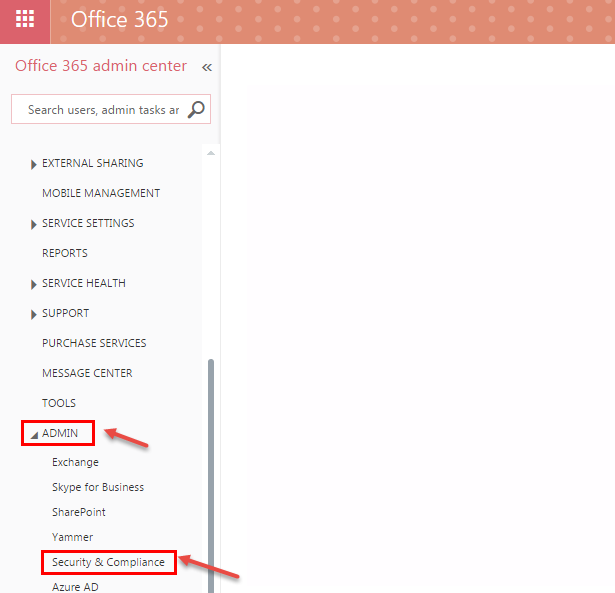
- Expand “ADMIN” and click on “Security & Compliance”.
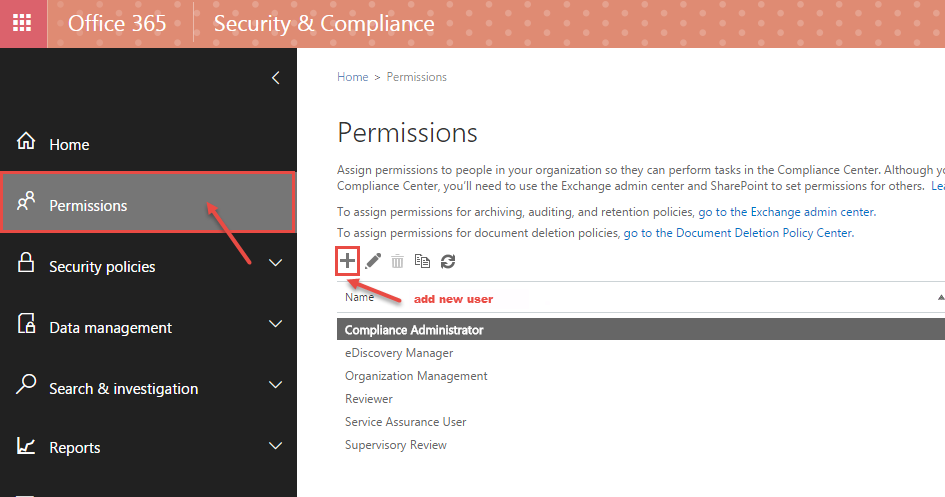
- In the “Security & Compliance” window, click on “Permissions”. From the permission lists, choose the role group – “Compliance Administrator”, “eDiscovery Manager”, “Organization Management”, “Reviewer”, “Service Assurance User”, “Supervisory Review” – in which you want to add a user. Click (+) sign to add the new user.
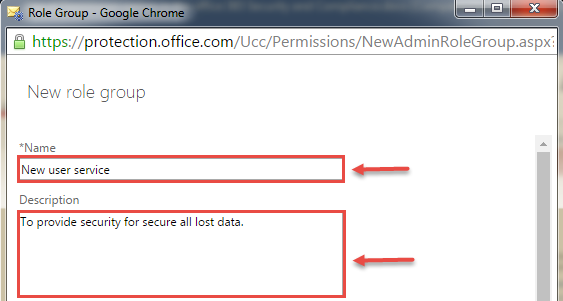
- “New role group” window appears on your screen. Enter the name for “New role group” in the name dialog box and fill description.
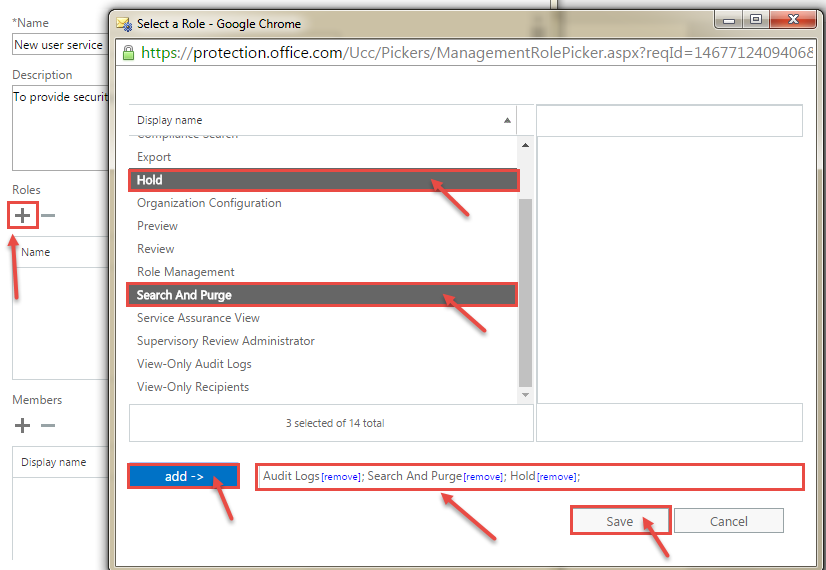
- To select the role to assign the user click on (+) sign and select any role into the drop-down lists. Now click on (+) button. “Select a Role” will pop up with all the predefined roles. Click on “add ->” and then on Save to close the window.
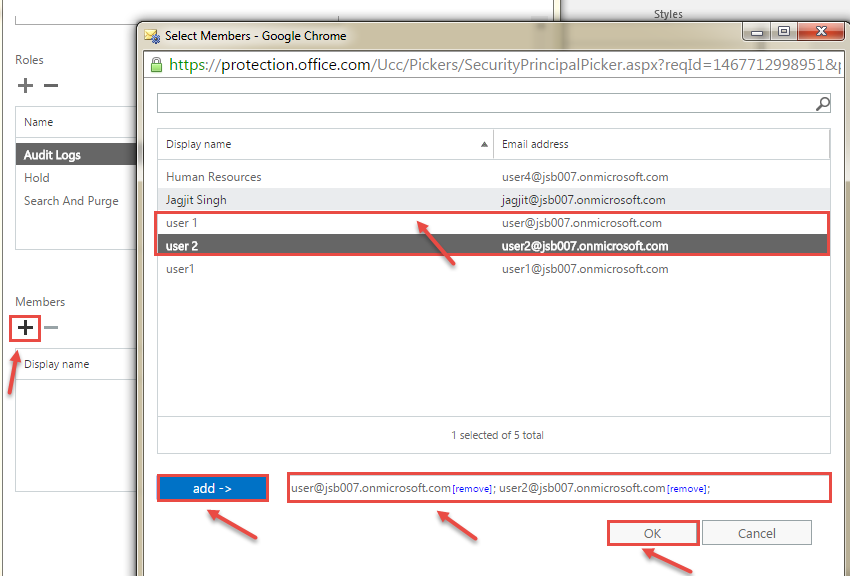
- If you want to add members, click on (+) sign and choose the members into the user’s list. Click OK.
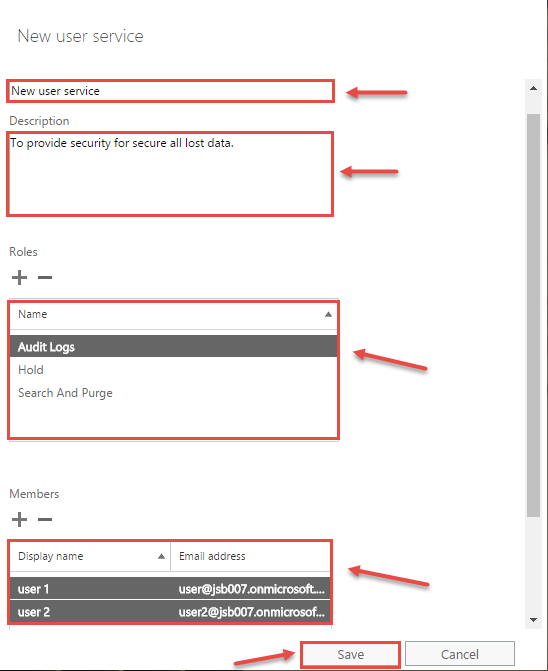
- Now, you can see full information in following image filled by the you or any users. After checking this information click on “Save” button.
- Now, you can see your created “New role group” in the group lists. If you want to editi this new group role, click on “Edit” sign.
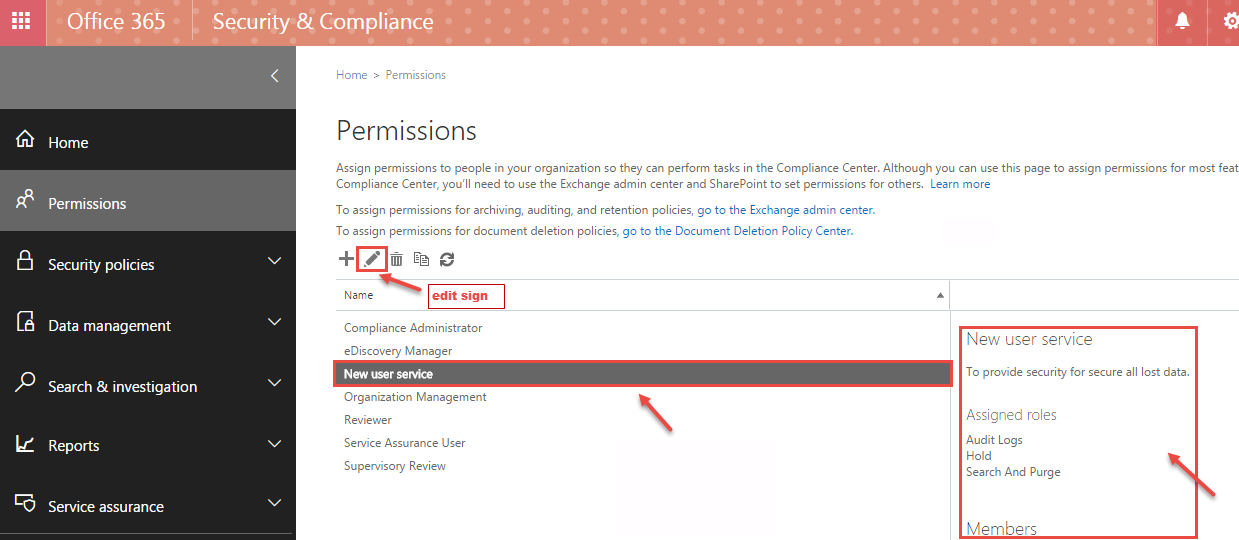
 (1)")