
How to assign roles and permissions in Admin Center using Office 365.
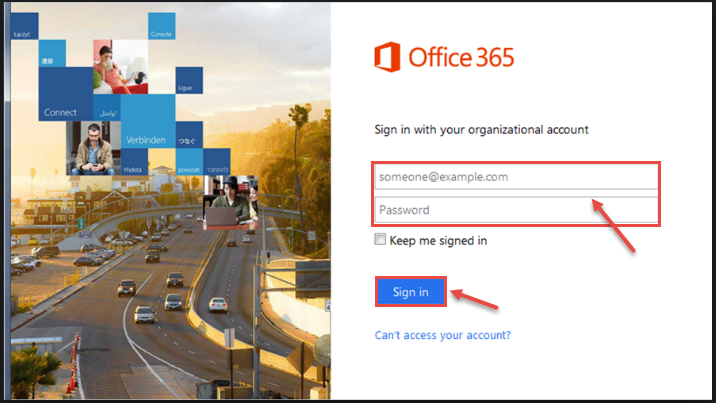
- Log on to Microsoft Office 365 portal.
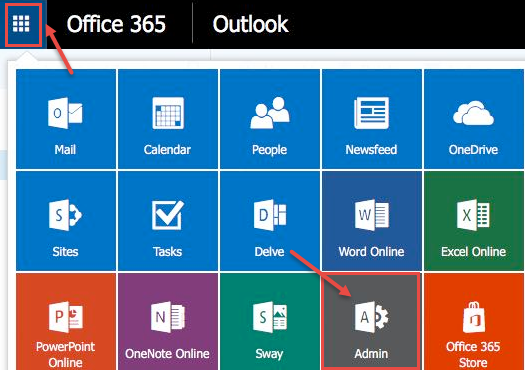
- In Office 365, click on App Launcher icon, and then select Admin.
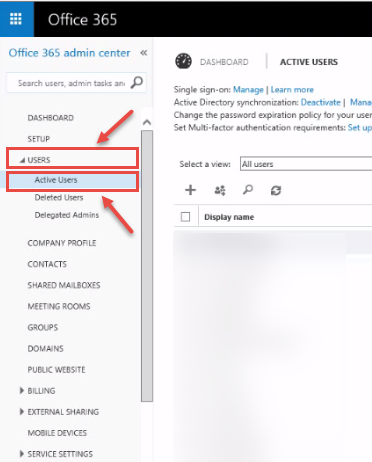
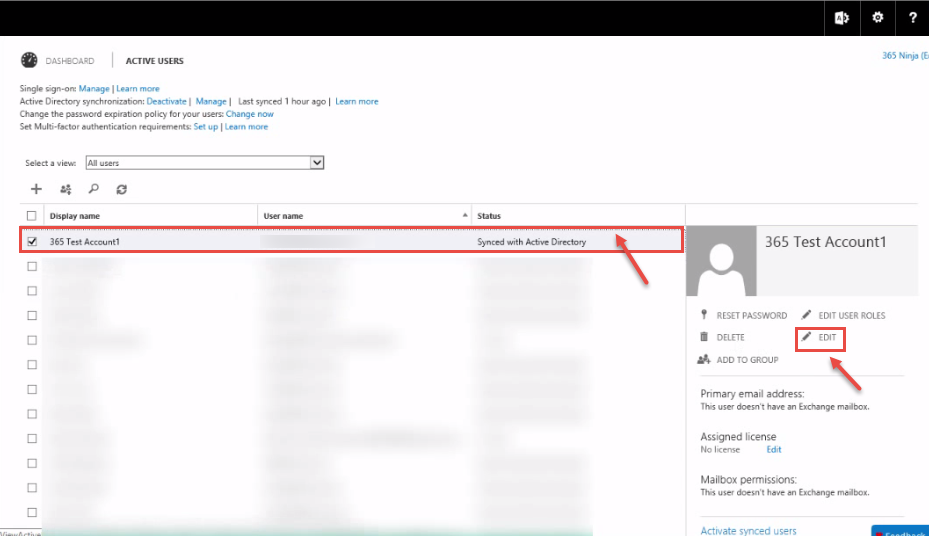
- Go to “Users” and click on “Active users”.
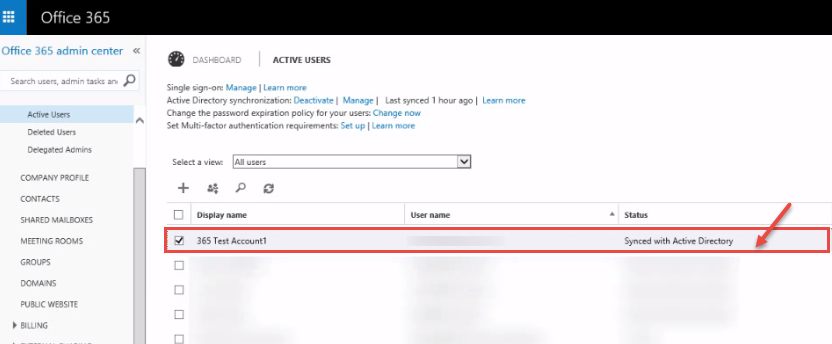
- List of all available users will appear on your screen. Select any user you want to assign permission.
- When you select any user, user details are displayed on right side. If you want to assign permissions, click on “Edit”.
- New window appears on your screen, click on “Settings”.
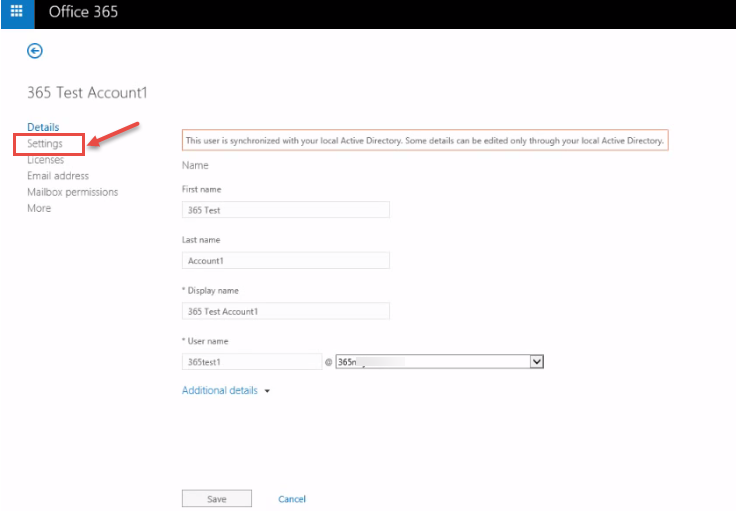
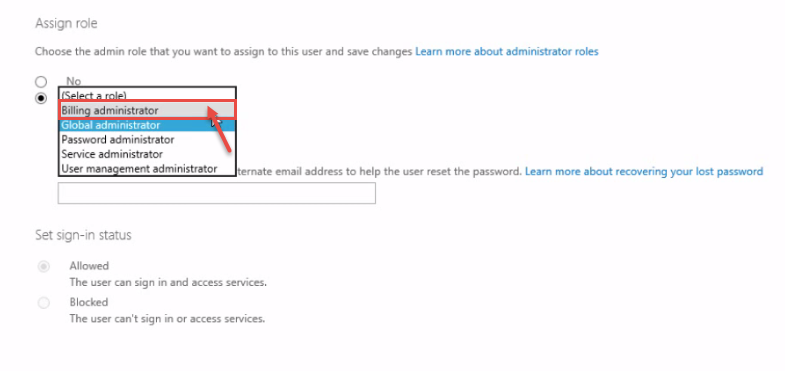
- Now, click on “Additional details” to view “Roles”. You can change role from the drop-down list where we assign the “Global Administrator” role, as an example.

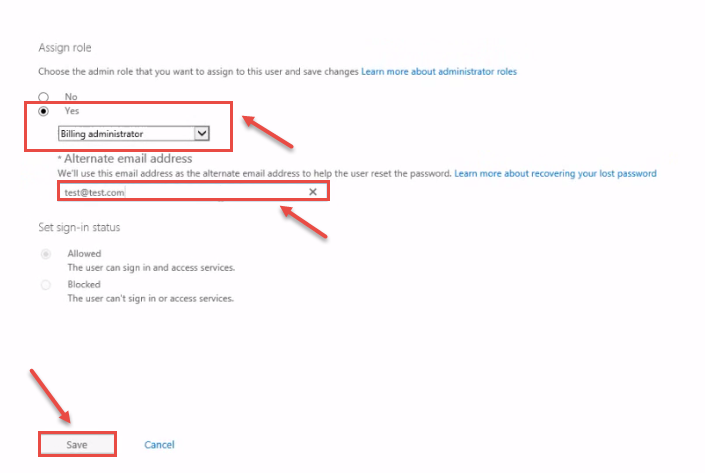
- Under Assign permissions, click Yes or No to assign permission and select administrator role.
- Fill the alternative email address in the dialog box. Click Save.
- Finally, your administrator permission settings complete.
 (1)")