
How to use Watermark, Page Color, and Page Borders in Microsoft Word in Office 365
Microsoft word is one of the best word processing tools used worldwide. It provides many options when it comes to editing text. Once a document is ready, you feel like adding artistic effects to the same, to make it stand out from other documents. For this, you can either embed a watermark to your document, or a page colour/fill effect. You can also specify the border to your whole document to appear it visibly different. Let’s look into these options in details.
A watermark is an identifying image, shape, or piece of text that overlays the document. Watermarks are usually very light so that they do not interfere with reading the text. It’s a faded background image visible behind the text in a document. You can use the watermarks to indicate a document’s state (e.g., confidential, draft, etc.), add a subtle company logo, or even for a bit of artistic flair. Let us start working with a watermark.
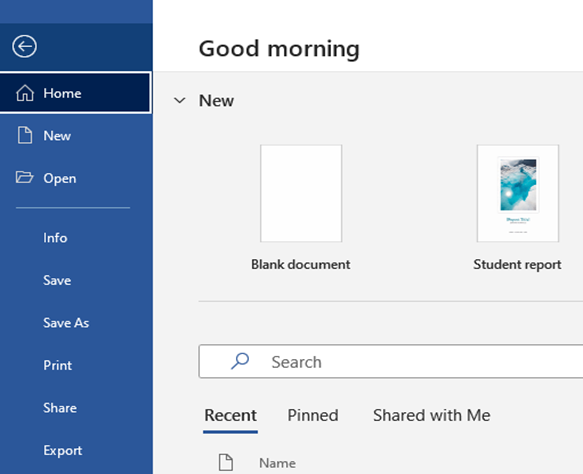
Step.1 Open Microsoft Word. Go to the search bar in your computer and type word.

Step.2 From the ‘File’ menu, select ‘New’ -> ‘Blank document’.
Step.3 Go to the ‘Design’ tab and click on ‘Watermark’.
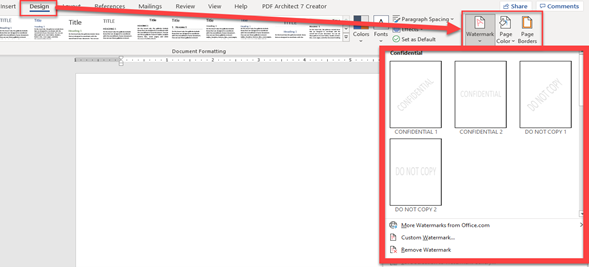
Here you have option to use the predefined watermarks (text) with different styles.
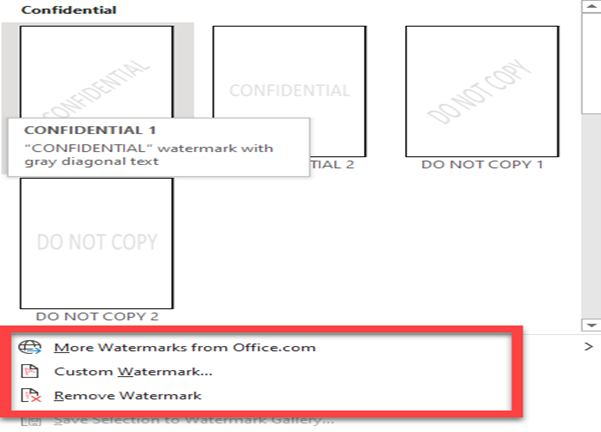
You can also import new styles from Office 365’s website by clicking on ‘More Watermarks from Office.com’. If you don’t like the watermark or the purpose is fulfilled, you can remove the same by clicking on ‘Remove Watermark’. We will try ‘Custom Watermark’ option. Click on it and the following dialog box will open.
Step. 4 From the dialog box, select ‘Picture’ or specify custom ‘Text’, as shown in the picture below.
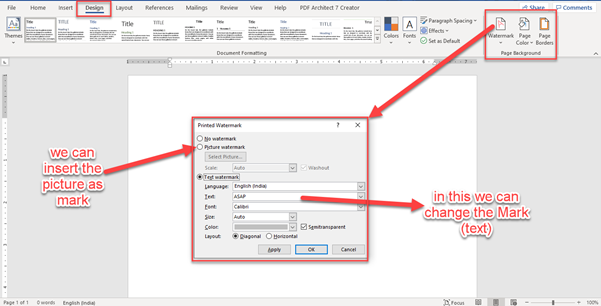
You can see the custom watermark (text) changed in the screenshot.
You can also specify a background-color or fill effects to your document, as desired. For this, follow the next step –
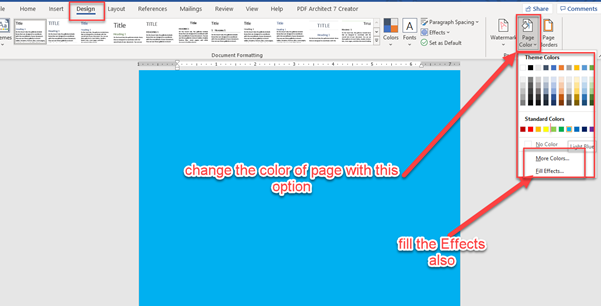
Step. 1 Go to ‘Design’ tab and select ‘Page Color’ option, as shown in the image below. Depending upon your requirement, you can choose from the standard color palette, create your own custom color (‘More Colors’ -> ‘custom’ -> specify RGB values for the color as per the requirement).
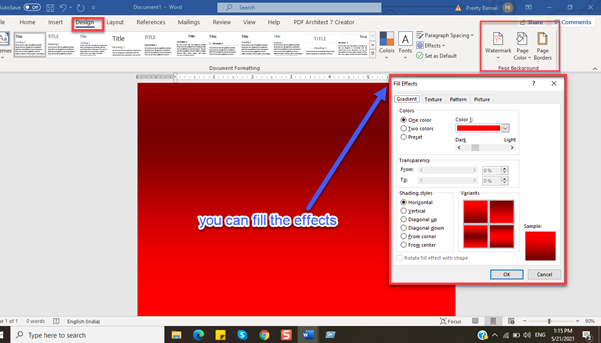
The following images show the fill effect and change color of document.
- Color change
- Fill effect
Once, you have specified the background color/watermark, you can further improve the artistic appearance of your document by applying the border. You can either opt for the standard ‘lines’ border with different layouts or you can select an ‘Art’ to be used as the page border.
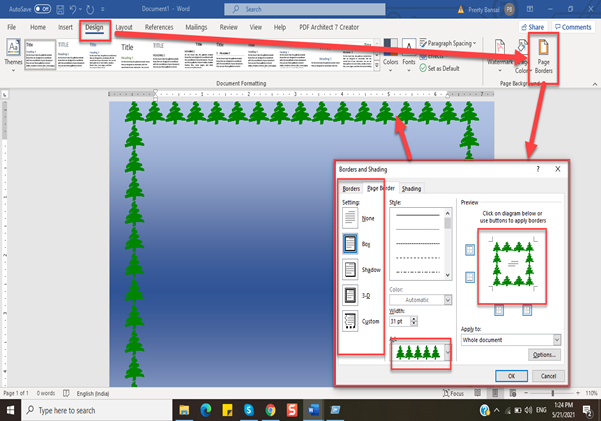
As you see in the image above, we can opt for any border style as per our requirements.
This is how you can change the appearance of the text you have written in the word document.
 (1)")