
Data Backup IT Support
Data Backup is an important mechanism by which all important data is stored in the hard-disk of a computer or a file server which is later copied to another media such as CD, DVD, tape, pen drive or external hard drive, etc.
Backing up important files is the best you can do to safeguard all essential data which you’ve created and stored on your computer. This way, you can restore or recover all your data files from the computer in case of hardware failure or accidental deletion of files.
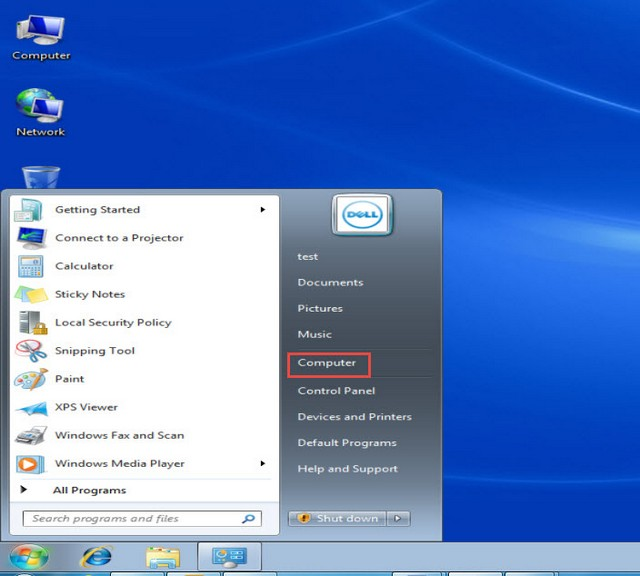
Step 1: To get started, go to the Start Menu and click on the “Computer” tab. (Check the screenshot below)
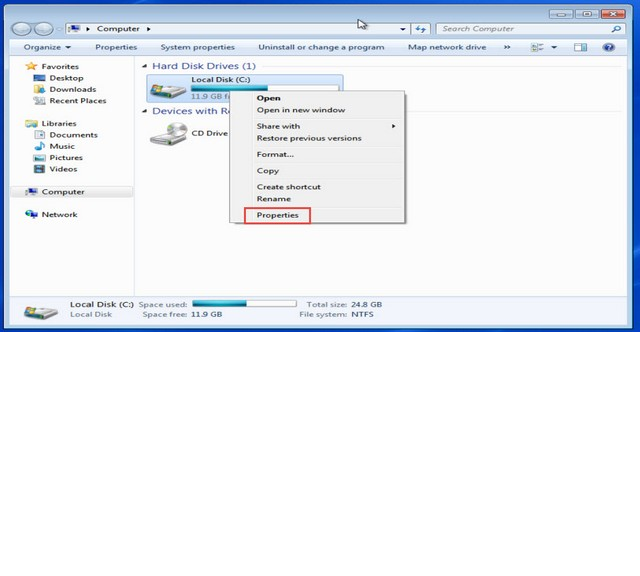
Step 2: Right click on any drive and click on the “Properties” option. (Check the screenshot below)
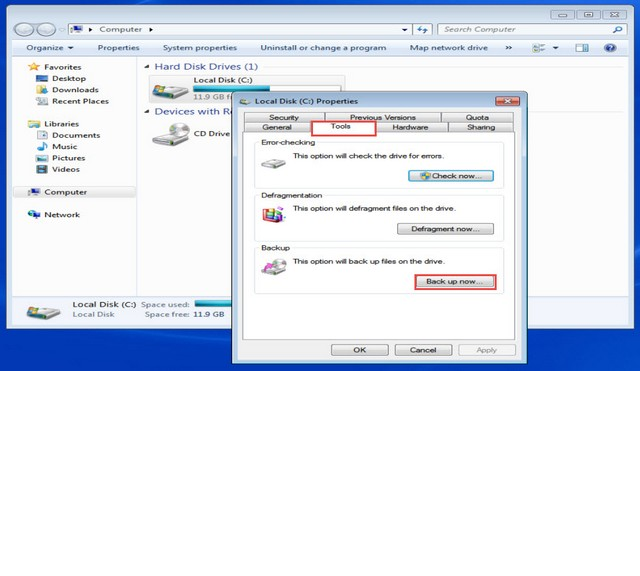
Step 3: The “Local Disk Properties” window will now appear on your screen. Click on the “Tools” tab.
Step 4: Click on “Back Up Now…” button. (Check the screenshot below)
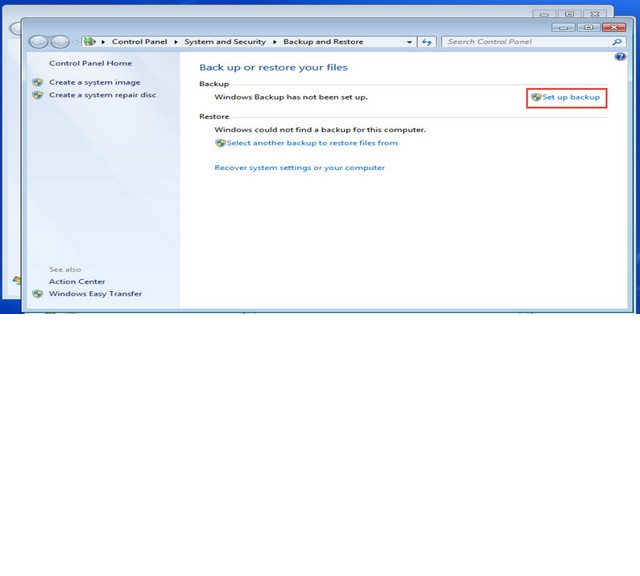
Step 5: Next, click on the “Set up Backup” button. (Check the screenshot below)
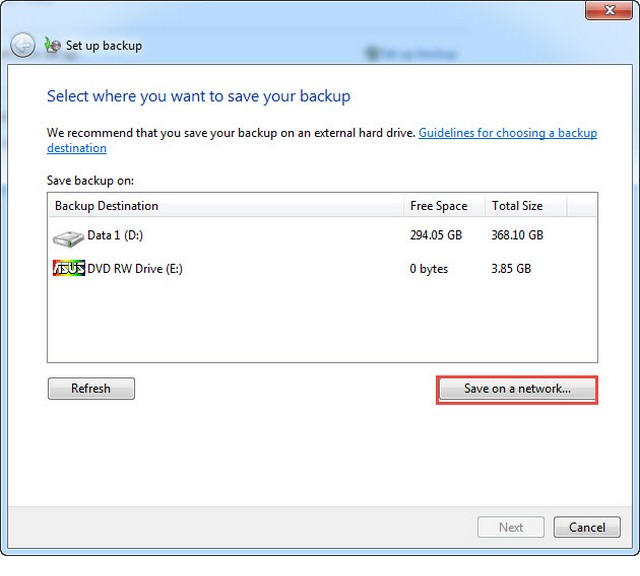
Step 6: Provide an appropriate destination path for backup.
Step 7: Click on “Save on A Network…” tab. (We can also select a USB drive or tape drive for storing backups) (Check the screenshot below)
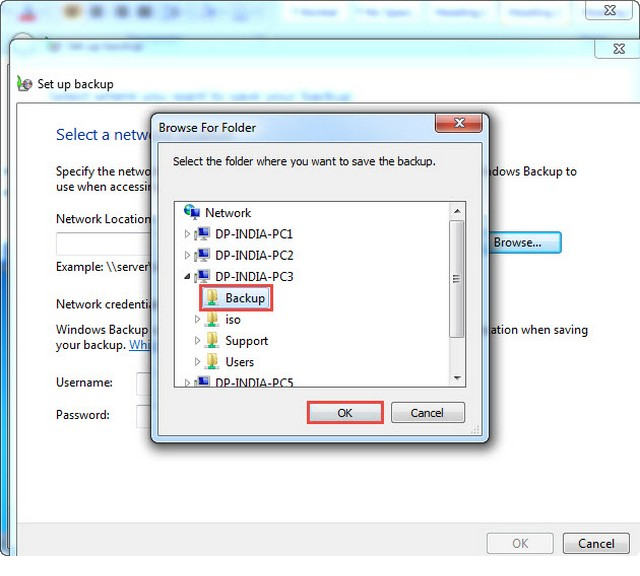
Step 8: Click on browse and provide the network path.
Step 9: Click on the “OK” tab. (Check the screenshot below)
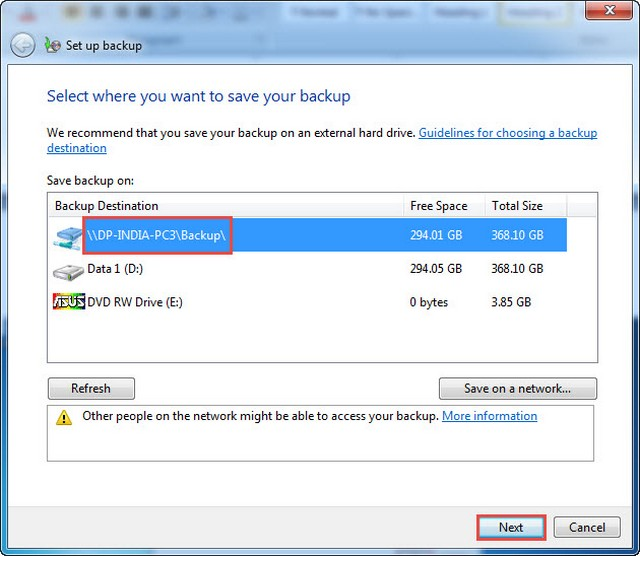
Step 10: Select the network path in the next window and click on the “Next” button. (Check the screenshot below)
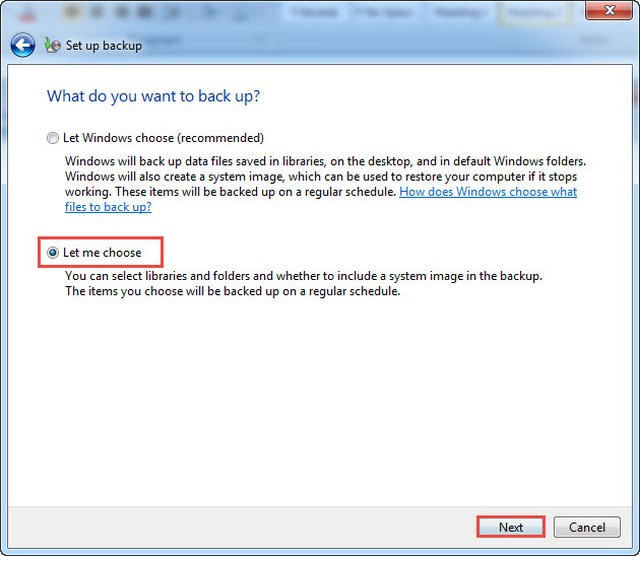
Step 11: “Set up Backup” window will now appear on your screen. Select the “Let me Choose” option and click on the “Next” tab. (Check the screenshot below)
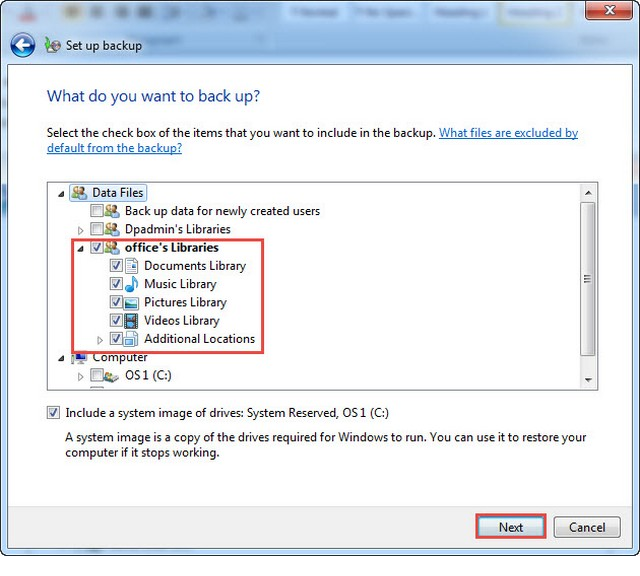
Step 12: The next “Set Up” window will display the question, “What Do You Want to Back Up?” Select the data files or folders you want to have a backup for.
Step 13: If you want to create a system image for the same, select “Include a system image of drive: System Reserved, (C:)” option.
Step 14: Click on the “Next” tab. (Check the screenshot below)
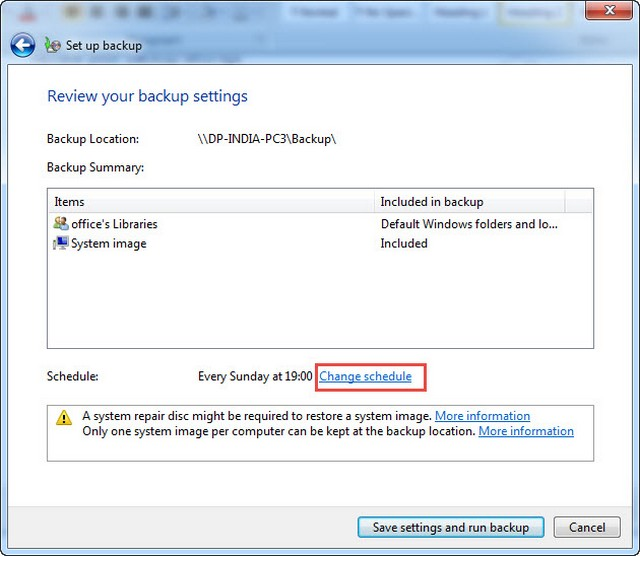
Step 15: You can even set the schedule by clicking on the “Change Schedule” tab.
Step 16: Click on the “Save Settings and Exit” button. (Check the screenshot below)
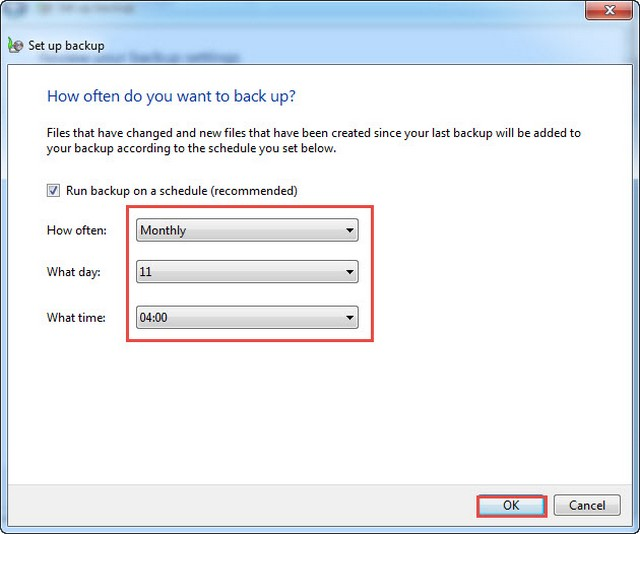
Step 17: Set the schedule – how often, what day and what time – and click on the “OK” tab to save all new settings. (Check the screenshot below)
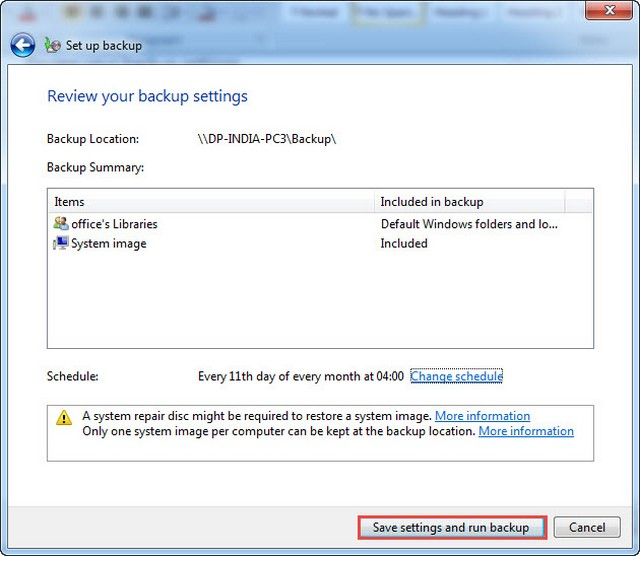
Step 18: Click on “Save Settings and Exit” tab. (Check the screenshot below)
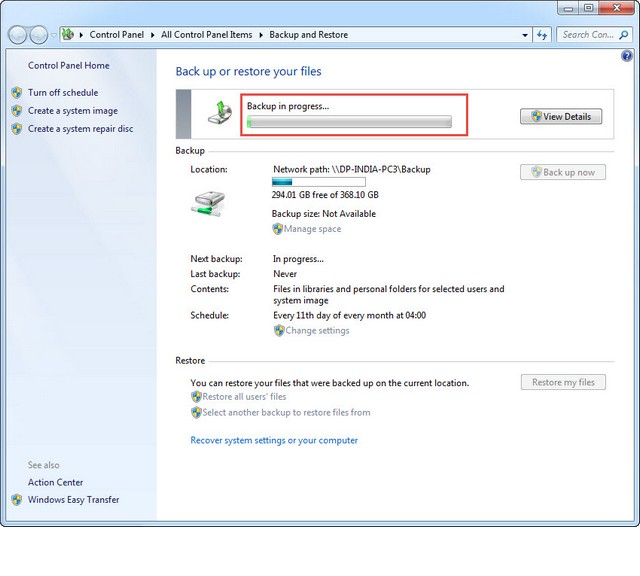
Step 19: The process of backup will be initiated. The user will now be able to restore the files. (Check the screenshot below)
You’ve just learnt how to setup Win 7 data backup.
Steps on How to Restore Files from Backup
In case you accidently deleted an important data file or somehow the data corrupts, you can easily restore it by using Restore Process.
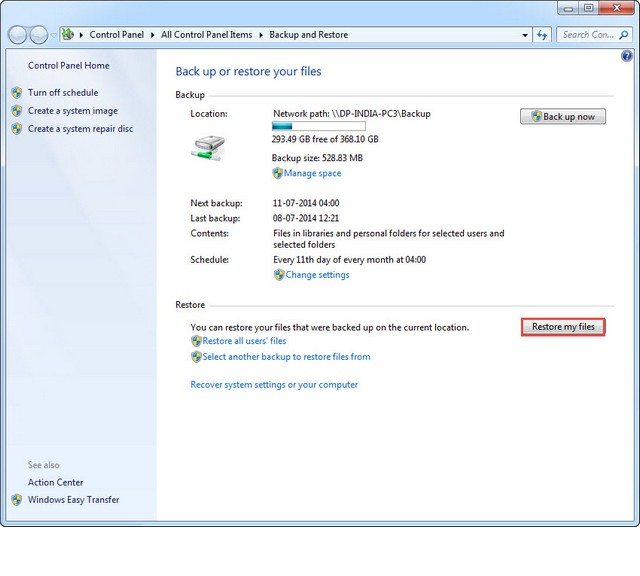
Step 1: Click on the “Restore My Files” tab. (Check the screenshot below)
Step 2: Under the “Restore Files (Advanced)” window, click on “Browse for Folders” tab.
Step 3: Select the folder where you backed up your important data files and click “Next.” (Check the screenshot below)

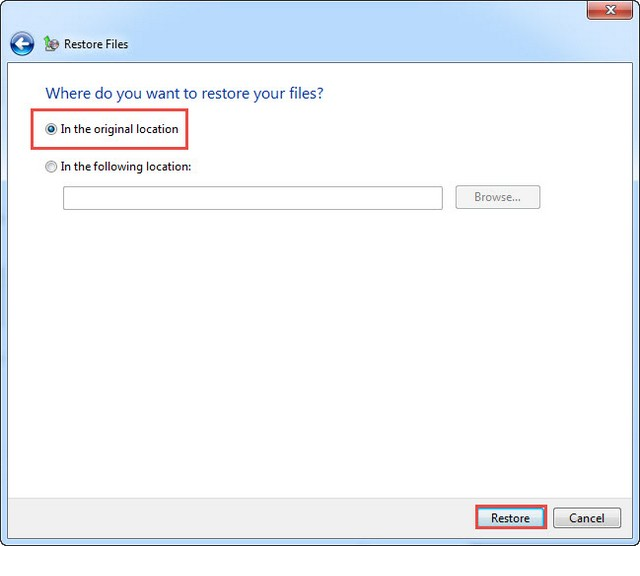
Step 4: The next window will display the question, “Where do you want to restore your files?” Select the following option – “In The Original Location.”
Step 5: Click on the “Restore” tab. (Check the screenshot below)
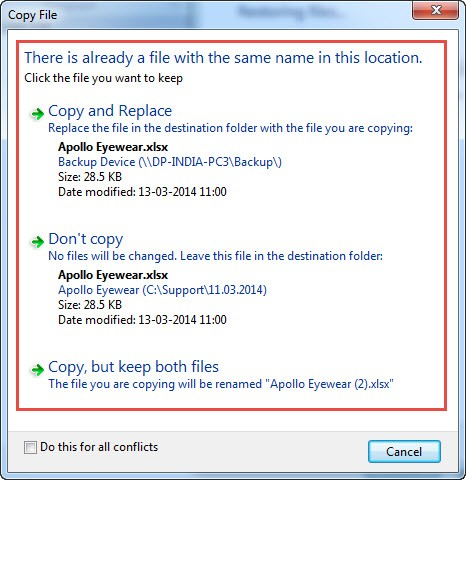
Step 6: A dialogue box will now appear on your screen displaying, “There is already a file with the same name in this location”. Click on “Copy and Replace” option. (Check the screenshot below)
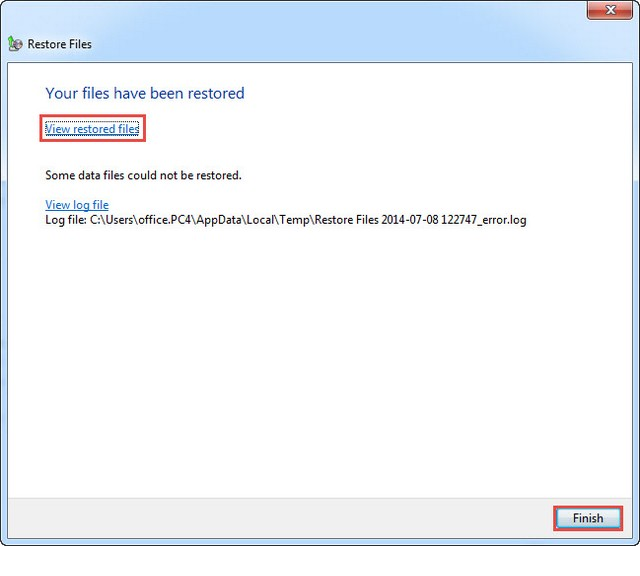
Step 7: You have successfully restored the files. Now click on the “Finish” button. (Check the screenshot below)
Still struggling to take backups in Windows 7?
Let us know the exact problem you are facing or describe as many details as possible. One of our IT support experts will take out time to respond to all your queries and explain what may possibly be wrong when you follow the above steps on how to take backups in Windows 7 operating system.
Interested in Windows 7 Courses in Chicago? Give us a call to find out about our training programs.
 (1)")