
How to support Local Account in Window 8
A “local user account” allows a user to make use of most Operating System capabilities. However, permission from an administrator is required in case the user wishes to make alterations and support which can affect other users or cause a potential threat to the security of the computer system. In this post, we’re going to demonstrate how you can set up and support a new local account in Windows 8 OS.
Though you can use most of the computer programs with a local account, you cannot perform major support operations such as installation and un-installation functions on software or hardware attached to the system. Also, you cannot delete such files which are required for the computer to work smoothly; you’re not even allowed to alter the computer settings that can affect other users of the system.
When using a local account, certain programs may demand an administrative password from you before you perform various support actions.
Listed below are detailed steps on how to create a local User account in Windows 8:
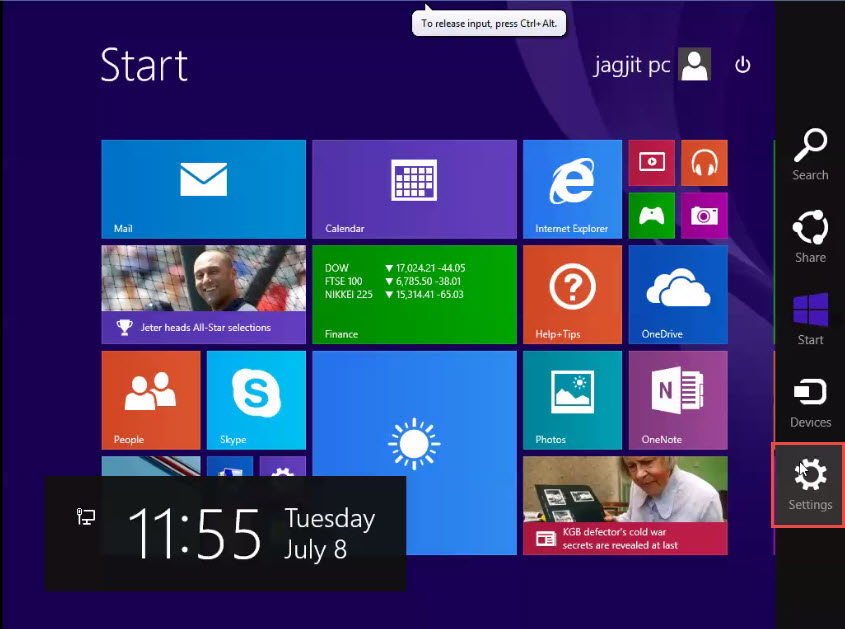
Step 1: Go to the right end corner of your Windows 8 screen and click on the “Settings” tab. (Check the screenshot below)
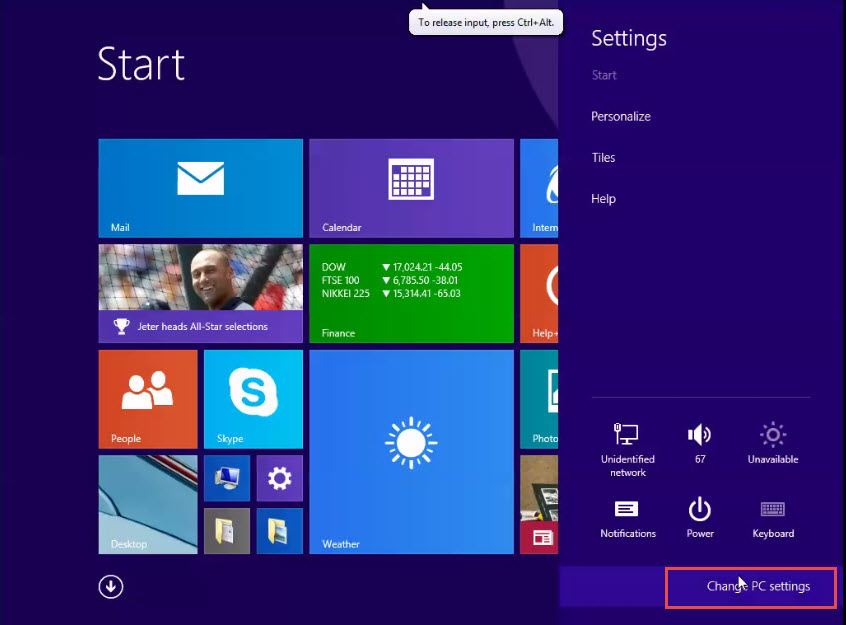
Step 2: Next, click on the “Change PC Settings” option. (Check the screenshot below)
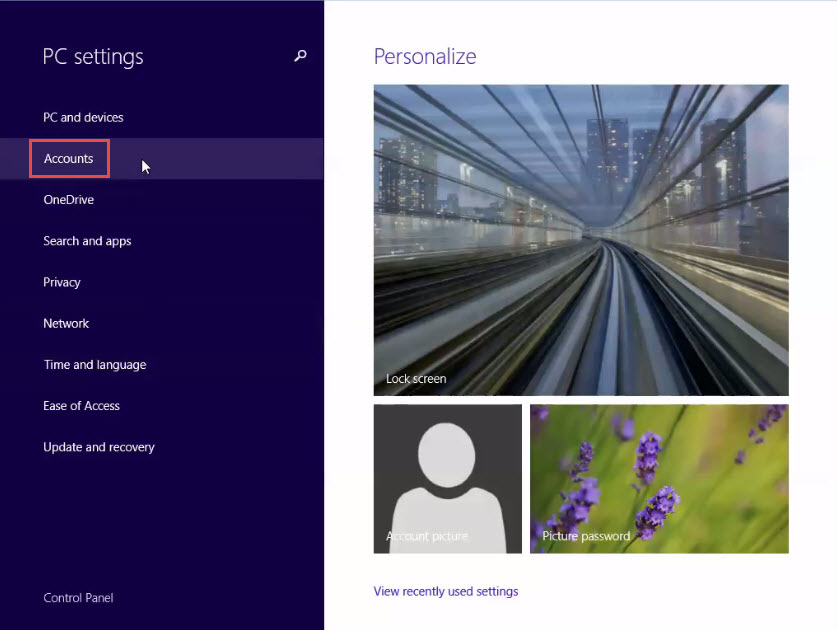
Step 3: On the left hand panel of the screen, click on the “Accounts” option. (Check the screenshot below)
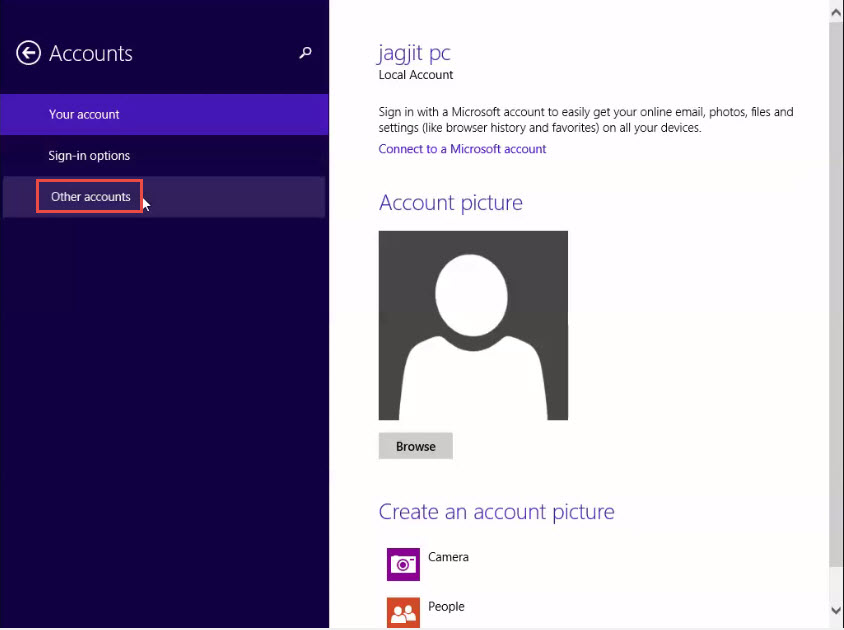
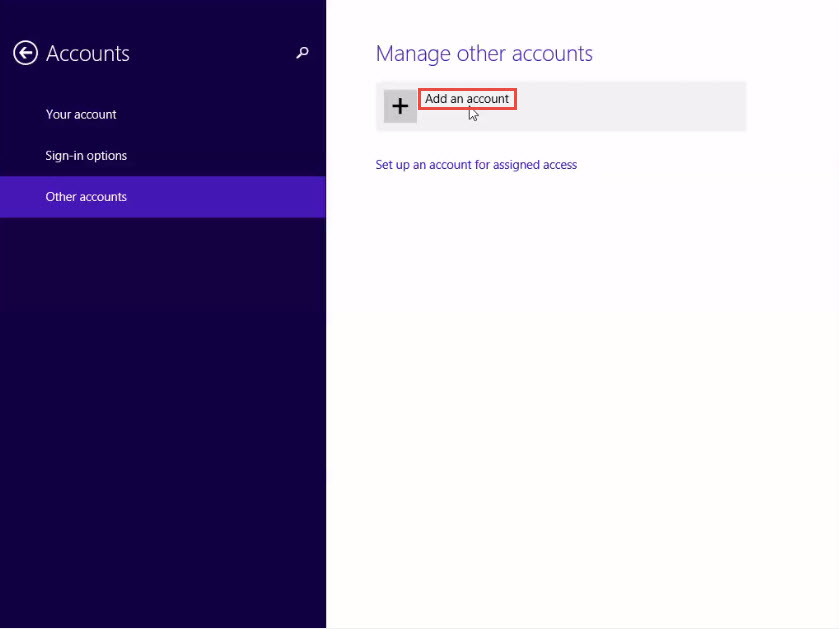
Step 4: Now, click on the “Other Accounts” tab. (Check the screenshot below)
Step 5: Next, click on the “Add an Account” option. (Check the screenshot below)
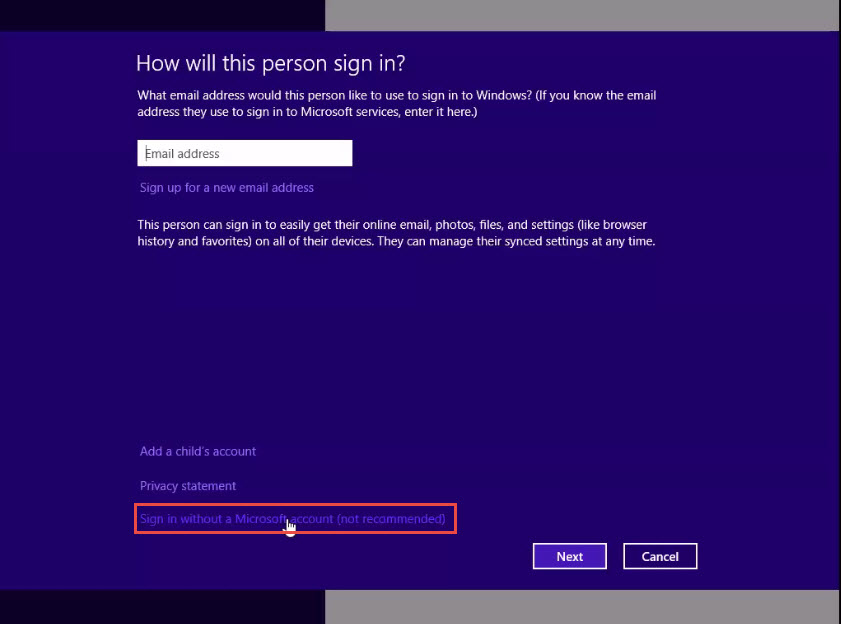
Step 6: In the next window, click on the “Sign in Without a Microsoft Account” option. (Check the screenshot below)
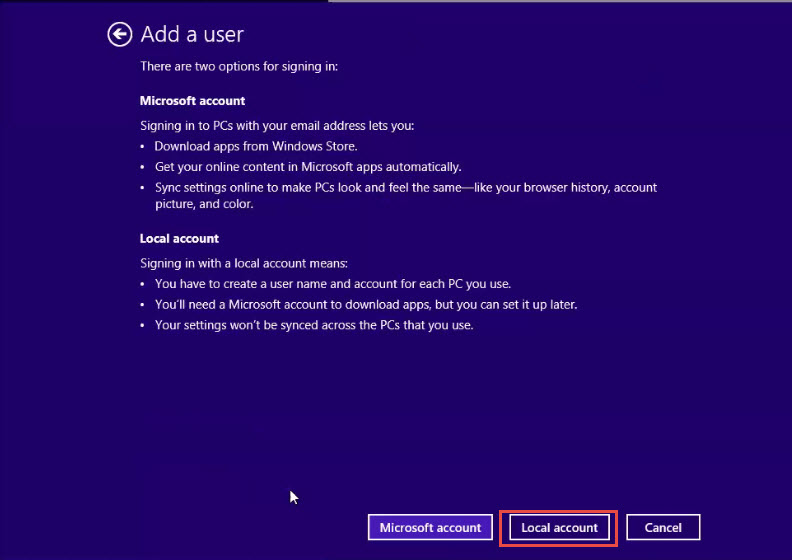
Step 7: Now, click on the “Next” button to continue. (Check the screenshot below)
Step 8: Provide your user name along with an appropriate password. (Check the screenshot below)
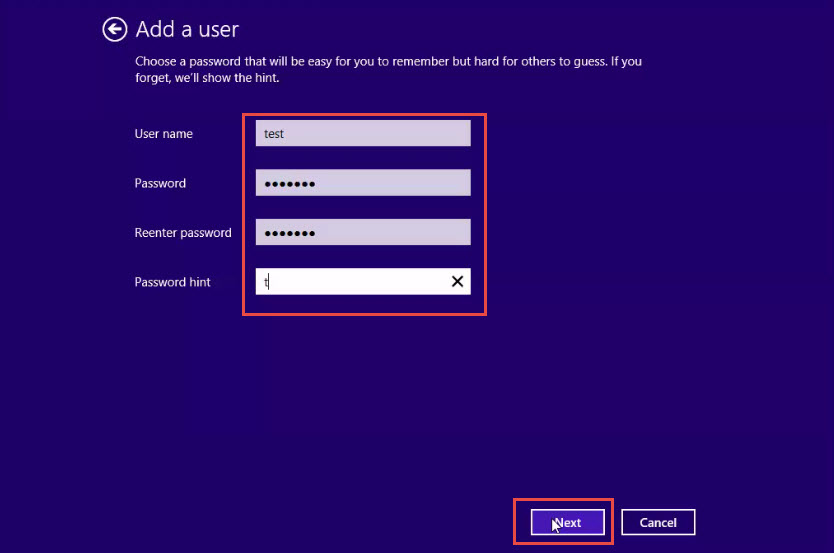
Step 9: Click on the “Finish” button. (Check the screenshot below)
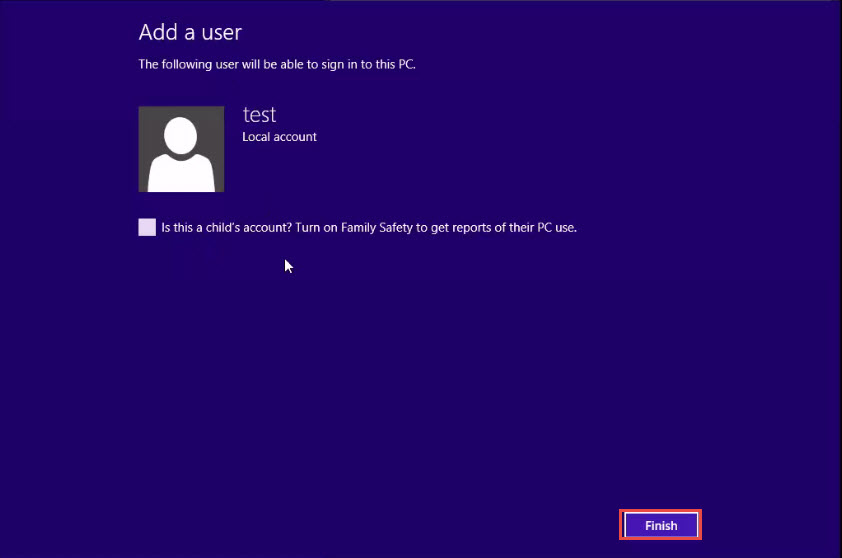
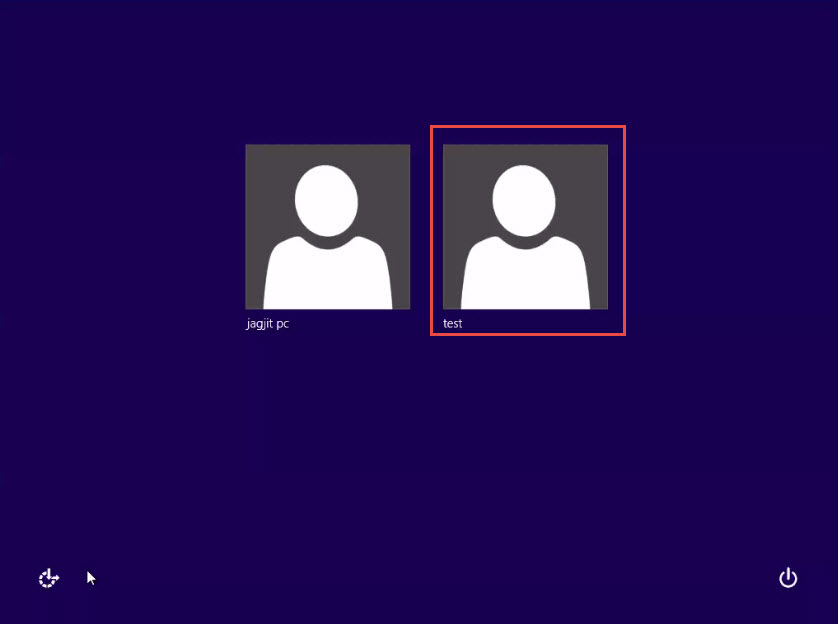
The new Local user has been successfully created! (Check the screenshot below)
Did you manage to create a new local user for your Windows 8 machine?
Did you run into any problems?
If so, chances are that you did not follow the steps correctly.
But if you’re doing everything right but landed up nowhere, let us know. We’d like to help you with any problems might be facing while creating new users in machines that have Windows 8 OS installed.
 (1)")